Welcome back bloggers! Lately I've been trying to organize and use up my scraps that have accumulated throughout the years. Right now I organize my scraps in 12"x12"x2" drawers by color (1 drawer for each group:
Brown/Orange/Yellow,
Red/Pink/Purple,
Black/White/Cream,
Blues and
Greens get their own drawer because I have a lot of these scraps) and they work perfectly for me. However, I've been scrapping since 2003 and have accumulated way too much scraps but I can't seem to be able to toss them out either. That's when I started designing a few layouts that use mostly scraps (except for the background cardstock). This is one of them and I did a step-by-step of my creative process in case someone else was in the same boat as me regarding scraps so let's get started :)
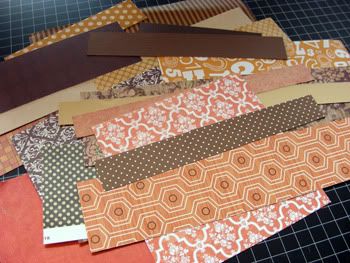 Step 1.
 Gather your scraps. I chose my Brown/Orange/Yellows drawer because right now is my biggest one :)
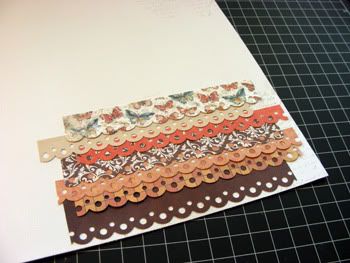
 Step 2
. Punch out one border and trim your strips to 6" long by anywhere between 0.5"-1.5" tall. This will give them different thickness and add interest to your layout.
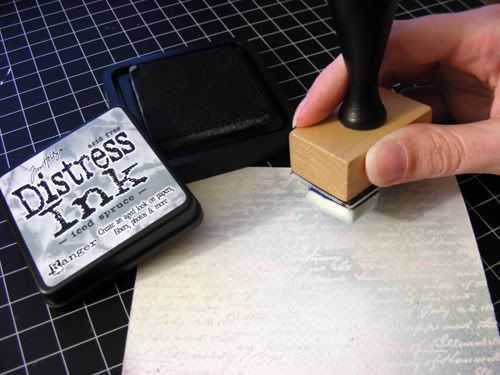
 Step 3.
 I used a white cardstock for the base. I lightly and randomly stamped with a background script stamp around the edges (you can see a bit in the top right of this picture). Start adhering strips from the bottom up.
 Step 4.
 You will end up with something like this when you are done. Don't mind the fact that the left side if not perfect, you will cover this with your pictures.
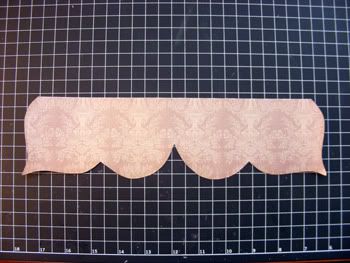 Step 5.
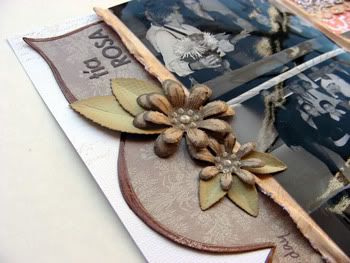
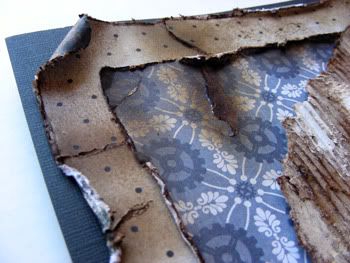
 Die cut matching border. I always make a template of all the die cut pattern papers that I purchase to make my own. This one I believe is from Basic Grey's Origin Collection.
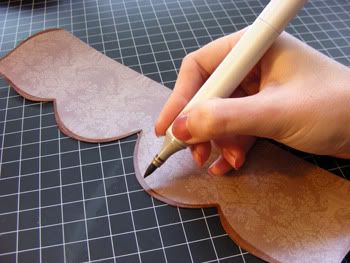 Step 6.
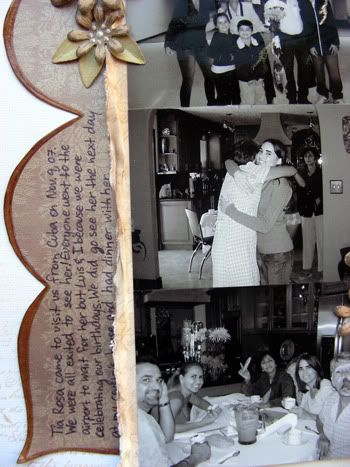
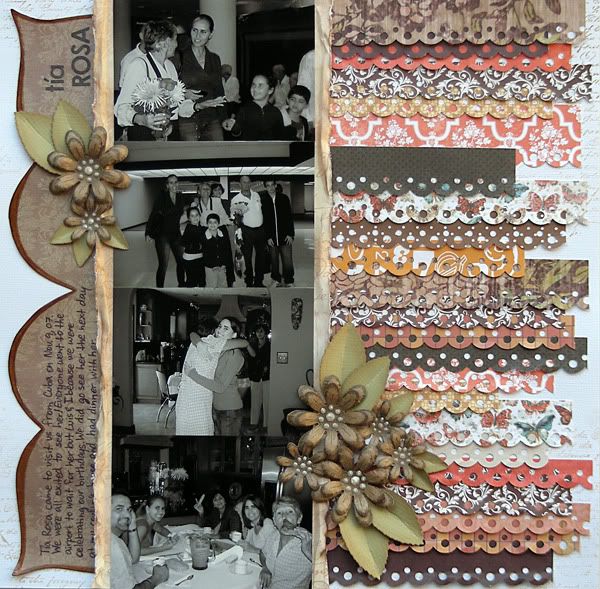
 Go over the edges with a Copic Marker to finish the edges. You might need to do this a few times to get a good coverage. I then used Glossy Accents over it to give it a finished glossy look. You can check out the close ups for this layout
HERE.
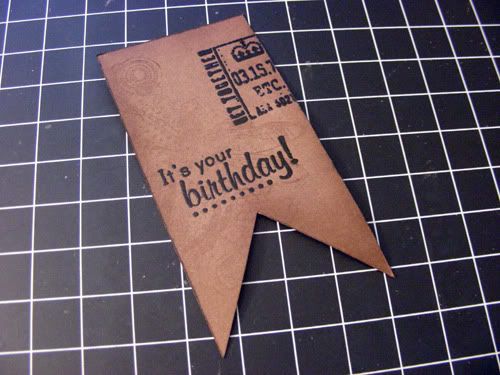
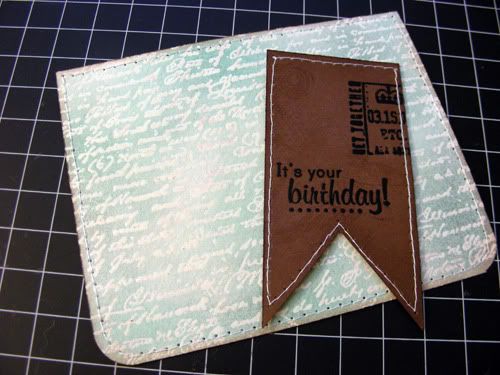
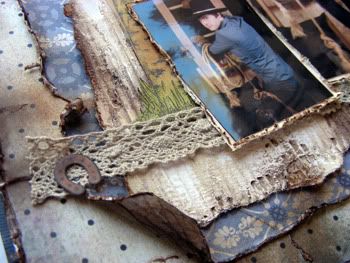
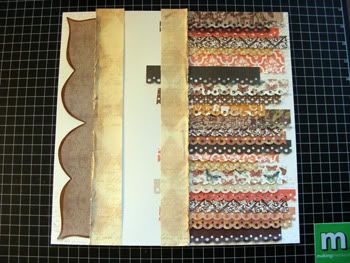 Step 7.
 Using a lighter color scraps, cut down a strip measuring 12"x1" and distress one of the edges. I used the Tim Holtz Distresser Tool but you can use the side of a pair of scissors. Adhere as shown leaving space for a row of four 4"x3" pictures.
 Step 8
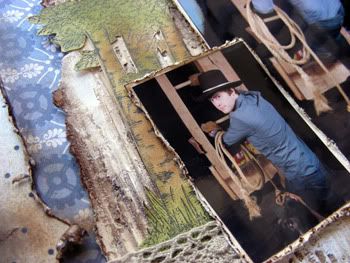
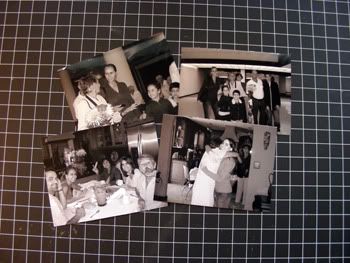
. Gather your pictures. You can use 2 vertical 4"x6" pictures or use four 4"x3" pictures. I printed mine Black & White because the pictures were too busy.
 Step 9.
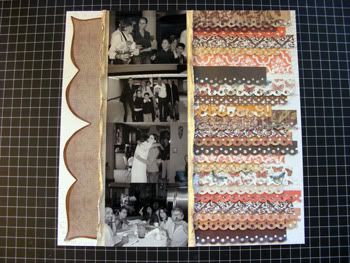
 Adhere your pictures between your vertical 1" strips and now you are ready to embellish your layout.
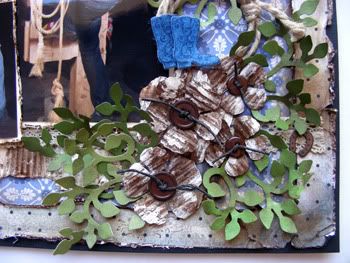
 Step 10.
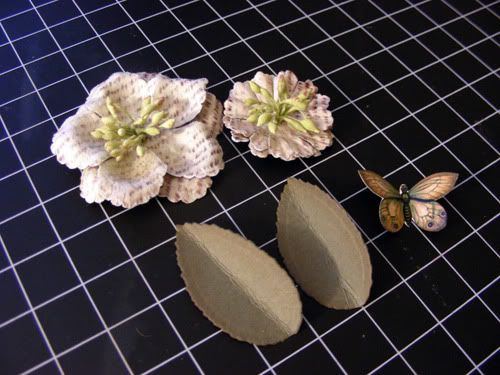
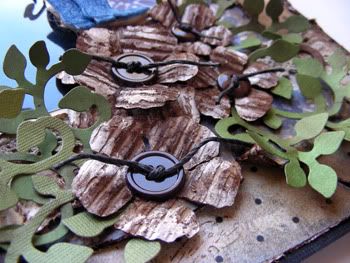
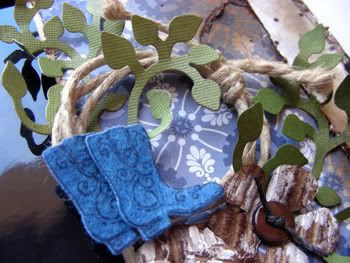
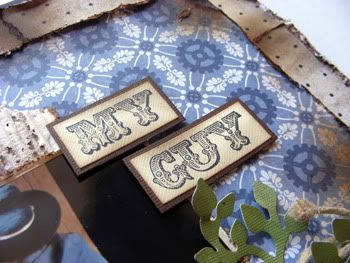
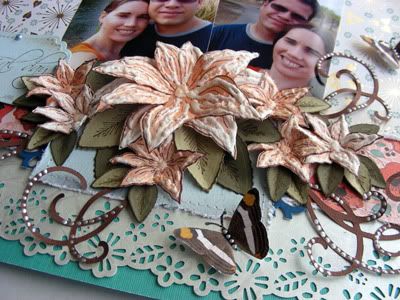
 Add embellies to the top left and bottom right side of the pictures. I handmade neutral flowers out of scraps and added some leaves too. I don't have a tutorial for these flowers but if you are interested I can work on one. I also added a title to the top left side of the pictures and journaling to the bottom left side of the pictures.
I hope that you enjoyed this step-by-step tutorial. Let me know what do you think about it and if you use this tip, drop me a link here so I can check out your layout! have a wonderful rest of the week!


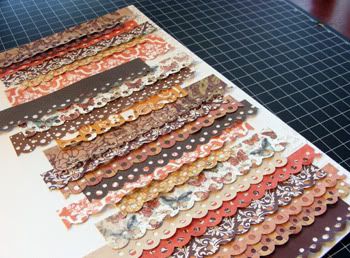
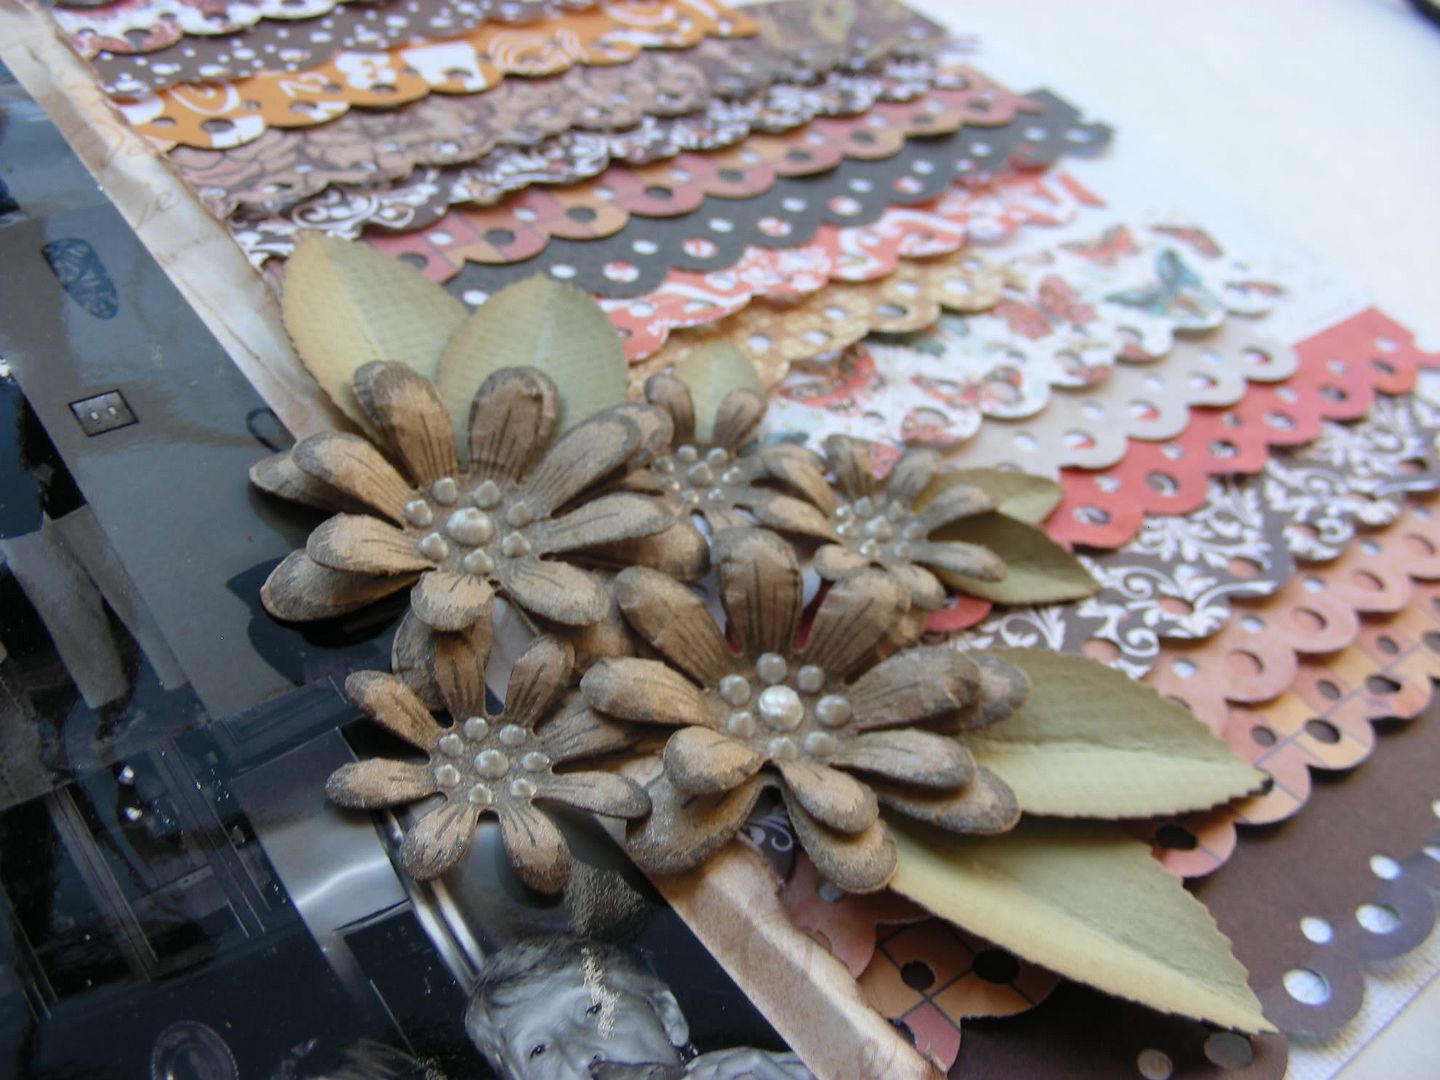 I then trimmed the strips to 6" and I varied their width for added interest. Because the pattern papers are a bit busier, I decided to go with black and white pictures and very neutral embellies. This technique works because you use the same punch unifying the layout. You can even use different color pattern papers (rainbow colors) and the finished layout will still look amazing!