
12x12 Layout-happy birthday to you!
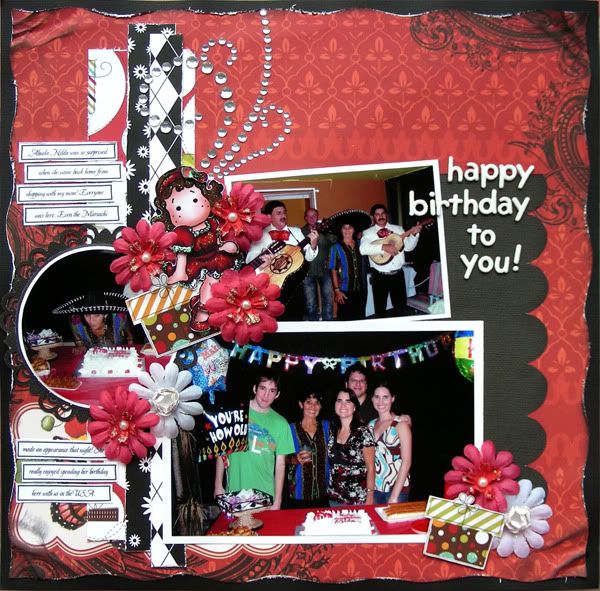
Supplies: cardstock: Bazzill, Colorbok; patterned paper: DCWV, Imaginisce; Flower: Imaginisce; Stamp: Magnolia Tilda; Other: handmade bling using the i-Rock, handmade thickers
Who said that Tilda stamps are only good for stampers/cardmakers?
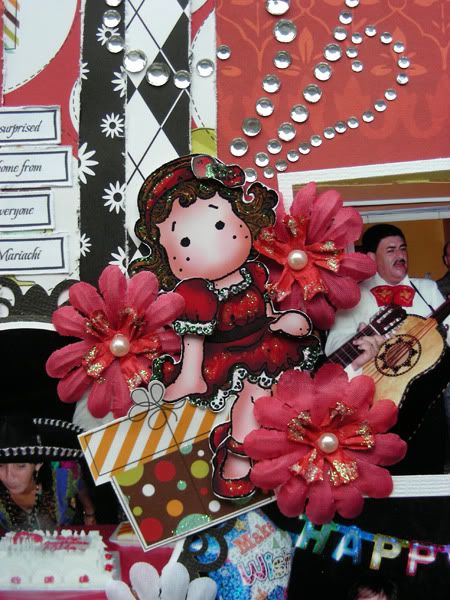
I used the Circus Tilda in my birthday layout and I think she looks beautiful in her red dress! I used Diamond Stickles to highlight some parts of her dress, bow and shoes. I made 2 copies of the stamped image and used the second one to layer onto the first one to give it more depth. I have to admit that I freaked out a bit when I heard that I had to work with stamps as I am not a stamper but I'm so glad that I did since I've always wanted to play around with a Tilda stamp. They are so pretty!
ok, going back to the layout...I used some Imaginisce paper here too (recognize the black and white strips of paper?) so I get double browny points for using BOTH of this month's featured manufacturers! LOL
Sorry! Now, going back to the layout...(for real this time!). The red background paper is from DCWV Mariposa Stack (from my stash) and I chose it because my grandma loves red and the pictures are of her birthday! This layout is based on my sketch (sketch_19) and I didn't change much of it.
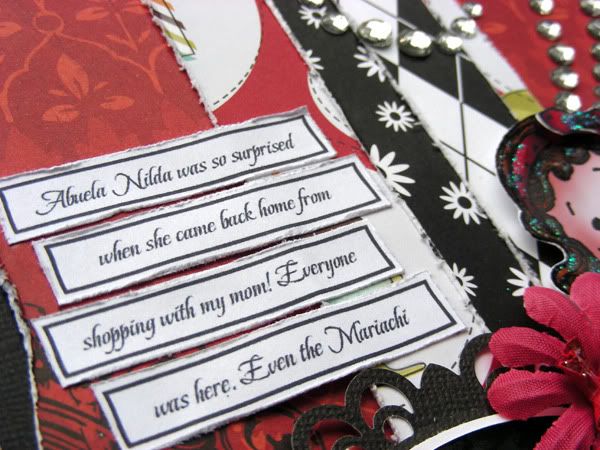
The circle photo mat I made using a Martha Steward corner punch The journaling strips I designed in Photoshop and then printed them out. The rhinestone flourish is actually done with Imaginisce's i-Rock. Let me tell you, this tool is awesome! For those of you bling lovers out there, this tool is a MUST HAVE!
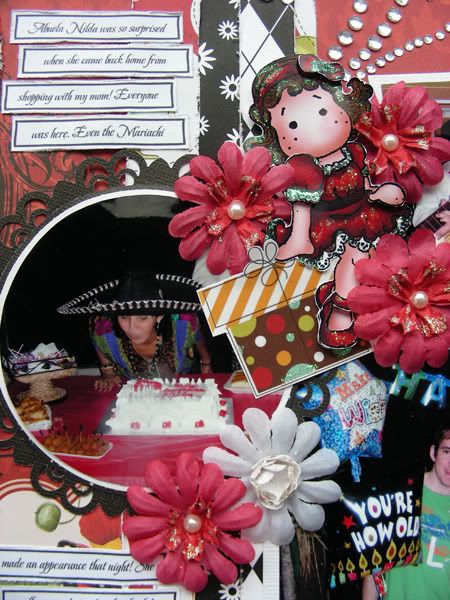
I cut out a few presents from Imaginisce's Birthday Bash paper and pop dotted them. On one of them I strategically placed Tilda so that it looks like she is sitting on the present. The flowers are also Imaginisce's Bitty Blossoms from their Basic Collection. I cut out a circle, made smaller cuts (5 total) into the circle, stickled the tips, turned the circle into a flower and used this to layer on the Imaginisce's flowers. I also made a tiny rose to layer on the white flowers.
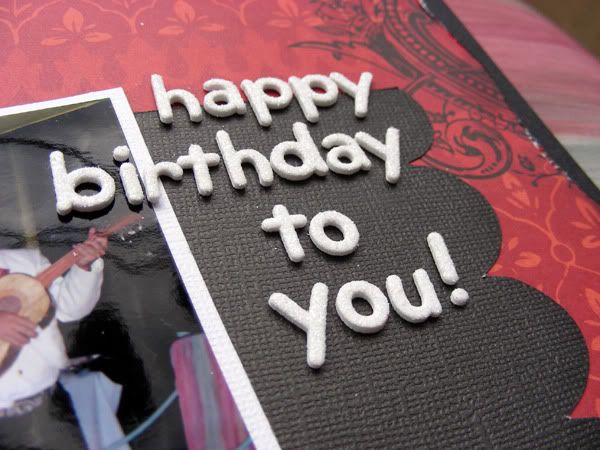
Of course, I handmade the title using my cuttlebug and glittery foam. It's so much cheaper than buying Thickers!
TIP: To make sure that your long title or quote is straight, place the title on the tip of a transparency sheet and then transfer them to the layout.
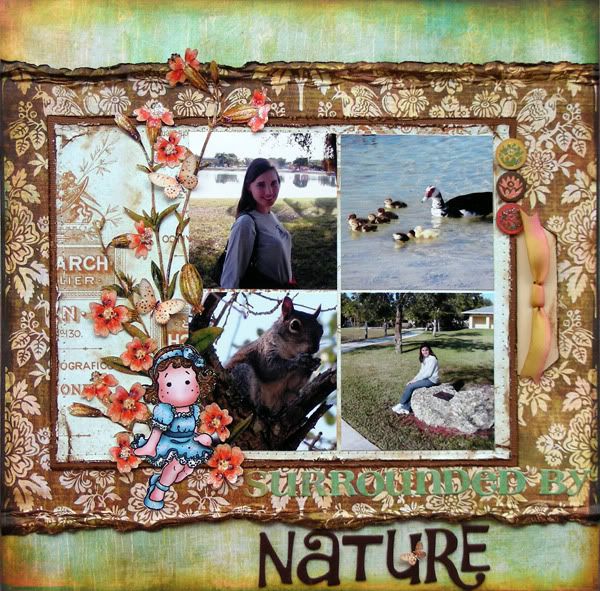
12x12 Layout-surrounded by Nature
Supplies: cardstock: Bazzill; patterned paper: Basic Grey Curio Collection; letter stickers: Basic Grey Curio Collection;
chipboard: Thickers; ink: Tim Holtz Vintage Photo; pens: Sharpie; Stamp: Magnolia Tilda
This layout is all about me and how much I love to be outdoors and of course that I used my favorite color combination-green and brown! I got to play with Basic Grey Curio Line and let me tell you, if you thought that it looks good on the screen, it's gorgeous in person!
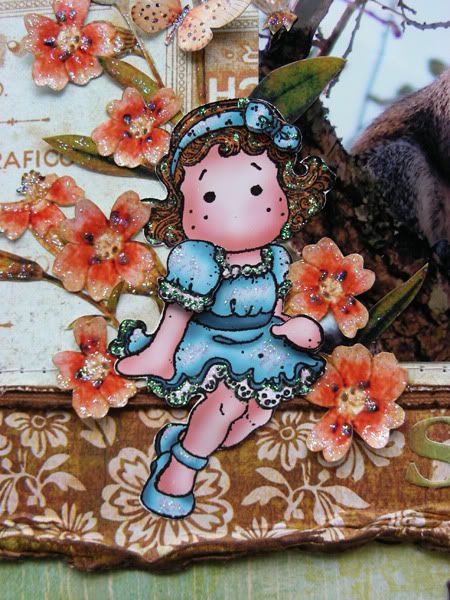
For this layout I also used the Circus Tilda stamp but this time Tilda is in a blue dress. Doesn't she look sweet? I also layered her and stickled her dress. The orange flowers and vines around her are actually from the patterned paper. I hand cut and stickled them too.
TIP: Before I cut into a new design (flowers, butterflies, leaves, etc.) of pattern paper, I scan the sheet or the piece with the image that I like. That way, I can still keep it in my computer ready to print in case I want to use it again!
Before I forget, this layout is based on a sketch by Lucy which I followed pretty well. The only changed that I made was that I traded the vertical strips of paper on the left side for the flowers and vines.
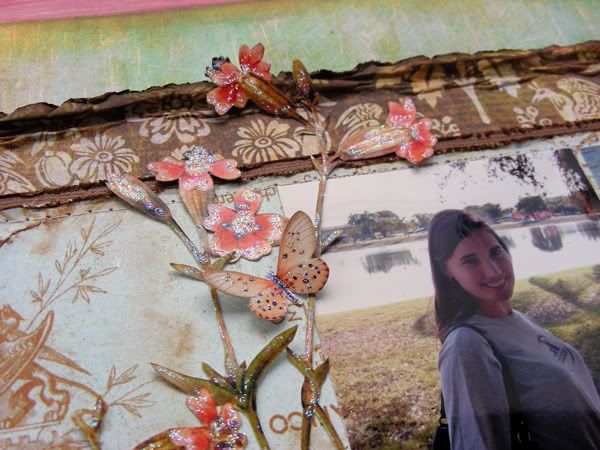
I distressed and inked the rectangle in the middle which actually acts like a big mat for my pictures. I also distressed a bit more than normal the darker brown paper behind it. I printed the tiny butterflies in semigloss light weight photo paper, cut them out and stickled them to add some bling.
TIP: The lighter brown rectangle is actually the middle of the darker brown rectangle that I cut out. It's the same pattern paper that I just cut out and turned it around. Saves money and paper and you get to see both sides of the patterned paper!
Card-Mother's Day
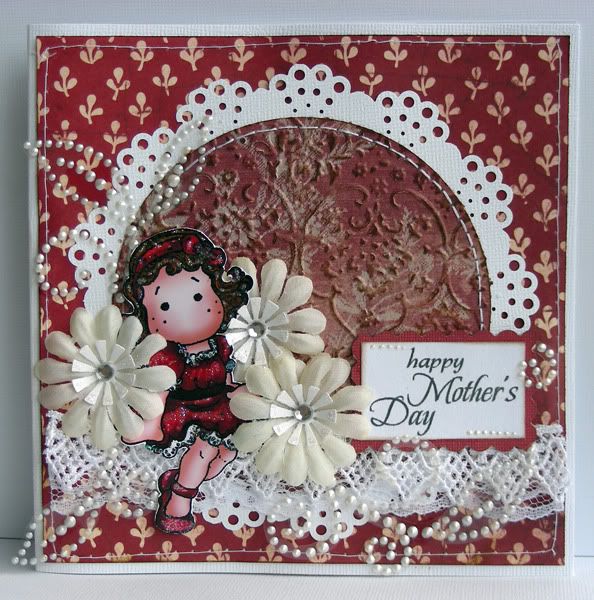
Supplies: cardstock: DCWV; ink: Tim Holtz; stamp: Magnolia Tilda; Flowers: Imaginisce; other: lace from stash
It's never too early to work on Mother's Day cards so I started early this year and used my little Circus Tilda stamp, dressed in red again, in a Mother's Day card.
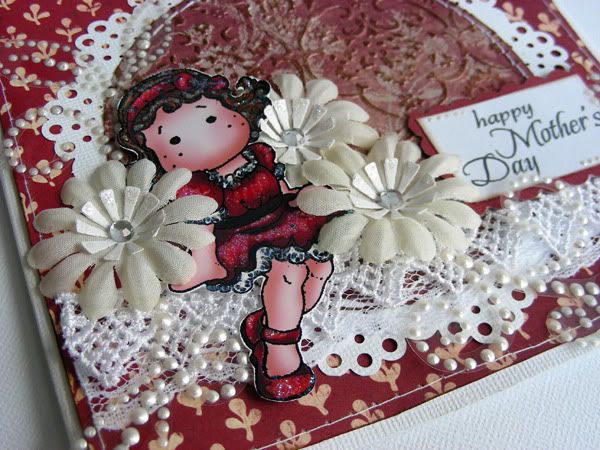
I stamped Tilda twice, cut up a few pieced and layered them using pop dots. For the flowers, i cut out some die cuts (sizzix) and layered them with the Imaginisce's flowers, finishing them off with a rhinestone for a center. I added miscellaneous laces and placed Tilda on top of them, as if she was sitting on them. I made the white mat of the circle using a Martha Stewart corner punch. I ran the inside of the circle through my cuttlebug with an embossing plate to emboss it. I then, lightly, ran the Tim Holtz's ink pad on it to distress it a bit. The leaf flourish, as well as the sentiment, are handmade by me. This card is 6"x6" and is ready to give to someone on Mother's Day.
All of these above mentioned items are available from AWDML's store unless stated otherwise.
Thanks so much for stopping by my blog today! Have a wonderful week!

Woww that is so beautiful, I really love all your creations.
ReplyDeleteI love too put some magnolia stamps in my LO
These are so beautiful Amarylis - LOVE how you used your stamps in the layouts - great job!!!
ReplyDeletelooking good
ReplyDeleteWow Amy thanks for the post! Love those little Tilda stamps! You did a beautiful job!
ReplyDelete