I'm here today with a fun and money saving tutorial! Now, I don't know about you but I love My Mind's Eye's layered chipboard. They add so much to my layouts and even cards! However they can get pricey if you like to use them in all of your projects so I decided to mimic their look using pattern papers instead!
Supplies-
- coordinating scrap paper or 6"x"6 paper pad
- alphabet stamp set
- thickers
- stickles
- brads
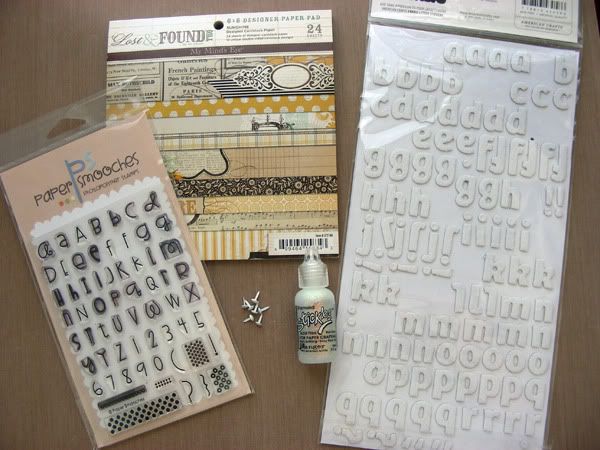
Step 1. Gather your materials. You can use coordinating scraps or a 6"x6" paper pad. I decided to use MME's Lost & Found II Sunshine pad.
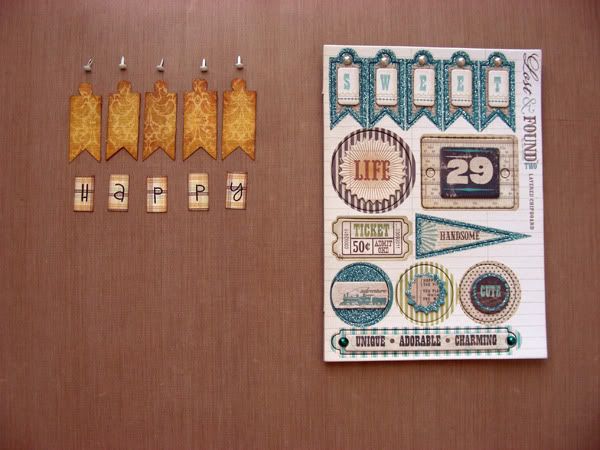
Step 2. I wanted to make the layered chipboard stickers on the left side, also by MME, but I wanted them to be birthday themed and a bit more neutral (yellow). Make the pennants our of yellow paper and cut 5 smaller rectangles and stamp your letters. I want to use these for a birthday card so I'll be substituding the sentiments for birthday sentiments.
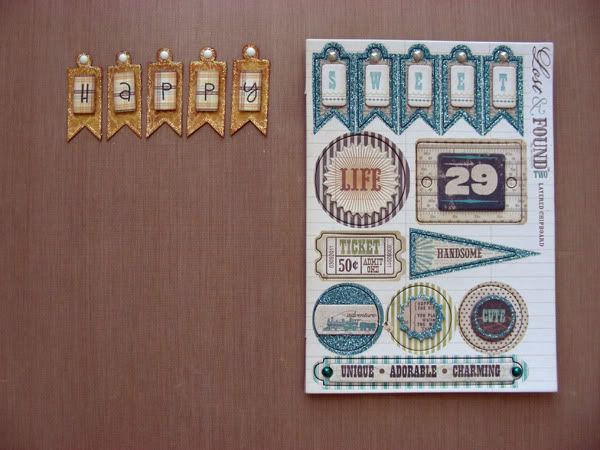
Step 3. Layer the letters to the pennants using a pop dot to raise them up and give them dimension. Add the mini brads to the top and apply stickles to the edges, to mimic the original MME's chipboard.
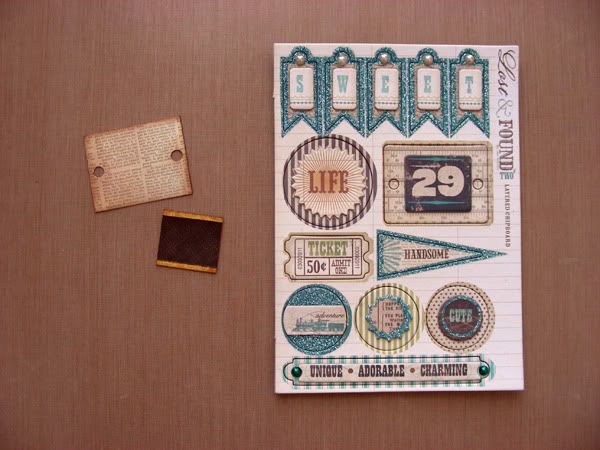
Step 4. I wanted to include the number so I cut a rectangle from a neutral paper and a smaller and darker colored rectangle and layered them using pop dots also.
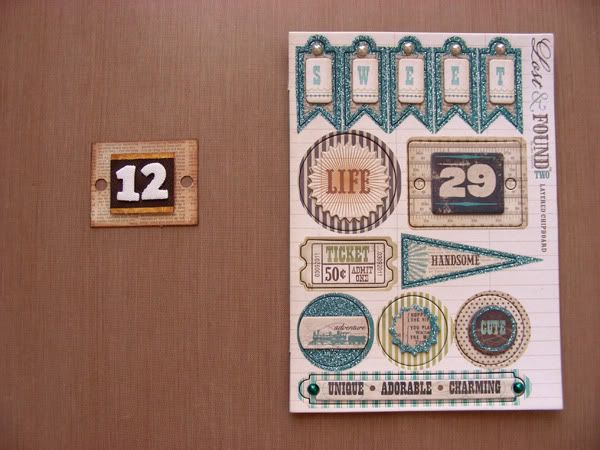
Step 5. Add the number that you wish out of Thickers.
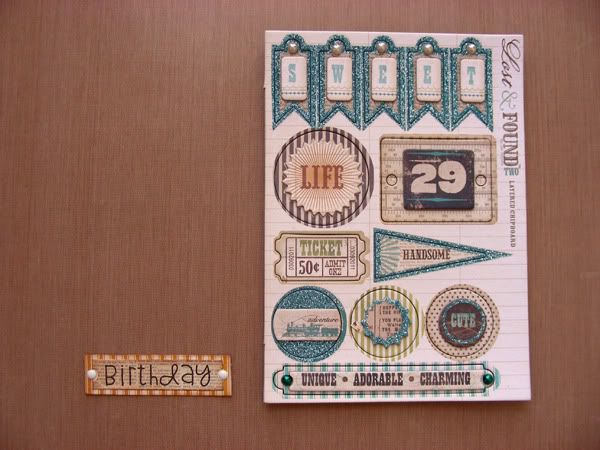
Step 6. The last piece I wanted to use was the long sentiment in the bottom but I changed it to the word birthday. Cut two rectangles and layer them together. Stamp your sentiment using black archival ink and add the small white brads to the sides.
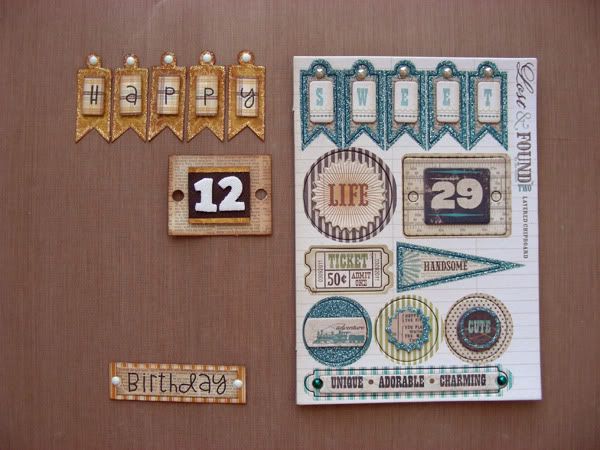
Step 7. These are your finished pieces. You can compare them to the original MME layered chipboards on the right side and see that they are very similar but so much more affordable. Also, this lets you customize the color and sentiment, like I did for mine.
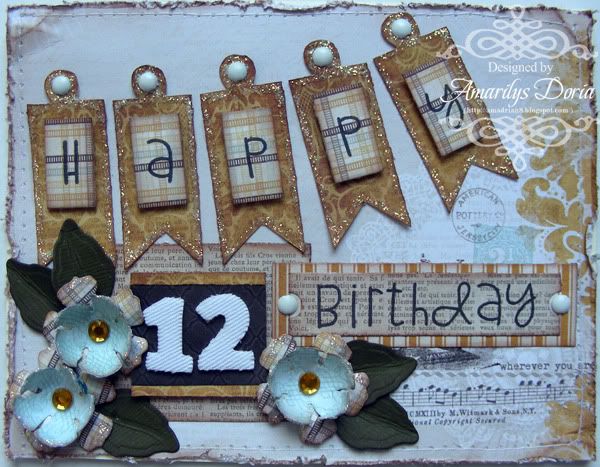
Here's a birthday card that I made with my handmade pieces:

I hope you try this money tutorial soon and share your take with me! I'll love to see your projects!

Great idea Amarilys!! :)
ReplyDeleteHow creative...awesome ideas!
ReplyDelete