
Today I have an easel card tutorial for you, using the I used the Swirlydoos February Kit, Lady Belle.

and a few close ups:


Closed card
and a few close ups:
Closed card
So, now that you know what we are doing, let's get started!

Step 1. Trim a heavy cardstock to 5.5"x5.5" and die cut a circle our of it. I'm using Heartfelt Creations Layered Scalloped Posy Die so I'll have to run it through my die cutting machine twice (top and bottom).

Step 1a. Make sure that folded area is a little over the fold so that you don't right through it. You will nee this so that the card opens and closes.

Step 2. This is what you will get after you finish your first base layer.

Step 3. Die cut another separate single layer our of the same cardstock.

Step 4. From the fold, mark 3" below it and fold it inwards. Add adhesive to this part and adhere the single layer on top.

Step 5. This is how your easel card base will look like at this stage. Now you can decorate it however you want!

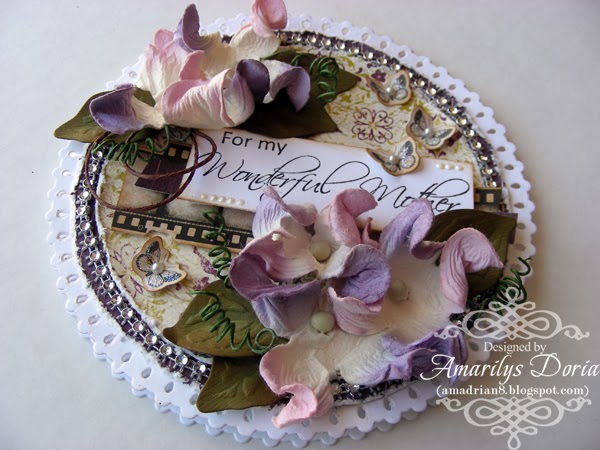
Step 6. For my card, I die cut two circles our of coordinating colors measuring 4.5" and 4" and distressed their edges.

Step 7. I layered them over my front side of the card and added a little trim around the smallest layer.

Step 8. I then added a few layers in the centers and my stamped sentiment on top. I pop dotted the sentiment to make it stand out.

Step 9. I added some blooms around the sentiment as shown.

Step 10. Finally, I added some handmade leaves and some brown twine.

Step 11. Now, so that your easel card can stand up, you need something for the inside. I added two stickers layers over each other and pop dotted to give some dimension.
here's the finished easel card again:
Thanks for stopping by and if you make your own easel card, I'd love to check it out! :)


No comments:
Post a Comment
Thank you for taking your time to comment on my blog!