Hi!!!! Today I'll be sharing with you how I made my own chevron pattern paper from scraps that I had from previous layouts.
Supplies:
- square punch
- scraps of pattern paper
- 8.5"x11" sheet of cardstock
- adhesive
- sewing machine (optional)
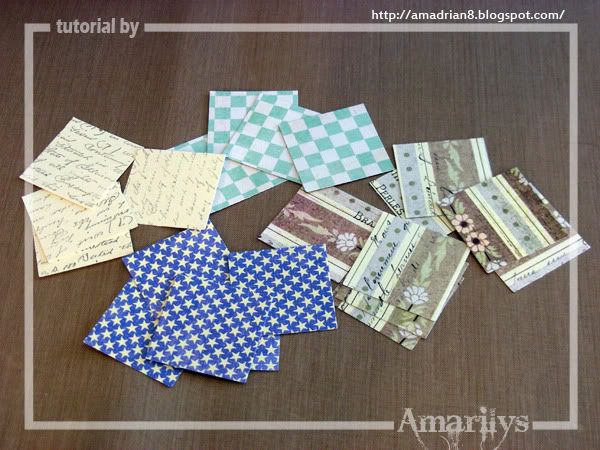
Step 1. Punch a bunch of squares, any size is good. The larger the square, teh larger your chevron pattern will be.
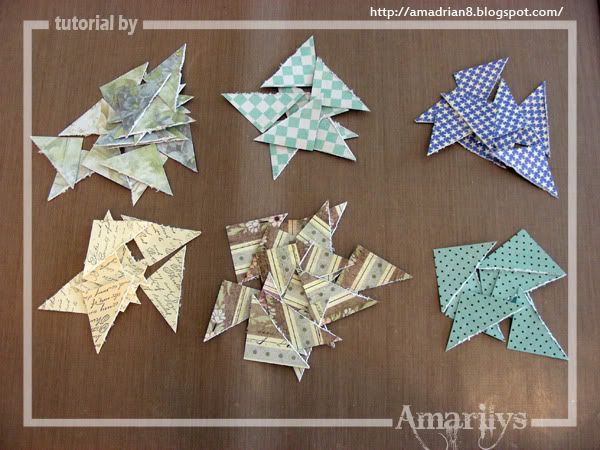
Step 2. Cut the squares diagonally and distress the long side of the triangle.
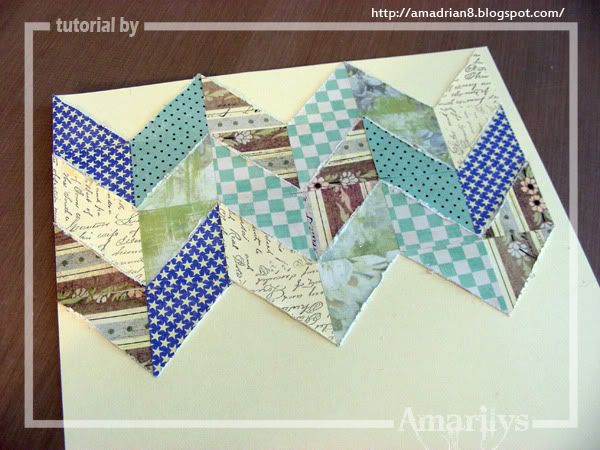
Step 3. Start piecing your chevron pattern unto the 8.5"x11" cardstock. Make sure the long side faces the outside and two of the shorter sides touch each other like so.
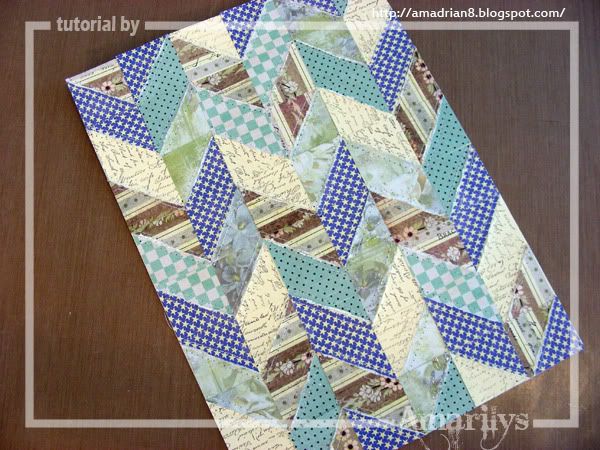
Step 4. Your finished paper should look like this.
Optional. Machine stitch around the edge of each chevron to give it a personal touch or you can also add faux stitching if you wish.
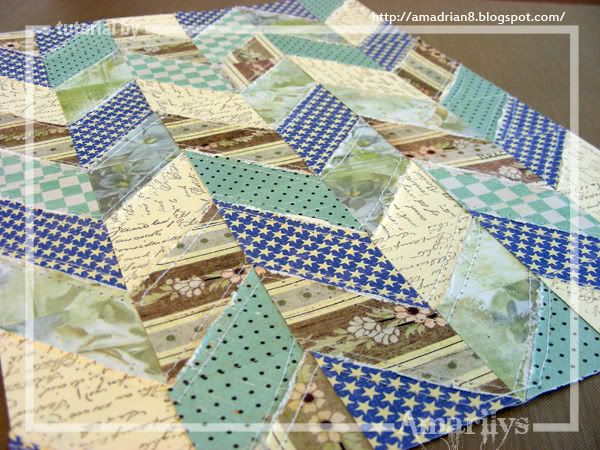
Here's a close up of the finished pattern paper.
You can now use your handmade paper for a layout. Here's what I did with mine:
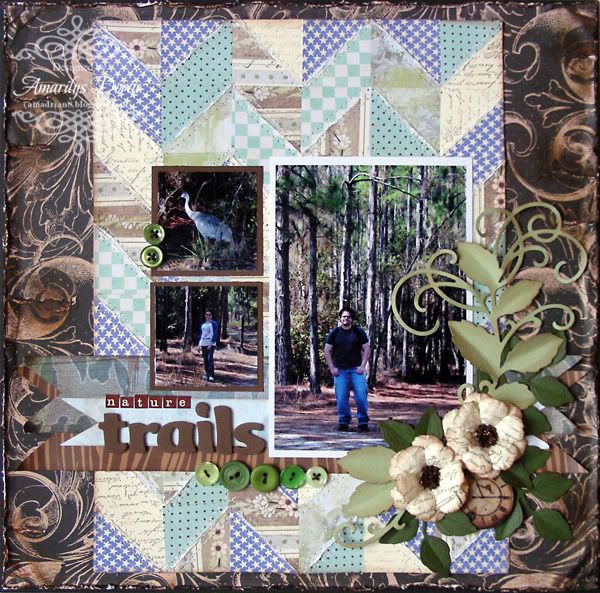
I inked the edges and added my chevron paper over Prima Almanac's paper, which I distressed. I used three pictures and added a cluster to one of my corners. The chevron paper is unique and adds a lot to the layout!
Here are some close ups:
Hope you can find the time to try this tutorial and make your own paper.

Thank you for this! I just pinned on my tips and techniques board for later use! Thanks for sharing :)
ReplyDelete