Showing posts with label BAP. Show all posts

Friday, June 14, 2013

friday...ScrapThat! June Kit-Layout #2 and a BAP

Happy Friday! Today I want to share with you how I made my "Sweet Escape" layout! Now, I have a lot of steps and pictures for this BAP but don't be scared! I just wanted to make sure that you were able to follow along and see everything I did  :)


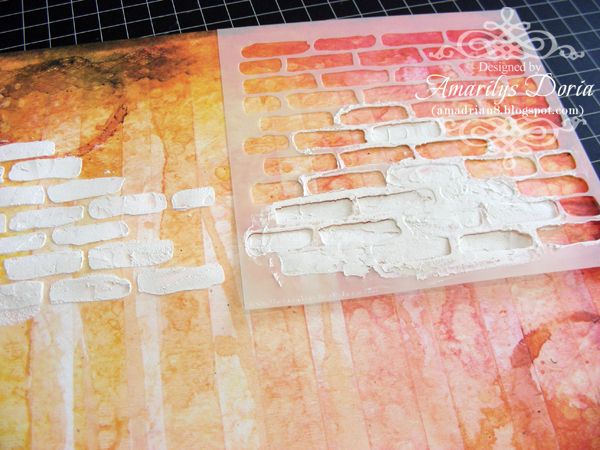
Step 1. Use your The Crafters Workshop 6"x6" small brick template and either store bought or homemade (HERE's link for a great tutorial) texture paste and apply randomly to your background paper.
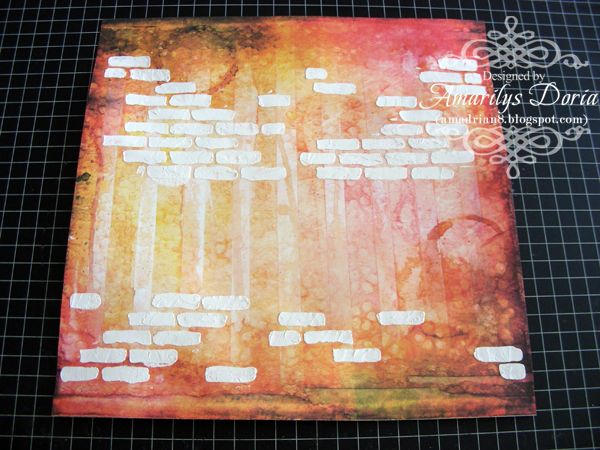

Step 2. This is how it will look when you are done. Let it dry completely overnight or you can speed up the process with an embossing tool.
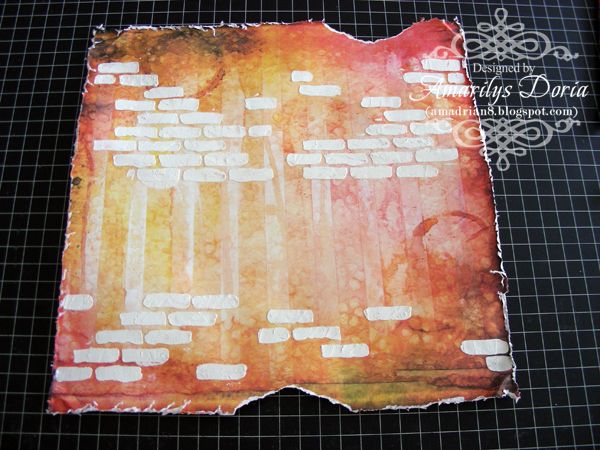

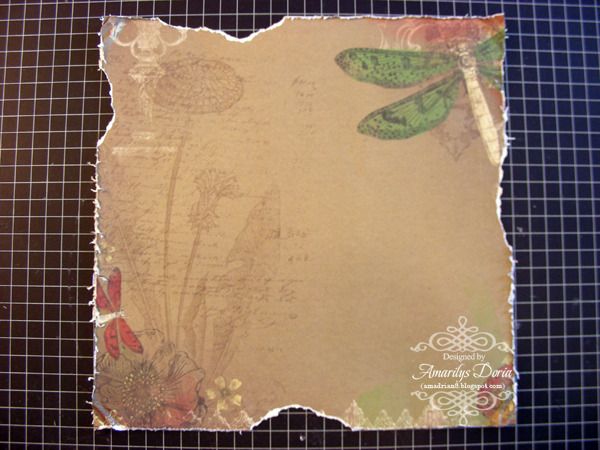
Step 3. Run the whole sheet through the Distrezz-it-all tool and do two tears on your layout, top and bottom.
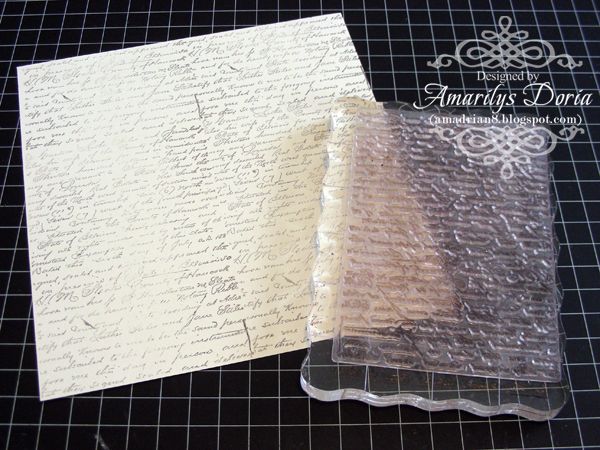

Step 4. Use the Prima Notary background stamp and stamp it twice on a cream color cardstock with archival brown ink.
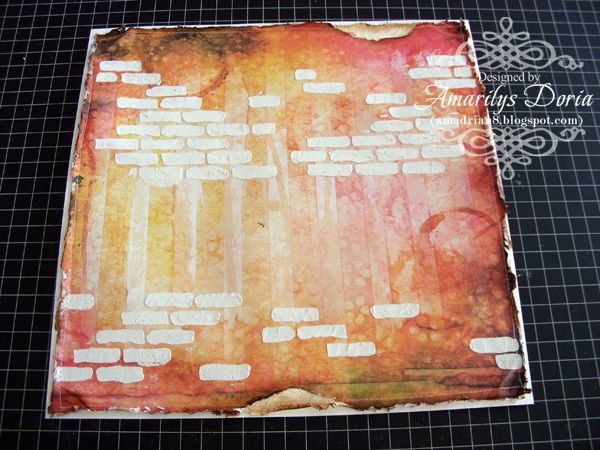

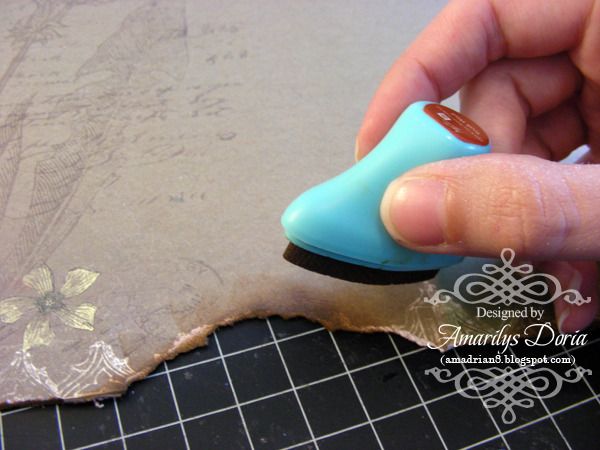
Step 5. Adhere the background paper unto a white cardstock and tuck in a strip of the stamped cardstock under the peek a boo areas. Ink all the edges and machine stitch around the layout as shown.
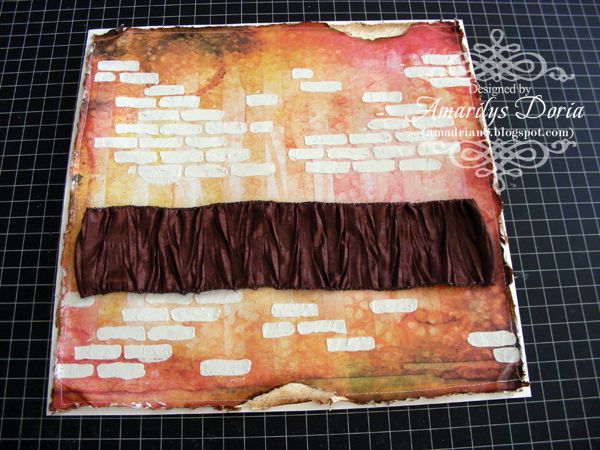

Step 6. Add a 10" piece of the wide wired ribbon to your layout.
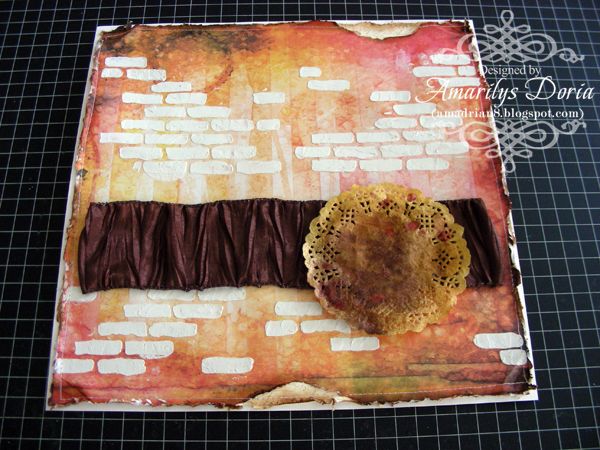

Step 7. Mist a small white doily with brown, red and yellow glimmer mist and add to the bottom right side of the layout.
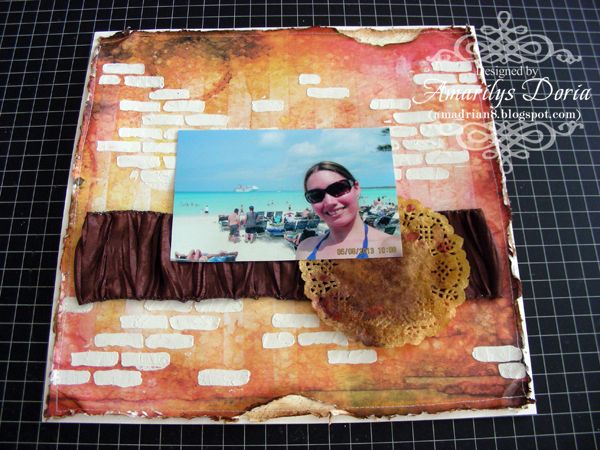

Step 8. Add your contrasting photo over the center of the page.
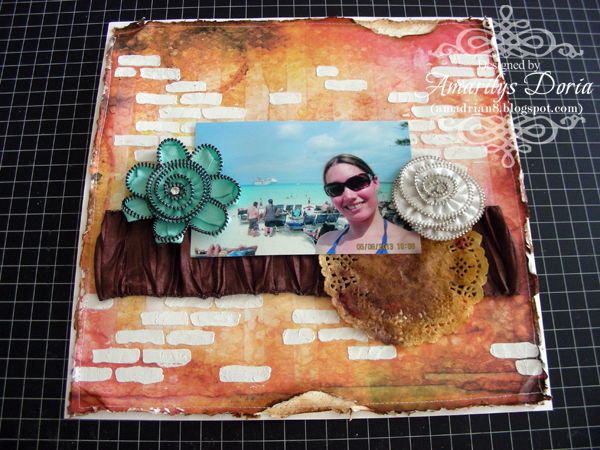

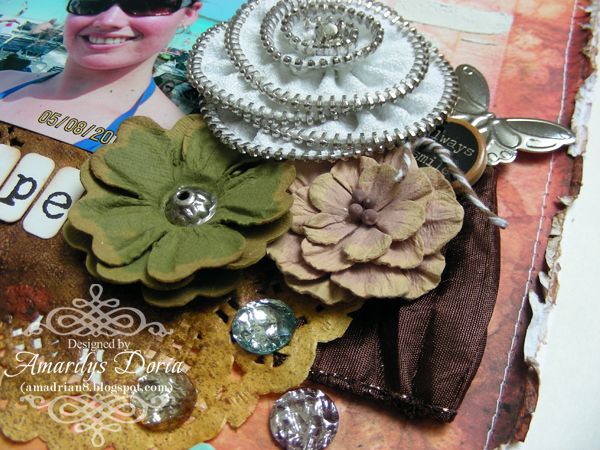
Step 9. Add both flowers from package on the Flower Add On kit to either side of the photo.
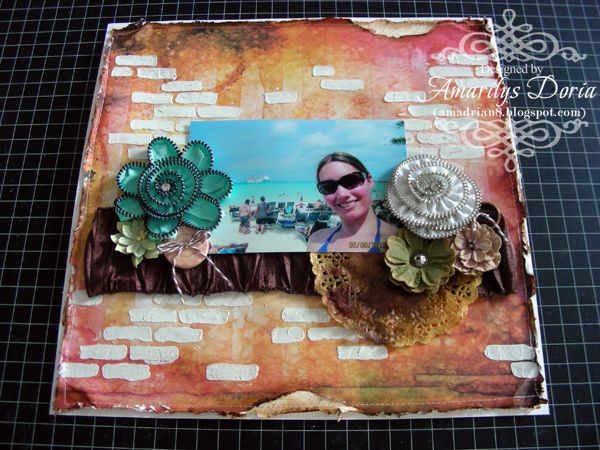

Step 10. Fill in the clusters by adding some more blooms and a button.
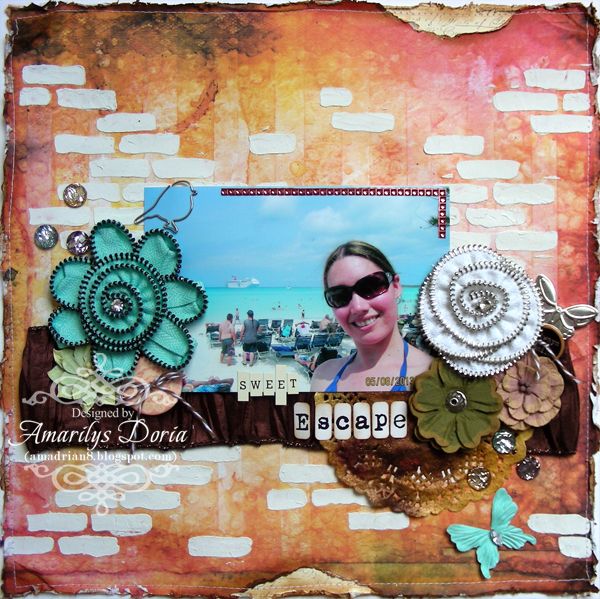

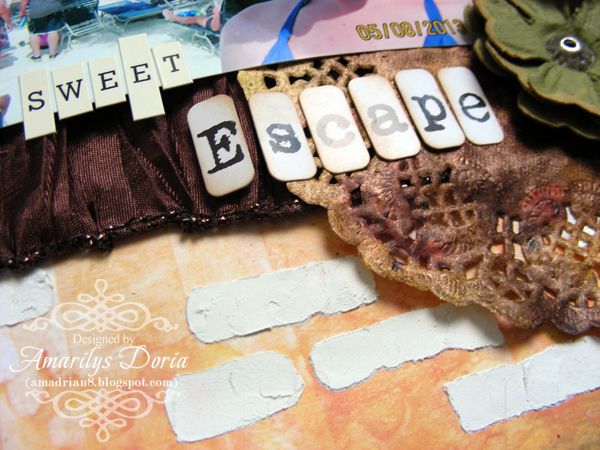
Step 11. Finish by adding a title, some Dress It Up-Flats and butterfly or two to finish your layout.

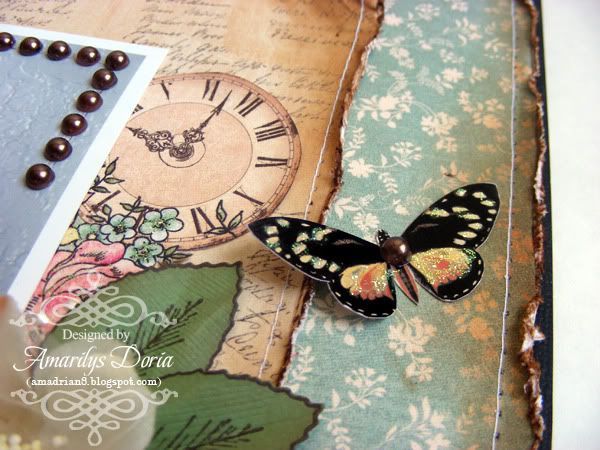
Here are some close ups of the finished layout:
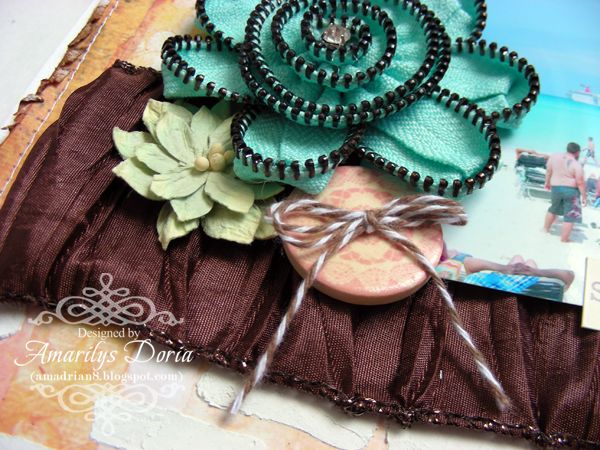


Thanks for stopping! I hope you are inspired to try this step by step on your layout sometime! If you do, please share with me! I'd love to see it! :)

Thursday, November 15, 2012

thursday...ScrapThat! November Kit BAP

Hi everyone! It's my turn to share with you a BAP taht i made with the November ScrapThat! Kit. Now, I took a lot of pictures along the way so bear with me. I didn't want you to miss anything! :)

So, let's get started!


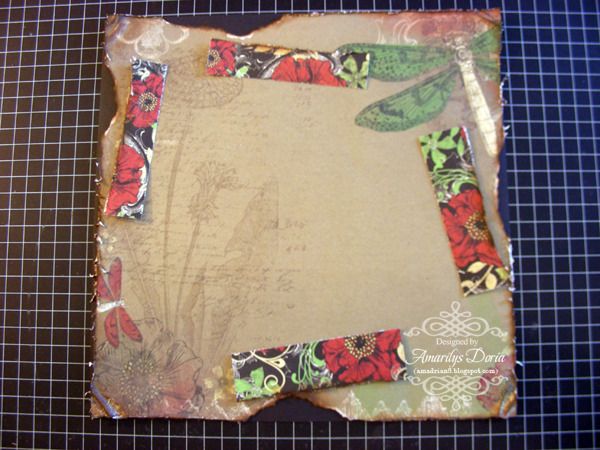
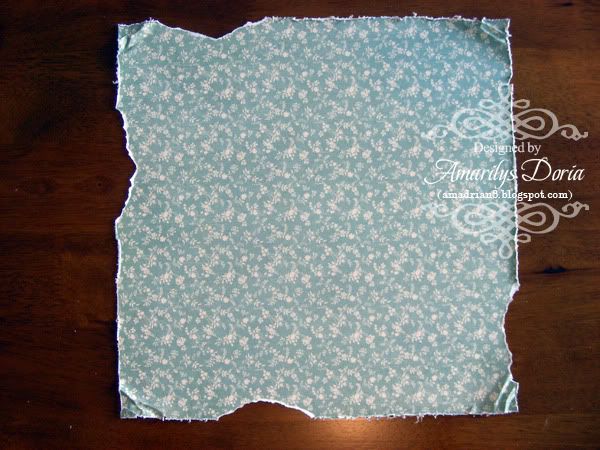
Step 1. Distress your pattern paper with the Tim Holtz distressing tool. Tear random areas around the page and crumble the corners with your fingers.


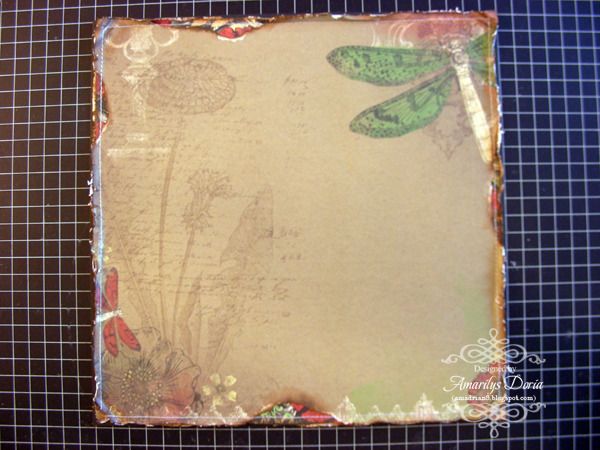
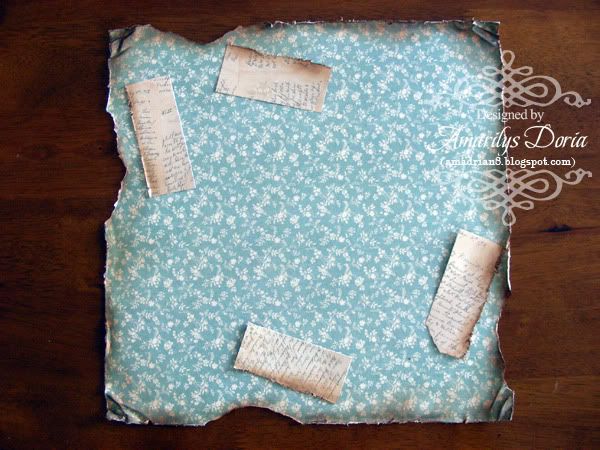
Step 2. Use the Prima ink and ink the edges to give it a worn look.


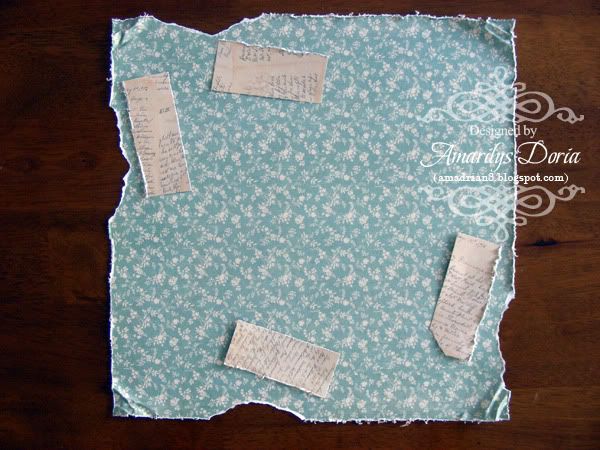
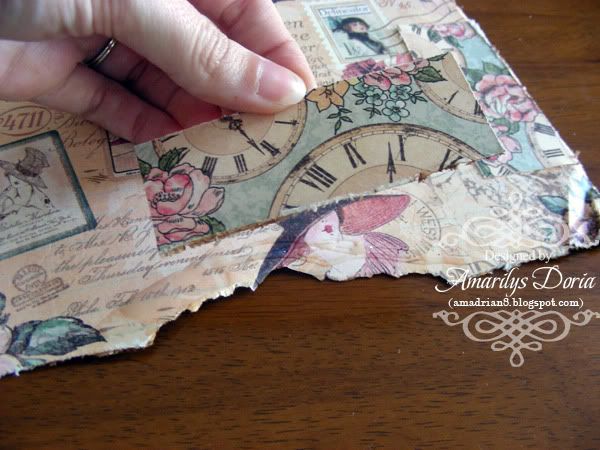
Step 3. Trim a 12"x1.5" strip of  coordinating paper, distress the edges with the tool and cut to size to fit under the torn areas from the background paper. Adhere the strips of papers to the back of the background paper, making sure that the distressed edges alight correctly.


Step 4. Adhere your pattern paper unto a black cardstock and machine stitch the edges.

 
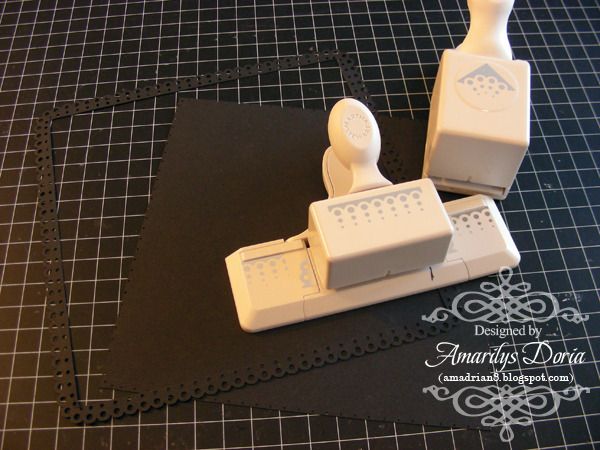
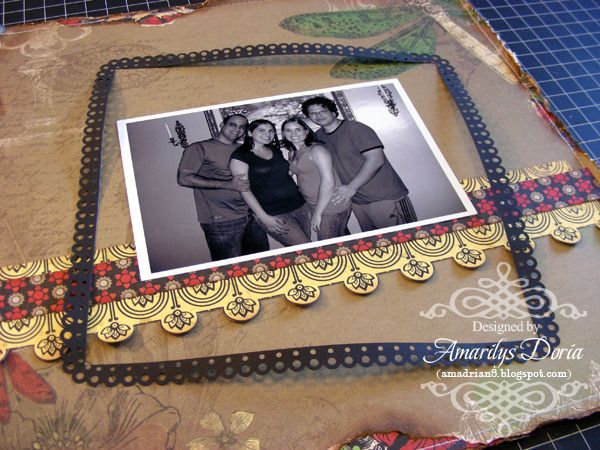
Step 5. Using Martha Stewart Punch Around the Page Scallop 3 Dot, punch a 8.5" square. Cut out the center part and discard.


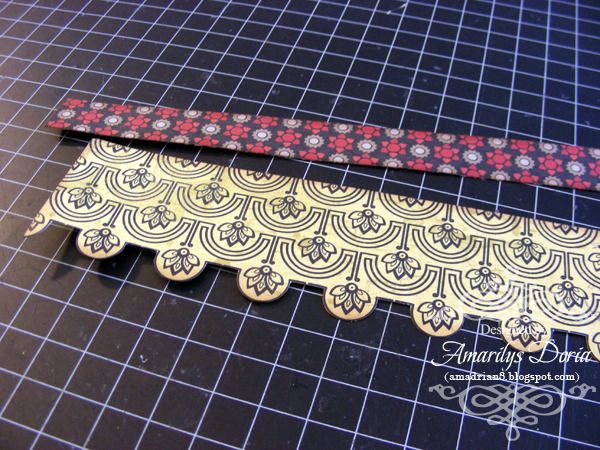
Step 6. Fuzzy cut the yellow pattern paper to make scallops and trim a 0.75" paper of the back side to layer.


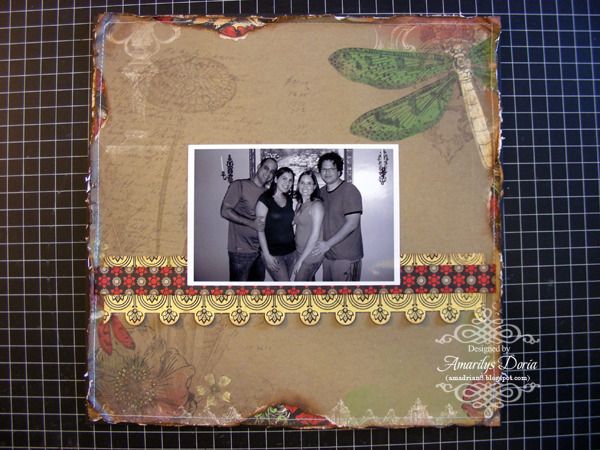
Step 7. Add your black and white photo over the center over the layered strips of paper.


Step 9. Adhere the black frame but only add adhesive in the corners and one random spot in each side so that the frame looks a little raised. This will give it some dimension.


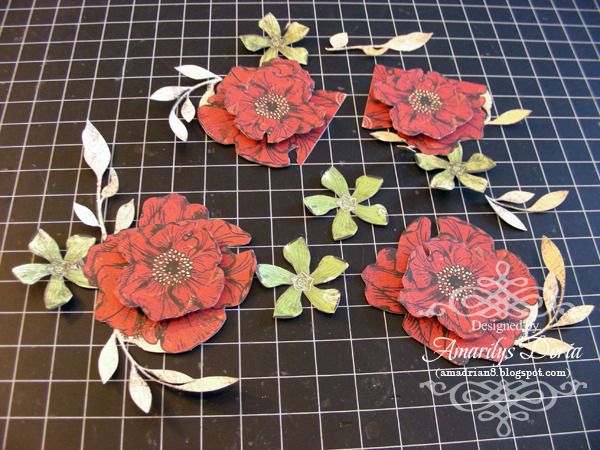
Step 10. Fuzzy cut some flowers and layer them to give them dimension. It's ok if some have straight edges. You will tuck these in under the picture.


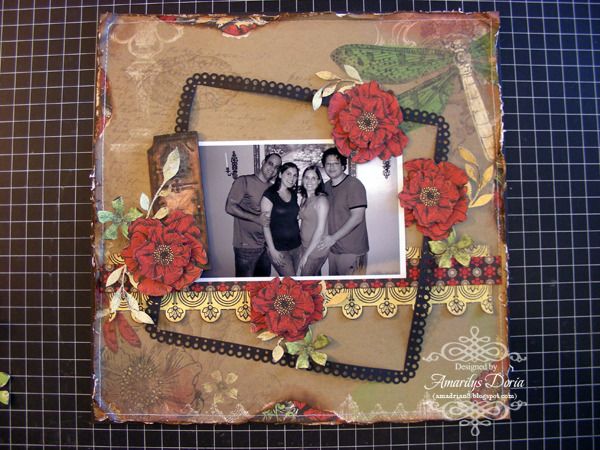
Step 11. Add the fuzzy cut flowers around the photo as shown. Tuck in a Prima wooden door on the left side of the picture and under the flowers.


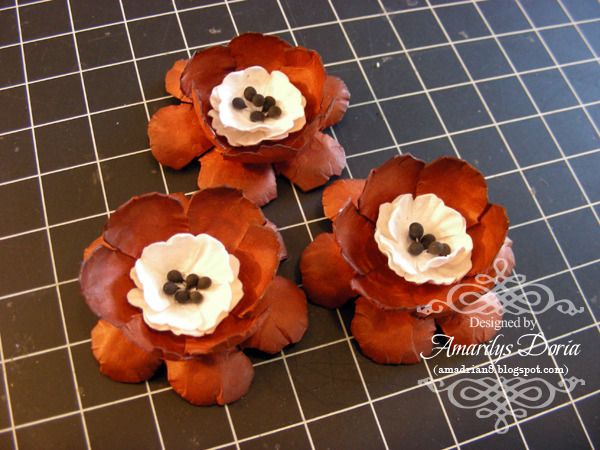
Step 12. Hand make some flowers using the red cardstock that comes in the kit and the white flowers.


Step 13. Fill in the cluster by adding the handmade flowers, large red flower included in the kit and the leaves from the EAO. I then added some fuzzy cut dragonflies and a title above the picture.

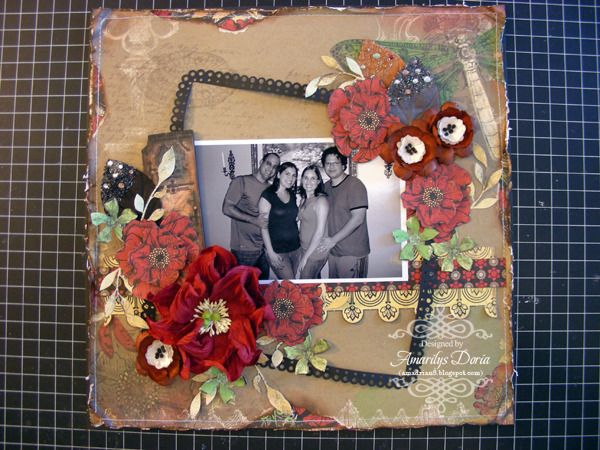
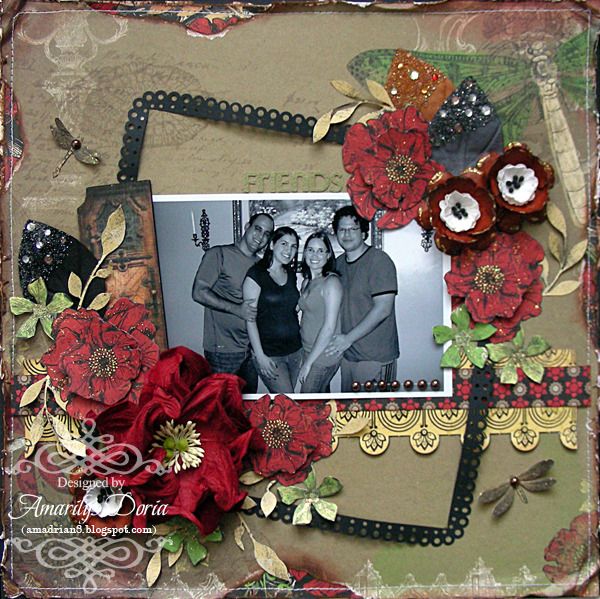
Here's my finished layout which is based on the November Sketch (Today is the last day to ENTER):


Thanks for stopping by! :)

Friday, September 7, 2012

friday...ScrapThat! September Kit-Layout #1 (and BAP)

Hi everyone! I'm here today to share with you a BAP I made with ScrapThat! September Kit. Now, I took a lot of pictures along the way so bear with me. I didn't want you to miss anything! :)

So, let's get started!


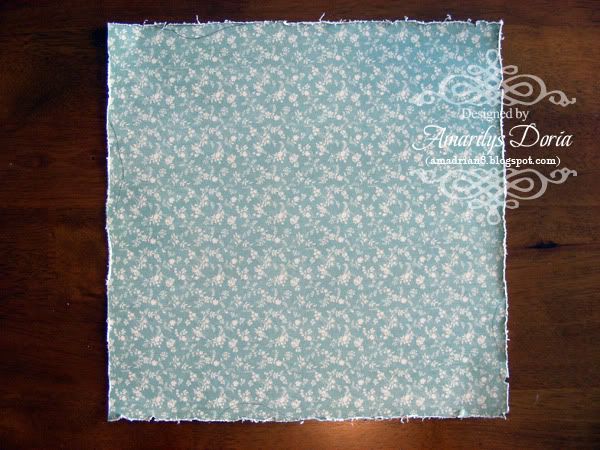
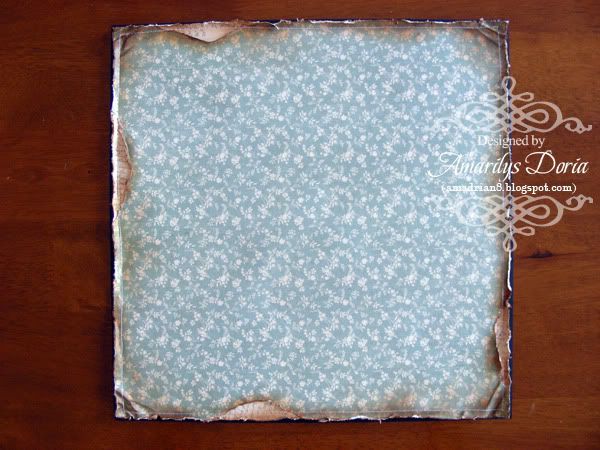
Step 1. Distress your pattern paper with the Tim Holtz distressing tool.


Step 2. Tear random areas around the page and crumble with your fingers the corners.


Step 3. Trim a 12"x1.5" strip of typography paper, distress the edges with the tool and cut to size to fit under the torn areas from the blue background paper.


Step 4. Using the Tim Holtz blending tool and Vintage Photo distress ink, ink the edges of all the papers.


Step 5. Adhere the strips of typography papers to the back of the blue paper, making sure that the sides alight correctly.


Step 6. Adhere your pattern paper unto a black cardstock and machine stitch the edges.


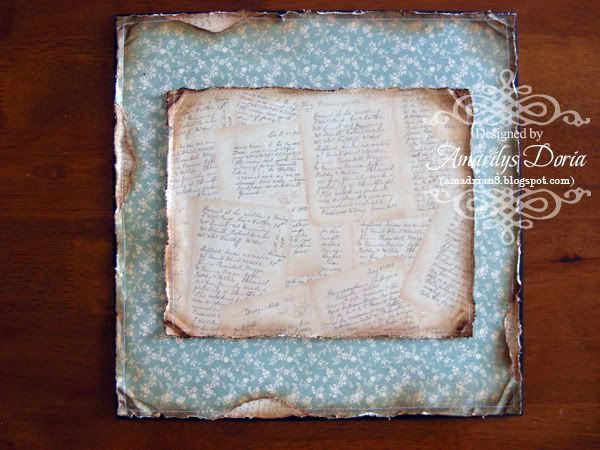
Step 7. Trim the same typography paper to 9"x7.5" and repeat the distressing process that you did for the background on this paper too. Machine stitch this layer unto the center of the layout.


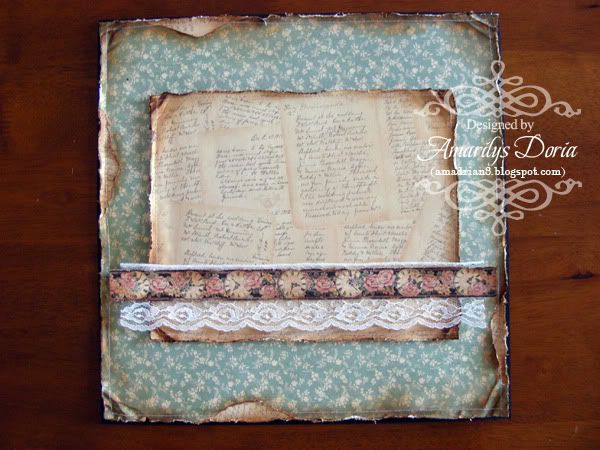
Step 8. Add lace and a strip of pastern paper over the typography paper as shown.


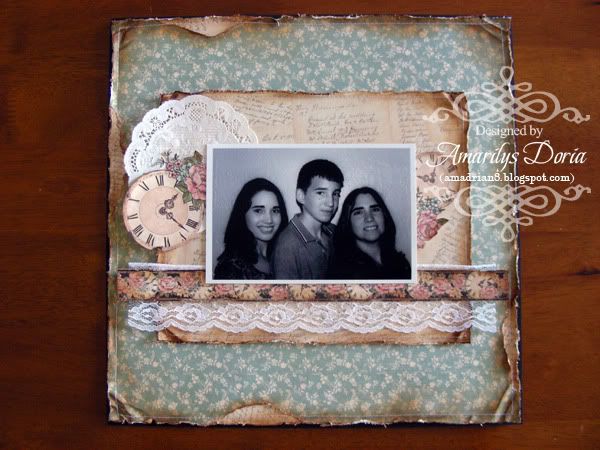
Step 9. Add your black and white photo over the center and tuck in a white doily and two fuzzy cut clocks on the left and right side of the picture.


Step 10. To start forming the clusters, add a few larger flowers to the bottom right corner and to the left of the picture. Add a bling flourish under the picture as well.


Step 11. Add the smaller flowers now as well as the film to the right side of the picture.


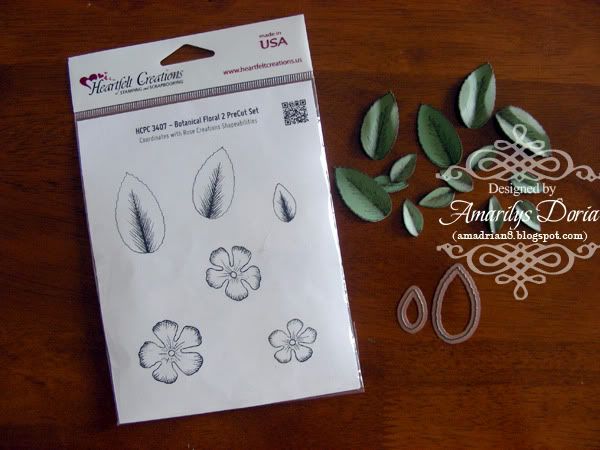
Step 12. Die cut, stamp and shape a bunch of green leaves using the Rose Creations Shapeabilities and the Heartfelt Creations Botanical Florals 2 Precut Stamp Set.


Step 13. Add the leaves to the cluster to fill the area.


Step 14. Add a bow to the right corner cluster, a few butterflies randomly around the page, and a title sticker on the bottom left side of the picture. Add a strip of pearls as a corner on the top right corner of the picture. Finally, add stickles to the fuzzy cut flowers on the clocks, and on the butterflies.

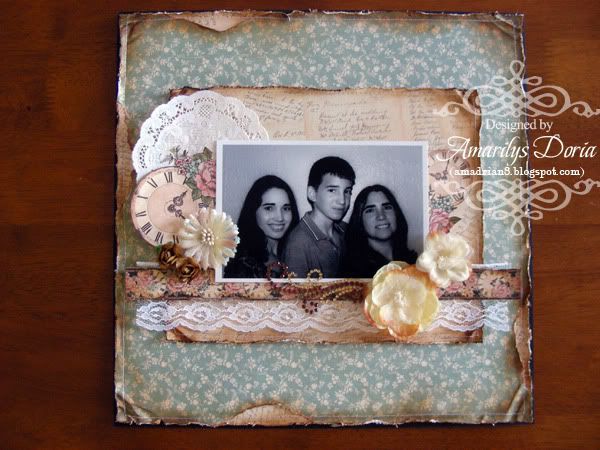
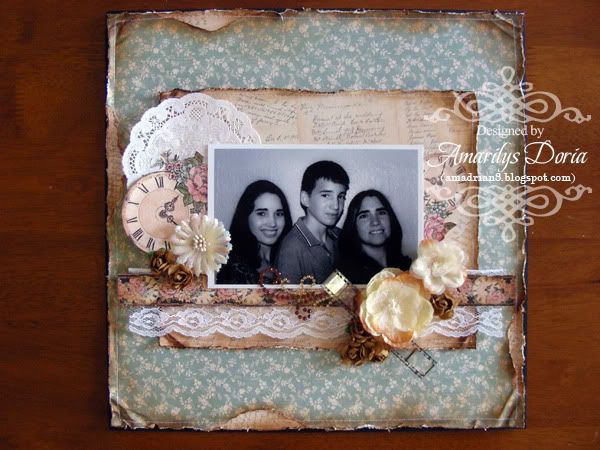
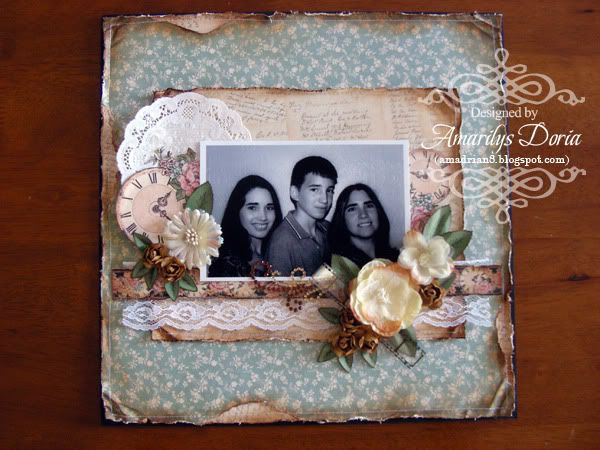
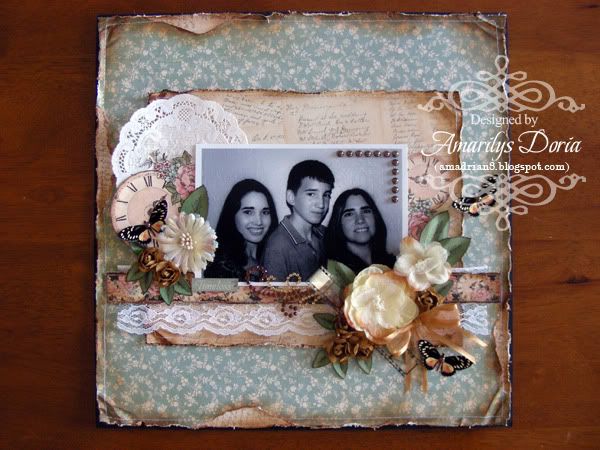
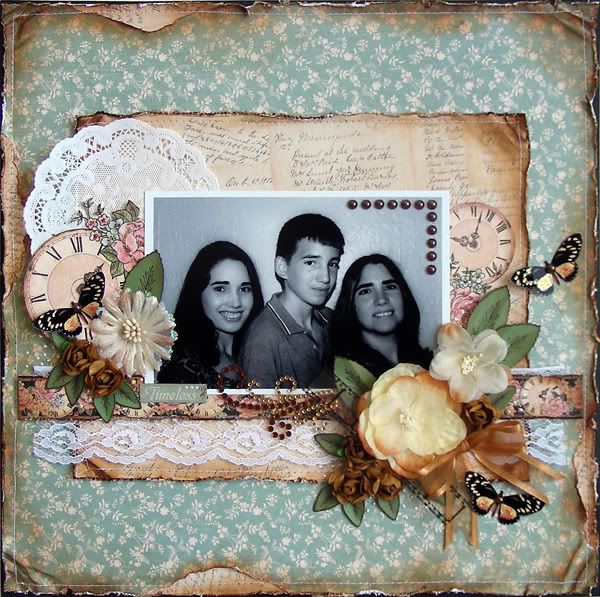
Here's my finished layout:

This layout is based on my sketch for this month. Come and join me over at ScrapThat! September sketch challenge for an opportunity to win some yummy RAKs!

I used the Main Kit only for this layout. The lace and black background cardstock are from my stash. This picture of my mom, younger brother and I was taken back in 2004 on Mother's Day. 

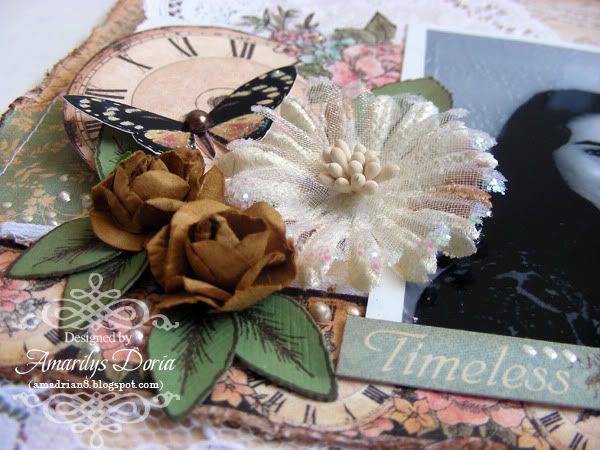
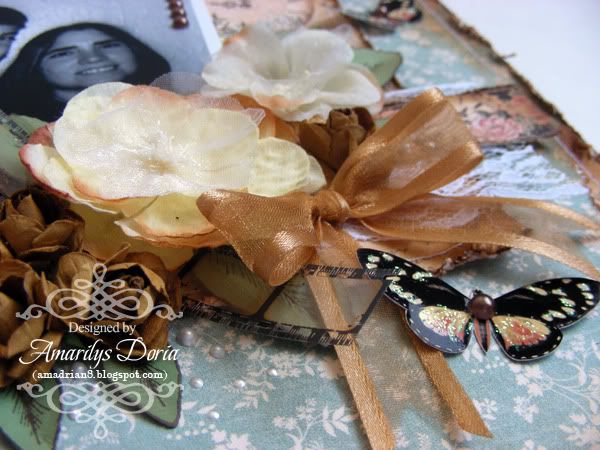
Here are a few close ups of the finished layout:


Thanks for stopping! Hope that you have a wonderful weekend! :)