Showing posts with label Published Work. Show all posts

Thursday, December 1, 2011

thursday...AWDML December 1 Reveal- Bella BLVD (1/4)

December is officially here and today here in Kissimmee, FL we woke up to 60 degrees INSIDE the house and 51 degrees outside! So I'll be staying in today in my pjs and scrap my day away :)

Since today is the 1st, it  means that we have two new Featured Manufacturers over at A Walk Down Memory Lane! This month's featured manufacturers are Bella BLVD and Stamping Scrapping (a stamping company whose stamps that match the Spellbinders Nestabilities!). This means that this whole month these two manufactures' products are 25% off over at the AWDML store!

Today I want to share a fall layout with you since I came back from my uncle's house in Gainesville, GA and it was my first time seeing Fall! I loved all the beautiful colors and falling leaves! I have a feeling that you will be seeing a lot of Fall pictures in the next few weeks!


Supplies-
cardstock: Bazzill;
patterned paper: Bella Blvd Tail Waggers & Cat Naps (Treats), Bella Blvd Finally Fall (Borders), Basic Grey Origins;
letter stickers: American crafts Thickers (Giggles);
ink: Tim Holtz Distress Ink (Vintage Photo, Wild Honey);
pens: American Crafts Percision Pen (Black);
stamps: Heartfelt Creations Flora Grande 2 Precut Set;
tools: Cuttlebug Machine, Pazzles Inspiration Machine, Provo Craft 2x6 dies leaves & netting, Tim Holtz Tattered Florals, Spellbinders Foliage die, Tim Holtz Paper Distresser,
other: skeleton leaves, gala glitz (brown), twigs, sewing machine

I used a mix of pattern papers from Bella BLVD's Finally Fall and Tail Wagers & Cat Naps for this layout. I took these pictures of my dog up in my uncle's backyard. He was sooooo curious about all the leaves since he has never seen them before either! he would run around in then and sniff everything!

This layout is loosely based on Allison Davis's One-Page Sketch #13 which can be found on her sketch blog-Sketch Support.

Of course, everything is handmade by me-and mother nature! I used a few twigs on my layout!
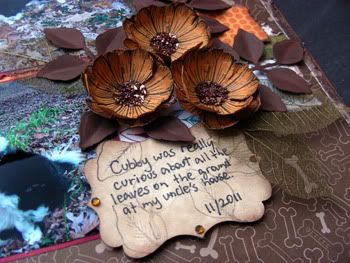
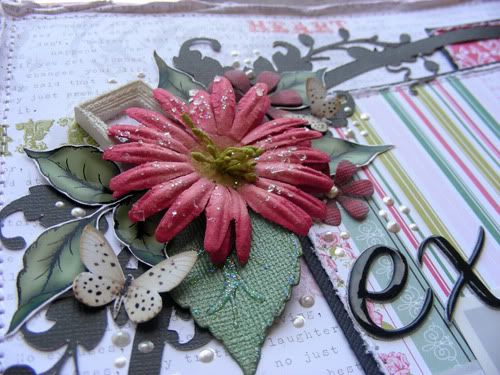
I made the flowers using Tim Holtz Tattered Florals dies and Heartfelt Creations stamps. I added a few Spellbinders leaves and skeleton leaves that I had in my stash from when I first started scraping. I also designed and made the journaling box with my Pazzles Inspiration.
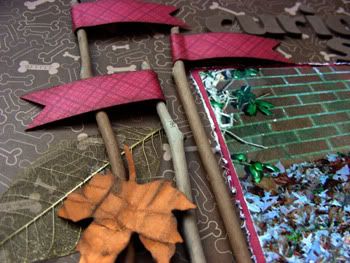

The real focal point in the sketch were the banner which I incorporated in my layout as well. I used twigs from outside to make these really cute banners. I added a few paper and skeleton leaves and that's it! I just love this area in the layout!
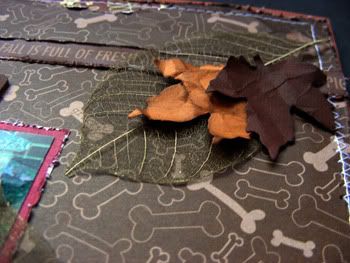

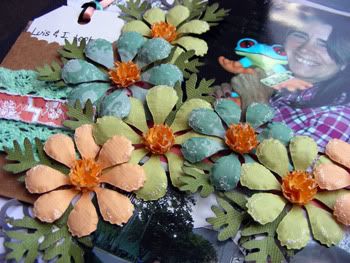
Another close up of handmade and skeleton leaves. They add such a touch of Fall to the layout!


Thanks for stopping by my blog today! Before you go, I want to tell you about what AWDML is doing for the 12 days of Christmas! Not only do you get a daily deal (by email or when you go to the store!) but on the blog the DT will be posting tutorials for handmade gift ideas that you can make and gift this Christmas! Make sure you go to the blog and store everyday for the 12 days of Christmas over at AWDML!


***All the Products in BOLD can be purchased from A Walk Down Memory Lane online store.

Monday, September 12, 2011

sunday...Echo Park projects (Birds of a Feather Kit-GDT)

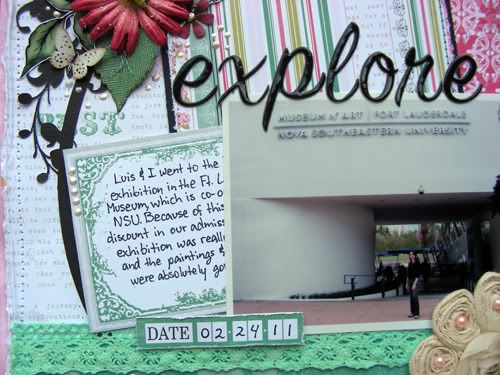
Happy Sunday everyone! Today I have a few projects to share with you. As I stated before, I'm the September Guest Designer for Birds of a Feather Kit CO and the September Kit couldn't be more custom-made for me! It's FULL with Echo Park's Victoria Garden pattern papers and yummy Petaloo trims! I must say, this is my first time working with Echo Park products and I think I'm in love! Their pattern papers are not gorgeous but their weight is perfect for my scrappy style and the distressing I do! They do not break like other lighter papers! I loved their paper, can you tell???

Anyway, here is the September kit:


For my first layout, I did a full post about it here but I'll also post a bit about it on this post too.


Supplies-
cardstock: Bazzill Pink, Black;
patterned paper: Echo Park Victoria Gardens: “Cheerful Words”, "Garden Trellis", "Garden Pond/Stone Path", "Journaling Cards";
bling: Recollection (from stash);
embellishment: Melissa Frances "Edwardian Appliqué Set of 4 Mini Frames";
chipboard: American Craft Thickers "Puffy Vinyl Alphas–Rainboots”;
flowers: Petaloo "Color-Me-Crazy Fabric Trims-Cassidy", Recollections (from stash);
pearls: Pink (from stash);
lace: American Craft "Crocheted Lace–Robin’s Egg Blue";
tools (from stash): Pazzles Inspiration, sewing machine; 
other: handmade leaves, butterflies, small flowers, liquid pearls
***Everything is included in the Birds of a Feather September Kit unless otherwise noted


For this layout, I combined the Echo Park pattern papers from the main kit and the ad on papers from the Birds of a Feather Kit. I matted the 2 rectangles of pattern paper behind the picture with black cardstock to make them stand out against the soft background.


The black circle I designed and cut out with my Pazzles Inpsiration. I used the circle to 'frame' the picture. I added soft pink pearls to the Petaloo flower to give it some bling. I also handmade the small flowers, leaves and butterflies. I machine stitched all the edges to give it a finished look.


I included one of the journaling cards (LOVE that Echo Park make these-they are sooo useful!) behind the picture which contains my handwritten hidden journaling. I cut it out from one of the sheets of pattern papers by Echo Park called "Journaling Cards".

My second layout was so much fun to work on since I worked with the bright colors of the pattern papers!


Supplies-
cardstock: Bazzill;
patterned paper: Echo Park Victoria Gardens: “Cheerful Words”, "Garden Pond/Stone Path", "Honeysuckle/Pink Blossom", "Delightful Doilies";
bling: Stickles "Frosted Lace";
embellishment: Melissa Frances "Attic Treasures – Bags & Tags";
alphas: American Craft Thickers "Puffy Vinyl Alphas–Rainboots”, Best Creations Travel Forevercombo stickers;
lace: American Craft "Crocheted Lace–Robin’s Egg Blue";
tools (from stash): Pazzles Inspiration, Martha Stewart Punch, sewing machine; 
other: handmade butterflies, flowers, sharpie, liquid pearls
***Everything is included in the Birds of a Feather September Kit unless otherwise noted


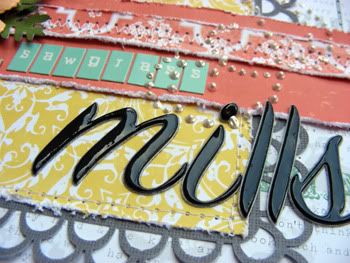
I took these pictures earlier this year of my family in Sawgrass Mills Mall in Ft. Lauderdale, FL and now is when I finally find the right papers to scrap them! I used my Pazzles Inspiration to cut out a die cut paper from the script sheet. I then did some faux stitching on it to define the area where I was going to be working. I layered another yellow pattern paper on grey punched cardstock to give it a bit of dimension.


The flowers I designed and cut with my Pazzles using different colored cardstock and pattern paper from the kit. To finish it all off, I built a flower cluster in between the pictures and added one of the little pocket tags that are included in the kit. I embellished it with pattern paper and the gorgeous lace. I had some thin ribbon from when I first started scrapping which went really well with the colors in this kit so I used them for the tag.


For the title I used the black thickers in the kit and paired it with some Best Creation letter stickers that I had from the Travel Forever collection.

My third layout is special to me since I used a picture of my grandma and I in the park where I got married. She doesn't live in the US. She visited us and stayed with us for 6 months and we had a wonderful time together!


Supplies-
cardstock: Bazzill brown, white (from stash);
patterned paper: Echo Park Victoria Gardens: “Rose”, "Botannical Ballad";
bling: Stickles "Diamond" (from stash), Zva Creative, Kaisercrafts pearls;
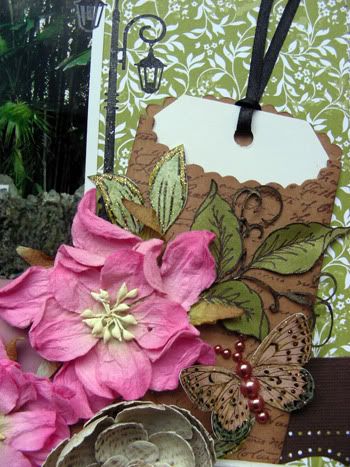
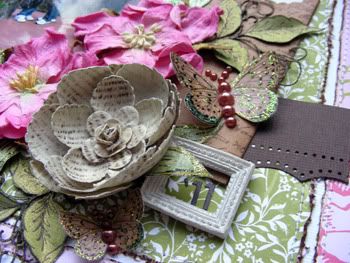
embellishment: Melissa Frances "Attic Treasures – Bags & Tags", "Edwardian Appliqué Set of 4 Mini Frames", Kaisecrafts Rub-Ons "Lamp posts";
flower: Prima;
alphas: American Craft Thickers "Puffy Vinyl Alphas–Rainboots”, Basic Grey "Hello Lucious micro mono stickers";
ink: Tim Holtz "vintage photo";
pen: sharpie (from stash);
tools (from stash): Pazzles Inspiration, Martha Stewart Punch, Prima stamp, sewing machine; 
other: handmade butterflies, leaves
***Everything is included in the Birds of a Feather September Kit unless otherwise noted


My grandmother loves roses so I thought of her when I saw this light pink rose paper and knew that I had to do a layout of just the 2 of us. We were lucky to have her visit from Cuba for 6 months this past winter and I knew just the right picture to use-the one of us together in the garden where I got married! I distressed and inked every edge and machine stitched them too.


I stamped over the Kraft envelope with using a Prima script stamp that I have and inked the edges slightly to give it an aged look.


I layered some Prima flowers and handmade leaves and butterflies because this time, it was actually appropriate to use them because the picture was take in a garden! I absolutely LOVE how this page came out!

That's all for today but do come back soon as I do have more projects to show you featuring the GORGEOUS September Kit by Birds of a Feather which is FULL & I mean FULL of Echo Park goodness (I think I'm in love with Echo Park now!).

Tuesday, February 1, 2011

tuesday...AWDML Imaginisce Feb. 1st reveal!

It's finally here! A Walk Down Memory Lane's February 1st reveal! This month featured manufacturers are Imaginisce and Magnolia. What does this means for you? Well, throughout this month you will be able to purchase any (or both!) of these manufacturers and you will receive a 25% off your purchase! How awesome is that!!!???

Well, today I'll be sharing with you my Imaginisce projects and on the 15th, I'll share my Magnolia (Tilda is so cute!) projects.


Supplies: cardstock: Bazzill, Coredinations; patterned paper: Imaginisce; Flower: Prima; Bling: Zva; Other: miscellaneous laces, handmade thickers, big green/blue bloom from stash

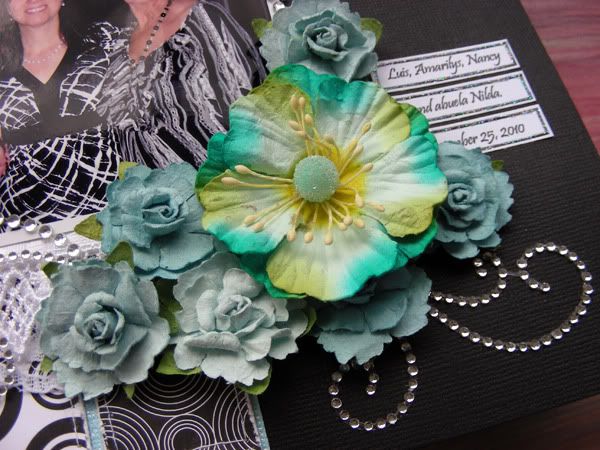
Sometimes, when you have the perfect paper, you just want to keep your layout simple and that's exactly what I did with the Imaginisce Black Tie Optional. I do have to admit that I am intimidated with pattern papers that are strips of different papers. I just see P-A-T-T-E-R-N-S and can't focus on a design. However, as soon as I saw Imaginisce's, I knew what I was going to do with it. I cut it all up and rough up the edges to distress them a bit. I then put them back together, matting them on a blue Gemstones cardstock, and machine stitched them unto the blue cardstock. I then matted this on black cardstock for a clean and simple look. The picture is of my mom, grandma, my husband and I on Thanksgiving-we were all wearing black and white with the exception of me, so I used my dress as the focal point of the layout and brought out the blue/green unto the flowers.

Photobucket
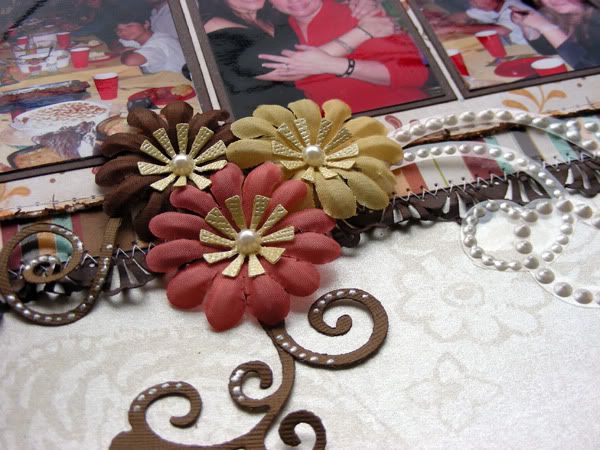
The roses are Prima's and the bigger bloom is one that I had in my stash (I think it's also Prima's). The gorgeous swirls are bye Zva and the laces are from my stash.

TIP: If you cut up the bling flourishes you can re arrange them any way you want! The bling on this layout are actually two pieces that I cut up because the smaller pieces were overlapping someone's faces.


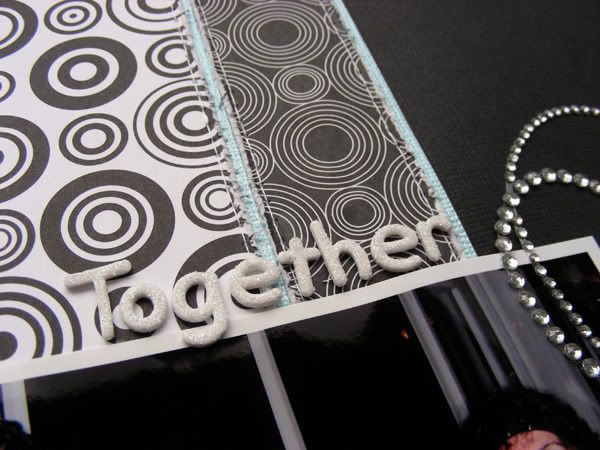
I handmade the thickers title using glittered foam from Michaels and my cuttlebug-I think this is my new favorite technique now!

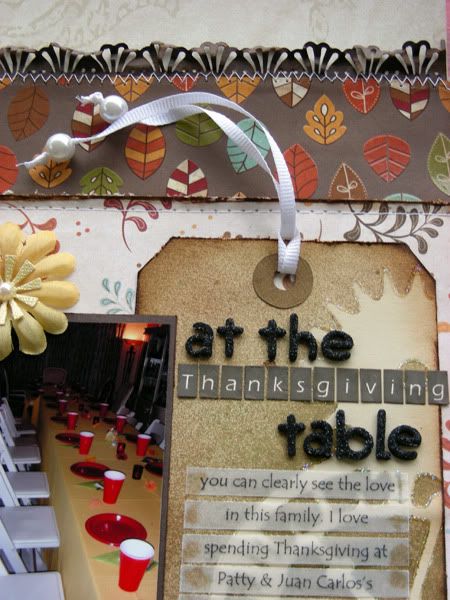
12x12 Layout-at the Thanksgiving table

Supplies: cardstock: Bazzill; patterned paper: DCWV, Imaginisce; embellishment: Sizzix die cuts; Flower: Imaginisce; ink: Tim Holtz Vintage Photo; Other: handmade pearl bling, butterfly ribbon, Martha Steward border punch

For this layout I used Imaginisce's Apple Cider Line. I loved the colors on these papers so I wanted to showcase them as well as my pictures. This is why I chose an old sketch by Pagemaps that helped me do both! These papers by Imaginisce are so beautiful and a great weight-perfect for distressing!


For this layout I used Imaginisce's flowers too. They are the perfect size (1.5 inches) and they come in many colors. You can layer them or use them as is! I used a sizzix die cut to make the inner flowers and finished them with a pearl. I used my tutorial to make the pearl flourish.


Finally, I made a huge tag to act as my title/journaling holder in Tim Holtz style. I used two different colors of glimmer mists, some ribbon and lace from my stash and finished it off with some handmade title. I love how this tag came out! I printed my journaling on vellum so you could still see the tag.

TIP: To make the tag with glimmer mist dry faster, use a blow dryer for a few minutes and voila!

2 Cards-Birthday Theme

Supplies: cardstock: DCWV; patterned paper: Imaginisce; ink: Tim Holtz; other: ribbon from stash

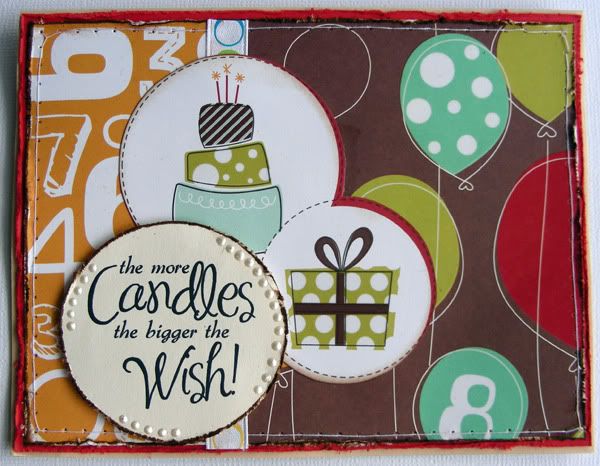
Ok, so my card stash is now nonexistent with the beginning of the new year so I started working on the 2011 card stash and came up with a set of two birthday cards using Imaginisce's Birthday Bash Collection .I loved this paper because it can be used for anything-cards, layouts, even party embellies if you have enough time!


For this first card, I just printed out my own sentiment and cut out a cake and gift image from the pattern paper and used them as my embellies. I I machine stitched the card unto red cardstock to make it pop.

TIP: Machine stitching makes your cards (and layouts!) look more professional. If you have a machine-try it!


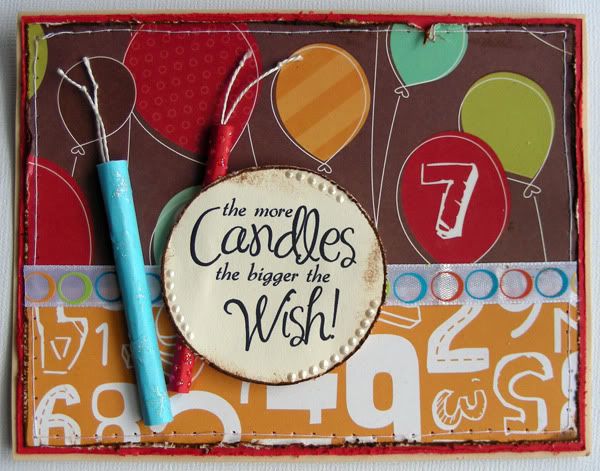
For this second card, I also printed out my own sentiment but made my own candle embellies. To do this, I just rolled some thicker paper and secured it with some glue in the back. I added 2 pieces of thread to make the wick of the candle. I also machine stitched the card unto red cardstock to make it pop.

All of these above mentioned items are available from AWDML's store unless stated otherwise.

Thanks so much for stopping by my blog today! I appreciate each and every comment that you leave me!

Sunday, December 12, 2010

sunday...

Well, I have some awesome news today! I've finally been published!


I have two layouts published in the Dec. edition of Scrapbook News and Review online magazine! My friend Wendy also featured my handmade poinsettias tutorial in this edition! I'm so exited!

Now, on to more news...
Tomorrow my hubby and I are leaving on a 4 day cruise to Key West & Mexico and we are so exited and looking forwards to just relaxing!

Have a wonderful week everyone!

Wednesday, October 27, 2010

thursday...

Can you believe that it is the last Thursday of October which means that this is my last sketch as a guest DT for Sketchy Thursdays and I must say that I have enjoyed working with them this close and will definitely continue to play along their weekly sketches.

Here's the last sketch of October (10.28):


and here's my take on it:


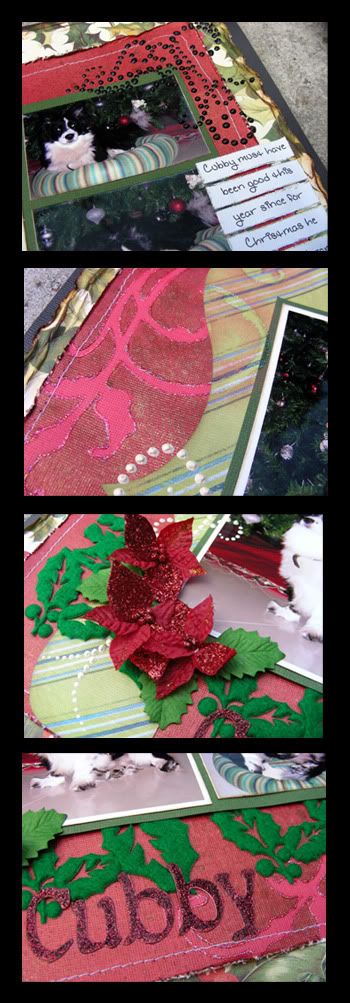
I rotated the pictures clockwise to fit my pictures. These pictures were taken last Christmas and they are of my dog with his Christmas present-a new bed! I glimmer misted the red cardstock using a Pazzles die cut to get the flourish in the corners. I then went and outlined it with stickles to give it an embossed finish. I love how subtle but elegant this technique looks! I distressed this layer and machine stitched it unto the water distressed Anna Gliffin paper which I mounted on a black cardstock. The flowers are Prima's and the green holly felt under the pictures is by Recollections. I handmade both the black and white flourishes. For the journaling, I printed the words on white cardstock and then I cut them into strips which I then later distressed using the edge of my scissors. My dog's name, Cubby, I cut using my Pazzles and then I stickled in red to give it a Christmas feel. I do love how this layout turned out!

Here are some more close ups of the finished layout:


Don't forget to stop by Sketchy Thursdays and play along! Have a wonderful day!

Thursday, October 7, 2010

thursday...

I'm so exited today as today is the first day as a guest Design Team member for Sketchy Thursdays! I've been following them since they started and their submissions every month were barely 20! I've watched them grown and spread the word about them and it has obviously paid off since their weekly submissions have since tripled!

Well, without further ado, here is this week awesome sketch by Heidi:


and my take on it:


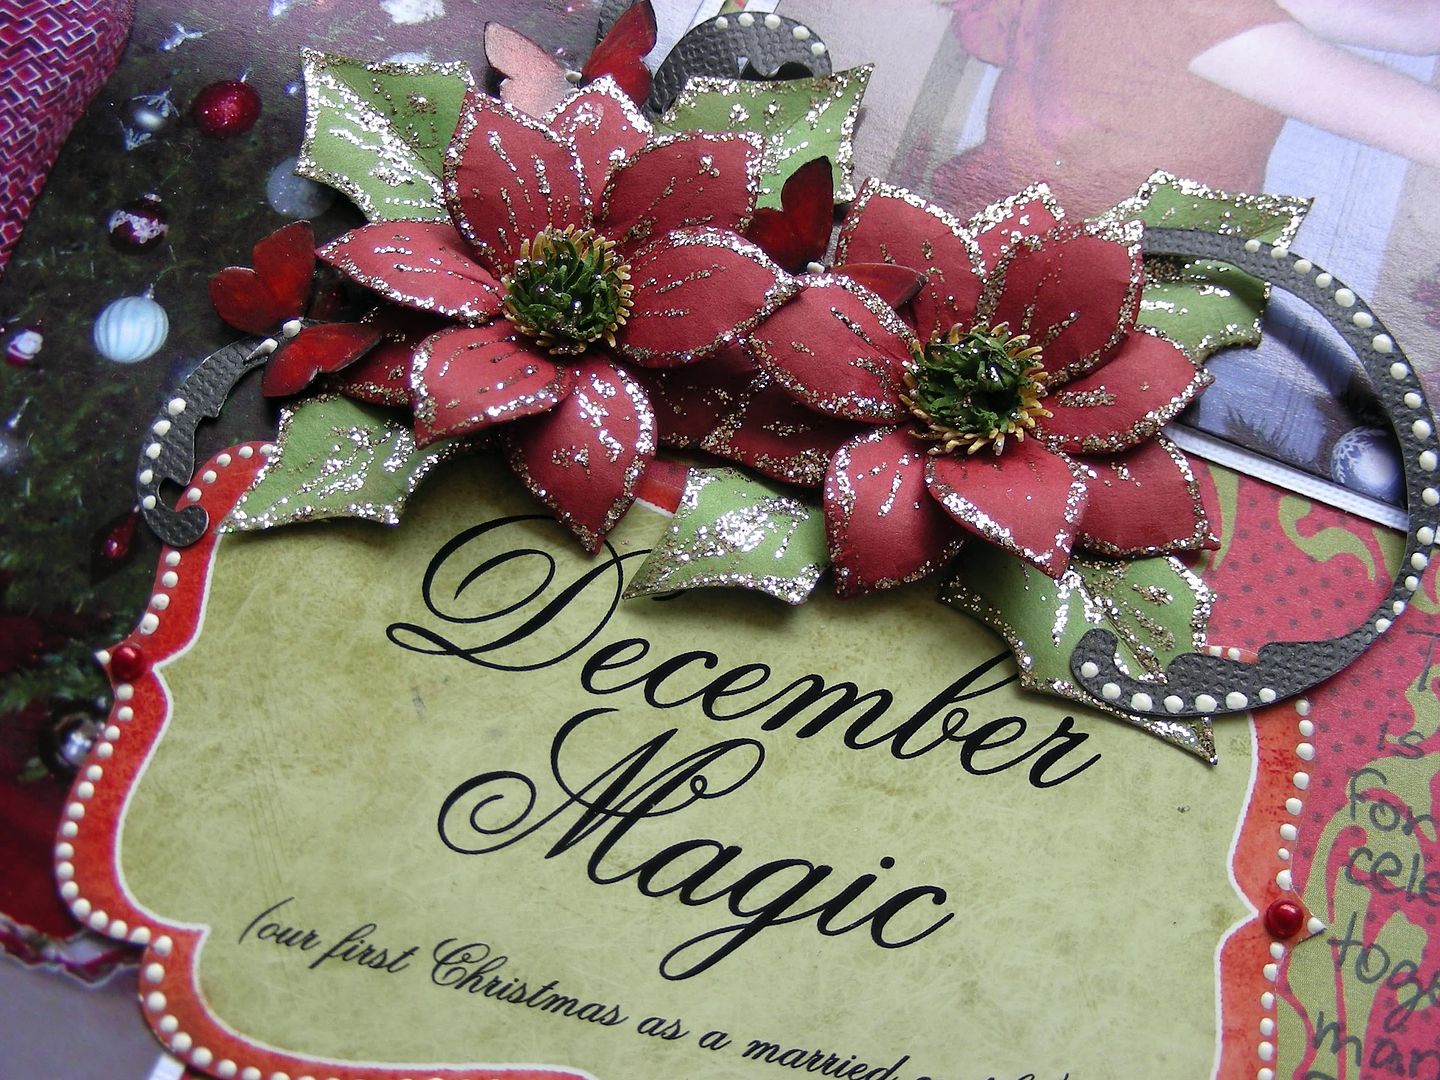
As you can see, I'm still behind with my scrapping (scrapping Christmas 2009 in October 2010!?) but I absolutely love how this layout turned out! I combined the two squares on the left side to make it one big picture. Of course, I used red and green as the main colors with a little accent of white and black. I handmade my own poinsettias (working on a tutorial for them right now) and the title box is actually a digital journaling box that I printed and cut with my own title.


The corner flourish is a RAK and it's by Prima E line (Queens Crown) and the other green pearls in the other side are Keisercrafts Basics Pearls. The red and green paper is by Scenic Route. I greatly distressed this layer using water (the water distressing tutorial is on my sidebar) and inked it. I also water distressed and inked the green punched background layer. I love how punched and distressed paper looks! I matted all this with a darker green Bazzill Cardstock.

Here's another close up of the water distressing and Prima's Bling:


Thank you for stopping by and don't forget to check out Sketchy Thursdays and try out the sketch for a chance to win a RAK!