This blog hop is all about stamping techniques and I have a fun tutorial for all of you to try!
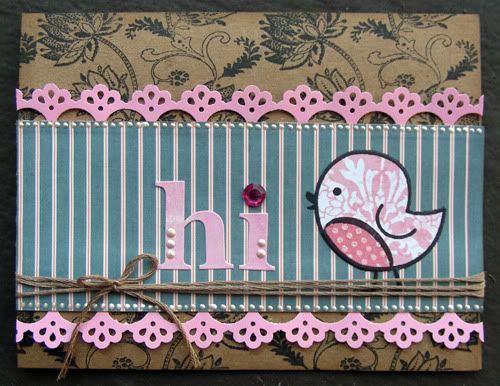
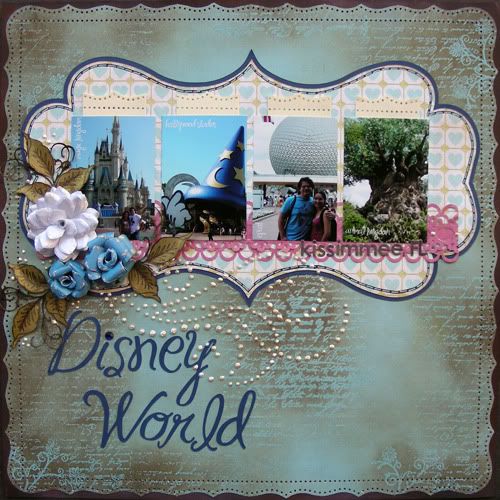
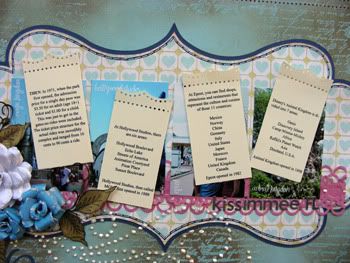
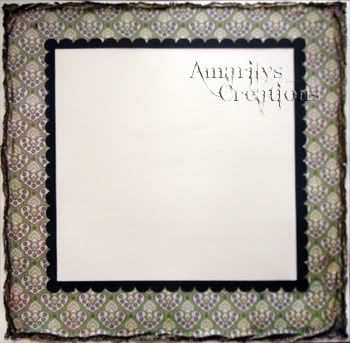
Here is my finished layout:

I'm going to show you how I made the three larger circles that I used as embellies in this layout.
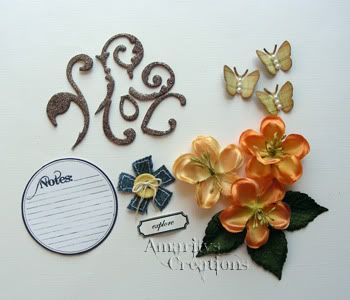
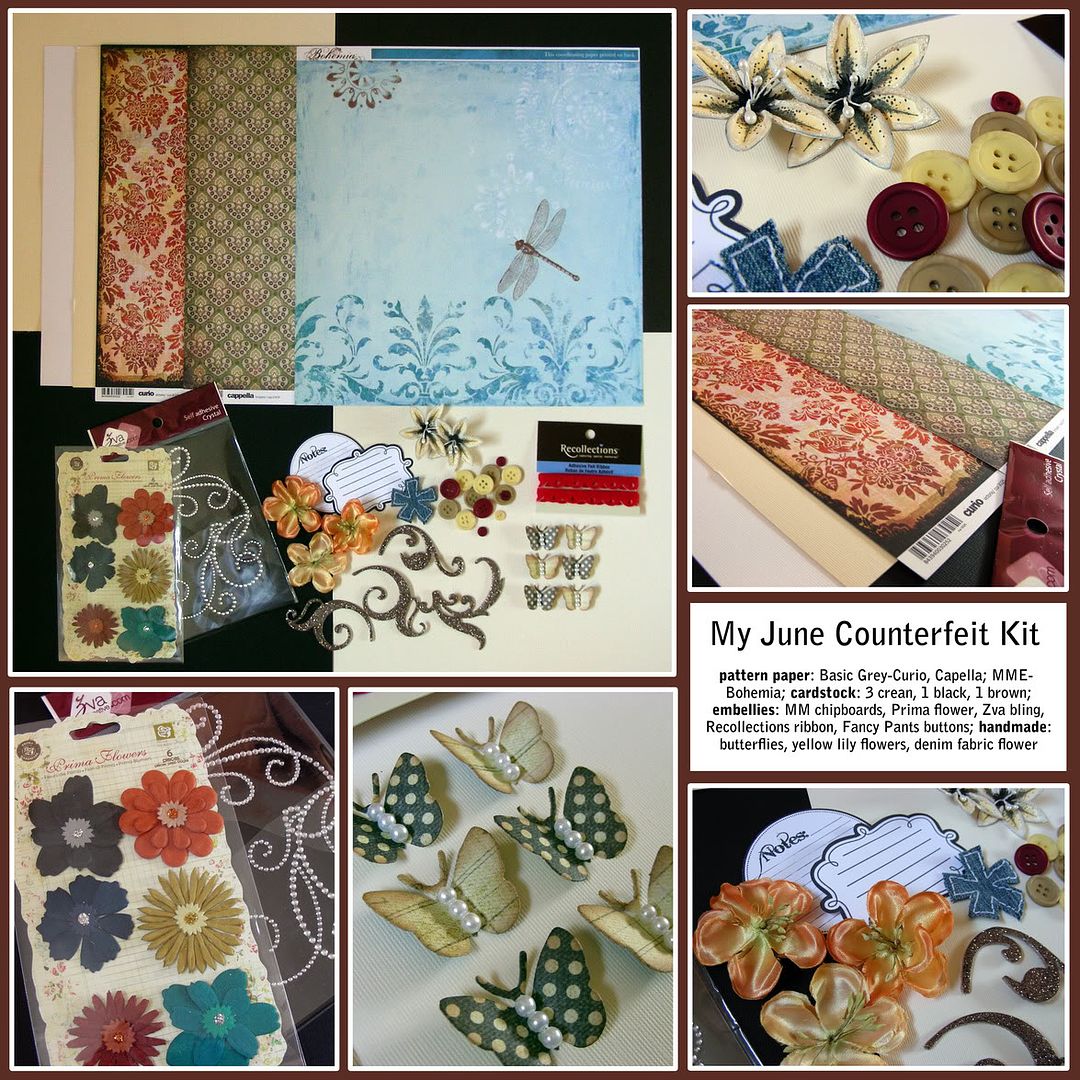
Supplies:
-Script stamp (Prima)
-StazOn black ink
-distress ink (Vintage Photo by Tim Holtz)
-embossing ink (Tim Holtz)
-Ultra Thick Embossing Enamel
-embossing tool

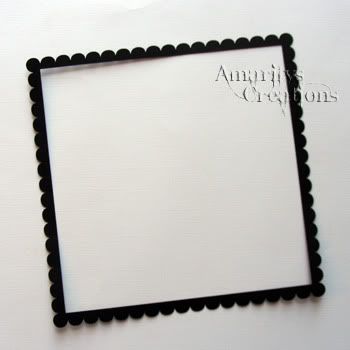
Step 1. Cut three 3" circles and stamp with a script stamp (I used a Prima stamp on mine) and archival solvent ink (I use StazOn).
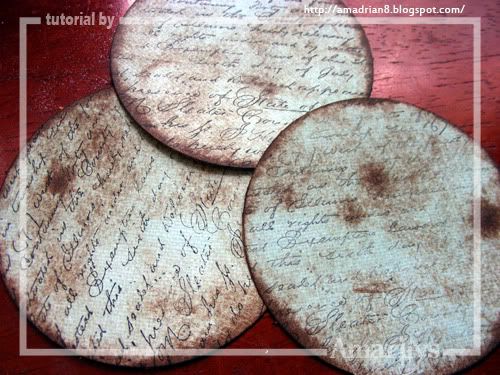
Step 2. With a distress ink (I used Tim Holtz Vintage Photo), lightly ink the edges and over the circles to give it an aged look..

Step 3. Cover your circle with embossing ink (I use Tim Holtz) by using your pad right over the circle. Cover the circle now with UTEE (Ultra Thick Embossing Enamel).
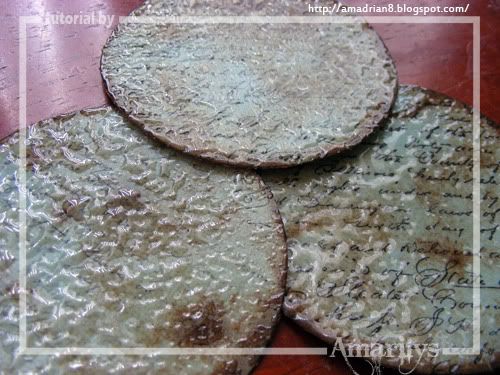
Step 4. Heat it up using your embossing tool and enjoy your handmade leather-like circles!
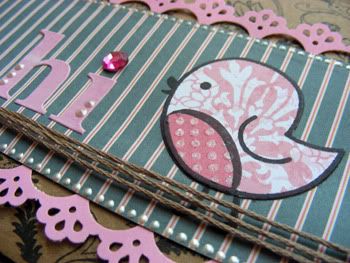
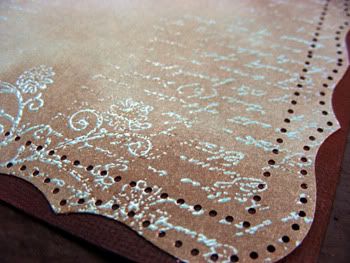
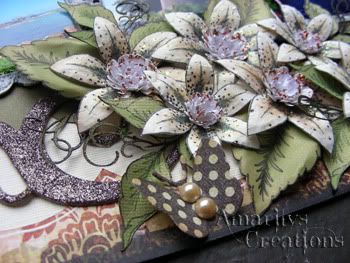
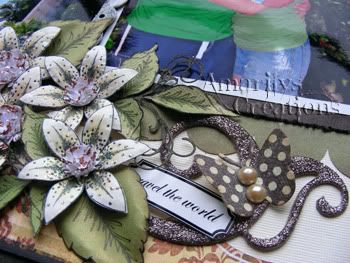
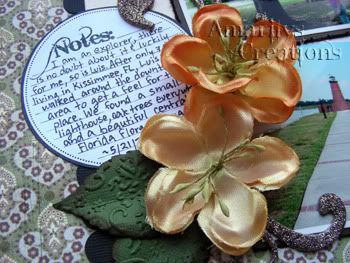
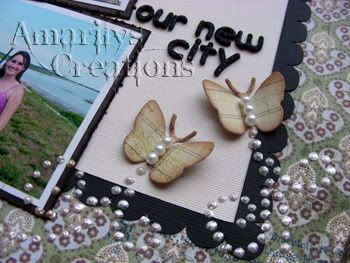
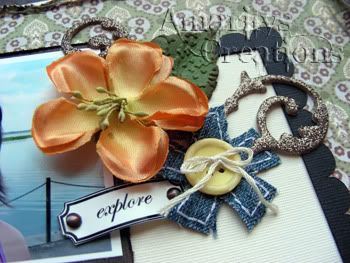
Here are a few close up of my layout:
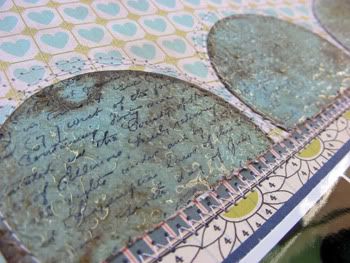
You can see how cool the circles look on the finished layout! They are glossy and thick and leather-like. It gives a lot of texture to masculine layouts!
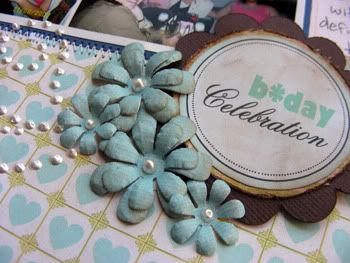
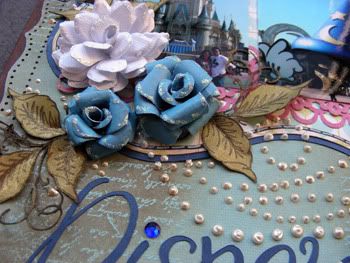
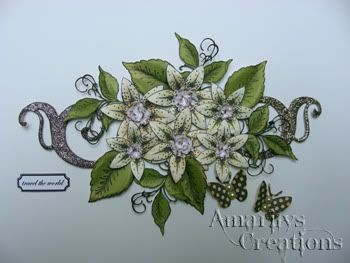
I hadnmade my own flowers using the same pattern paper as the circles so that it matches my layout. I finished it off with a liquid pearl in the center.
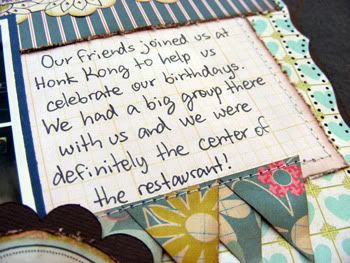
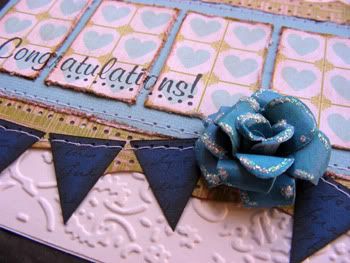
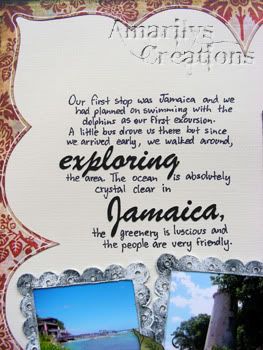
This is my handwritten journaling. I handmade the little banner in the bottom.
Thank you for taking the time to read through my quick tutorial. I hope you enjoyed it! To keep on hopping, please go to Helen's blog!
Have a wonderful rest of the week!