
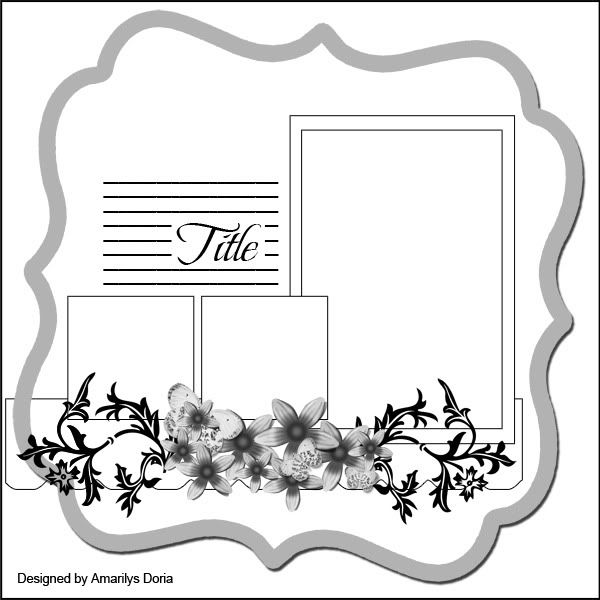
I want to share with you the third layout that I made with the June Counterfeit Kit. If you remember my last post about the counterfeit kit challenge, then you know that I challenged myself to make 4 layouts using only 3 sheets of double sided paper. I designed 4 sketches and then cut the pattern papers with my Pazzles Inspiration and ended up with this very basic designs:

I finished the one in the bottom left and the top right and today I'm going to show you how I made the one in the top left side.
I based this layout on my sketch. I made this sketch for Creative Scrappers when I was in their Sketch DT and I finally got to use it!
Ok, let's get started:
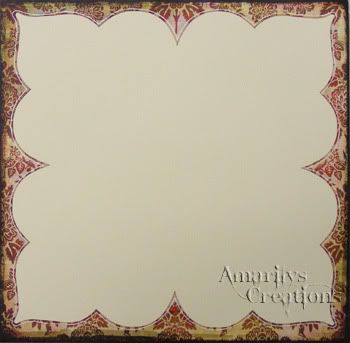
Step 1. Even though I was planning on using the back side of the red/cream Basic Grey pattern paper, I opted for using the front since the pictures that I chose clashed with the bright red back. I glued down my reverse diecut paper unto cream cardstock and doodles around the edge with a white pen.

Step 2. I lightly distressed the edges of my brown cardstock mat and inked it. I printed my photo with a white edge because it saves paper since I like to mat my photos in white first. Since the original kit had small chipboard frames, I made my own using my black cardstock and did a witewash on it for a more outdoorsy and beachy feel.
NOTE: I'm working on a tutorial on how I made my own chipboard frames.
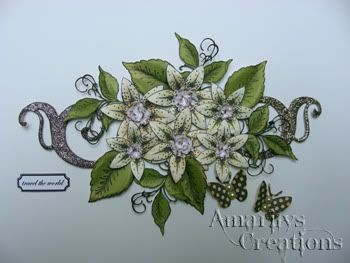
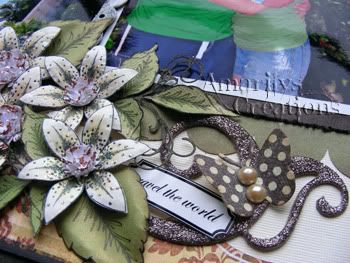
Step 3. I then gathered all of my embellies. I ended up making more of those Lili flowers using Lisa's tutorial in different sizes. I also added some leaves and a little sentiment that I printed on photo paper and cut out. I ended up having to make 2 more butterflies since I ran out. Finally, I added another chipboard piece to the one that I had originally in my kit to make the embellie area a bit more symmetrical.

Step 4. I then put everything together as seen above and that's it! My third layout is done!
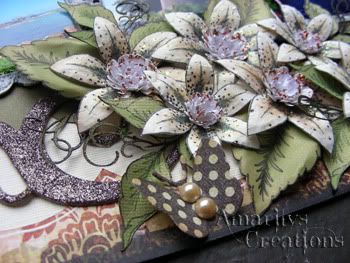
Here are a few close up of the finished layout:
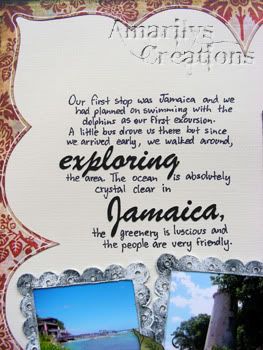
For my title, I cut out the words exploring Jamaica with my Pazzles Inspiration and then journaled directly on my layout using these words as keywords and my title. It's a different way of including journaling and a title to your layout!
Thanks for stopping by! I appreciate all the feedback that you give me on these 3 sheets/ 4 layouts challenge that I made for myself!

Just a quick note to let you know that a link to this post will be placed on CraftCrave today [01 Jul 01:00am GMT]. Thanks, Maria
ReplyDeleteIt's been fun seeing all the layouts you've made this month, with only three sheets of patterned paper! Awesome!
ReplyDelete