Showing posts with label A Walk Down Memory Lane. Show all posts

Monday, September 3, 2012

monday...masculine cards and goodbye to AWDML

Today's post is a bittersweet one as I'm saying good bye to A Walk Down Memory Lane. I've been working with them for almost 2 years now and I want to thank Lisa for giving me the opportunity to serve for so long on her DT. I enjoyed working for AWDML alonside the rest of the DT. I'll definitely miss everyone there!

So, today I'm sharing with you my last two cards that I made for them.

The first one is a masculine Thank You card. I always have such a hard time working on a masculine cards that I decided to challenge myself for this one.
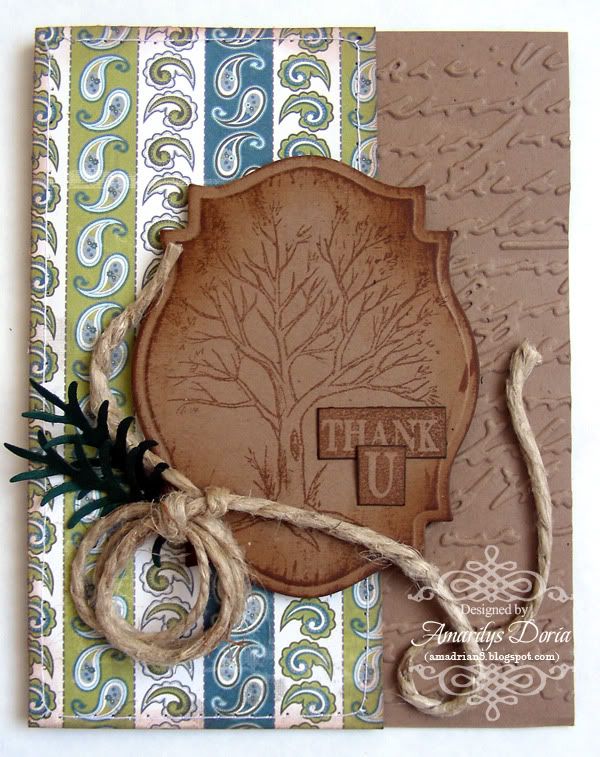
I really like how it turned out! I used Authentique Loyal 6x6 Paper Pad and a Stamp School tree image. I used masculine colors (brown, green, blues) and added a hemp cord 'rope'.
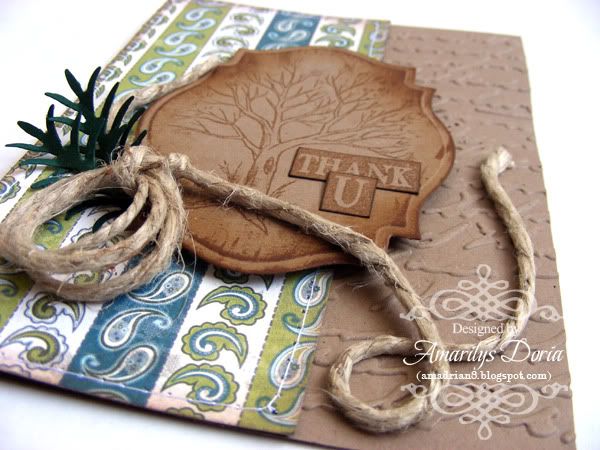

Here's a close up of the card so you can see all the textures and layer.

The second card is also a masculine card but this time, it's an encouragement card. I made this one for my cousin (a teenage boy).
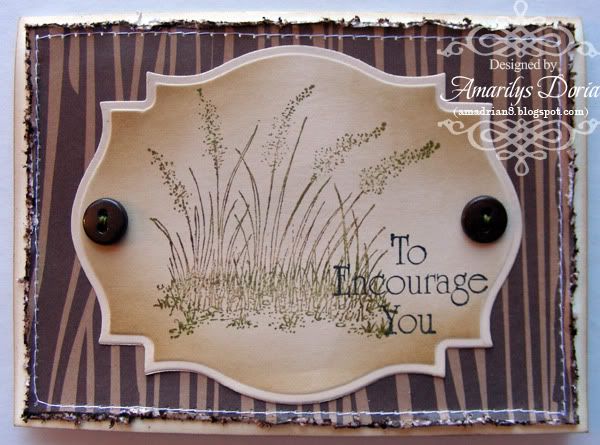
I kept this one a bit simply since I had to ship it as opposed to hand deliver it. Again, I used a masculine color palette and a grass image stamp. I embellished this card with distressing, stitching and buttons.

I hope that you can find some inspiration to make your own masculine (fill in the blank) card. They are hard but necessary to make sometimes!

Thanks for stopping by my blog today! I really appreciate it!

Monday, August 27, 2012

monday...clear anniversary card

If you are looking for the RAK, please go HERE!
-------------------------------------------------------------------------------------

Hi everyone! I hope that where you are the weather is a bit better than here! Today we woke up in Orlando, FL with a Tropical Storm thread and it's very rainy, windy and gloomy. Perfect day to stay home and watch movies and scrapbook all day!

Today, I want to share with you the clear card that I made for AWDML last week.

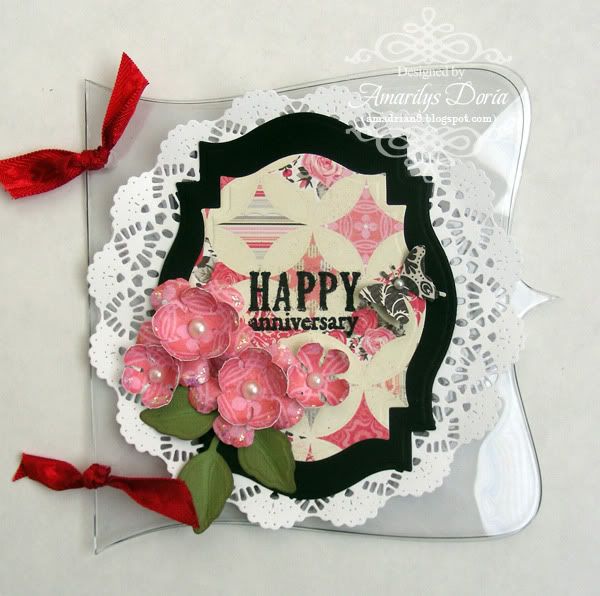
Here's the clear card that I made using the Fancy Pants Transparent Die Cuts Bracket Book Set:


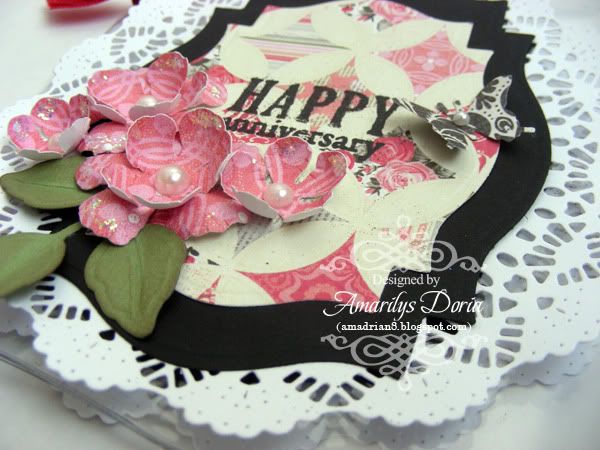
I used two of the brackets to make my front and end of the clear card. I punched two holed and added ribbon to bind them together. I die cut two doilies and added one in the fron and back of the card. I then die cut 4 different size Labels 18 in pattern paper and cardstock and added these to the front, back and on the inside as well.


I handmade a few flowers and punched out a butterfly for the front.


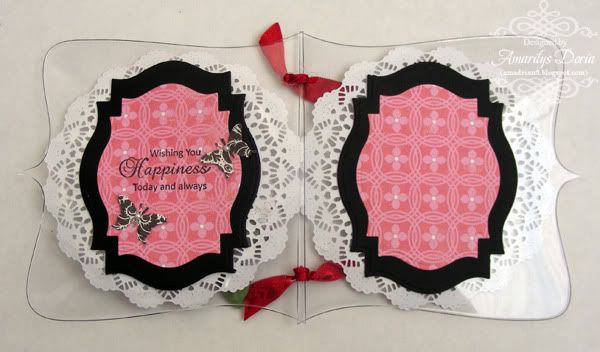
Here's a picture of the inside of the card. Since it's a clear card you can see the doilies from the front and back so I just added the die cuts inside. I stamped a sentiment on the left side and left the right side blank so I can hand write my anniversary wishes. :)

Thanks for stopping by my blog today! Have a wonderful day and week everyone!


Thursday, August 23, 2012

thursday...butterfly tutorial and a RAK!

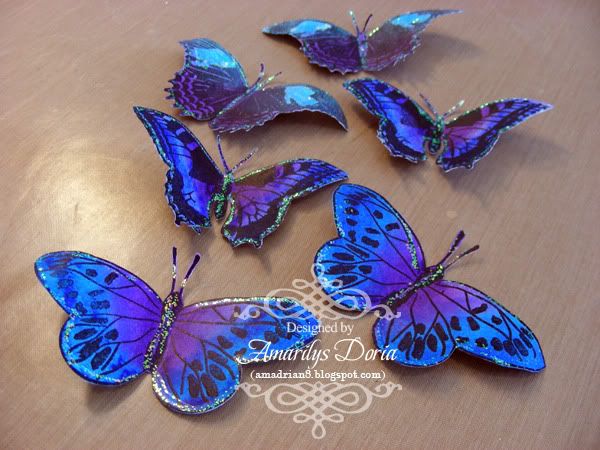
Welcome everyone! Today I'll be sharing with you how to color your stamped butterflies using color gelatos!

Supplies:
  • Color Gelatos
  • Butterfly Stamp
  • Black Embossing Powder
  • Embossing Ink
  • Heat Tool
  • Rhinestones
  • Stickles

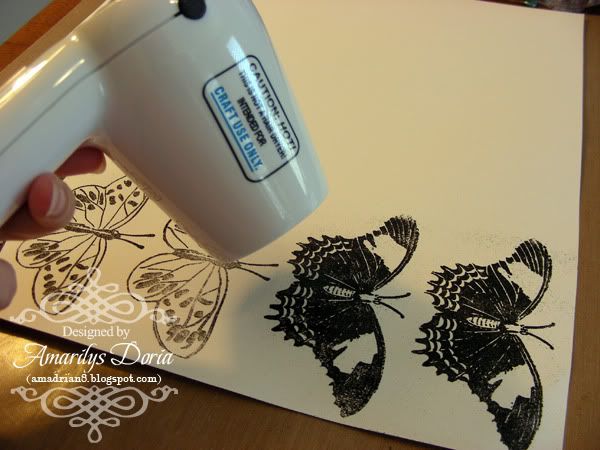
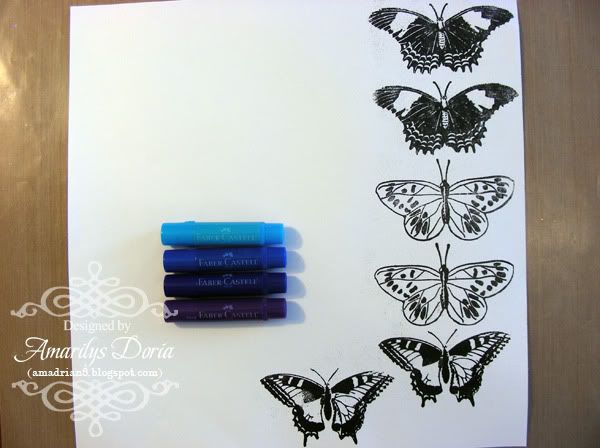
Step 1. Stamp your butterfly image using embossing ink onto a white cardstock and emboss using black embossing powder.


Step 2. After all the butterflies have been embossed, choose your Color Gelatos set. I chose the blue/purple set.


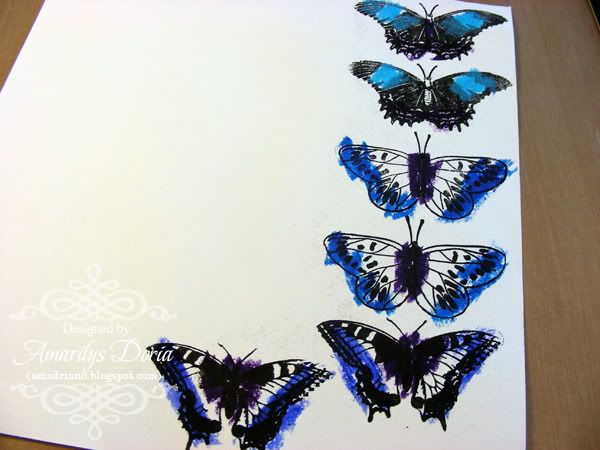
Step 3. Scribble over the butterfly's wings a different shade of blue. We will do all the centers purple to get them to coordinate with each other.


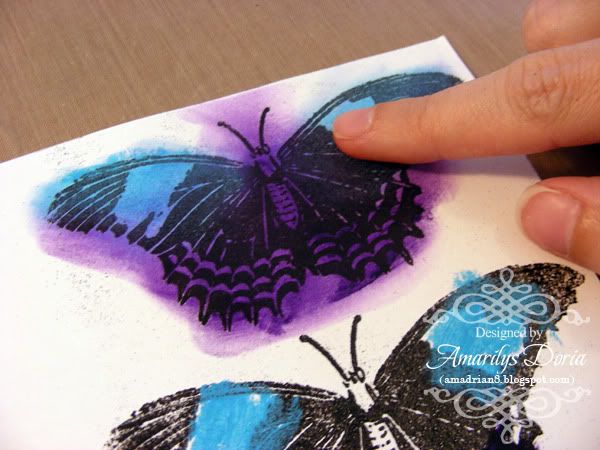
Step 4. Using your index finger, rub the blue to smooth it out and using a different finger, rub the purple to blend it with the blue. Do this with each butterfly.


Step 5.  Fuzzy cut them and lift up their wings.


Step 6. Add stickles and rhinestones to their centers as desired.

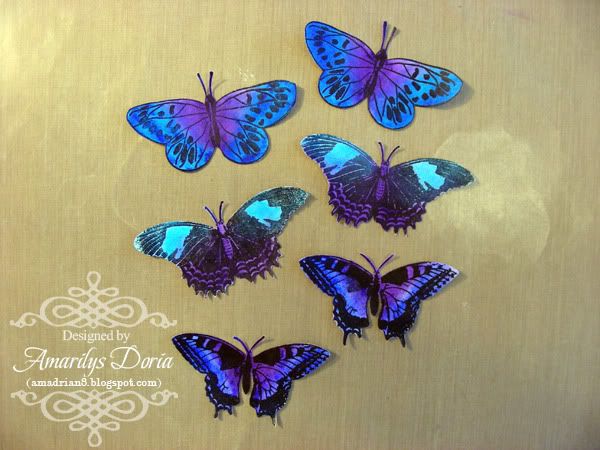
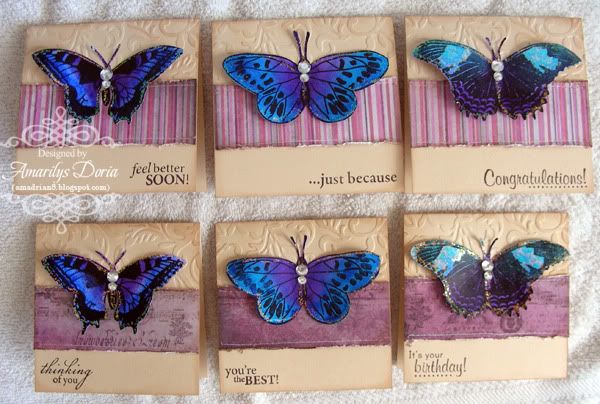
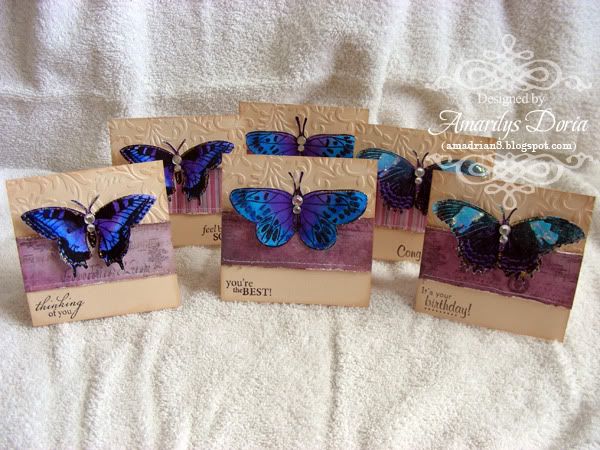
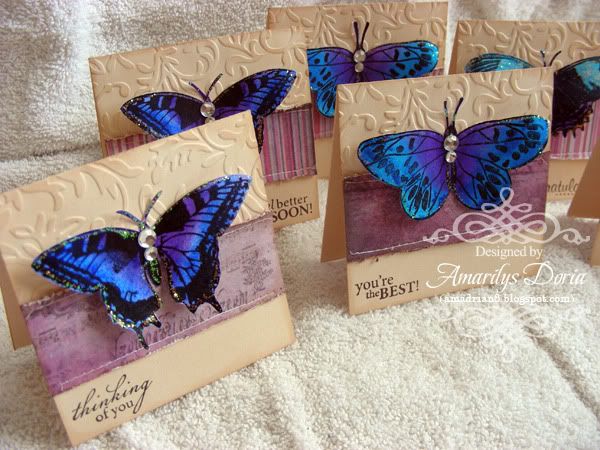
Since I had 6 gorgeous butterflies done already, I made a mini card set with them. I just love how vibrant the color gelatos are!


Do you want to win this mini card set??? I'm giving it out as a RAK to one of my followers who comments on this post! I'll choose the winner on Sept 1st!
I hope that you try this technique not just on butterflies but on other shapes as well. These color gelatos are so versatile and add gorgeous and vibrant color to your projects!

Tuesday, August 21, 2012

tuesday...AWDML meets ScrapThat! Kit's sketch

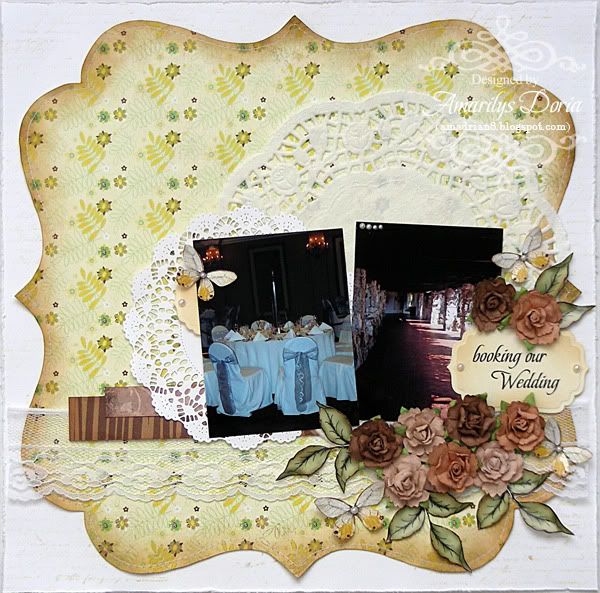
Hi everyone! I hope that you are having a great week so far! Today I'm sharing with you a layout that I made for AWDML's newsletter using ScrapThat! August Sketch, designed by me.

The ScrapThat! August Sketch:


and my take:

The only thing that I changed from the sketch is that I used two 3"x4" pictures instead if one 4"x6" picture but as you can see, it still works perfectly! The pictures are of my hubby and I's reception hall and wedding ceremony location, on the day that we booked these places for our May wedding. I remember how exited we were this day!


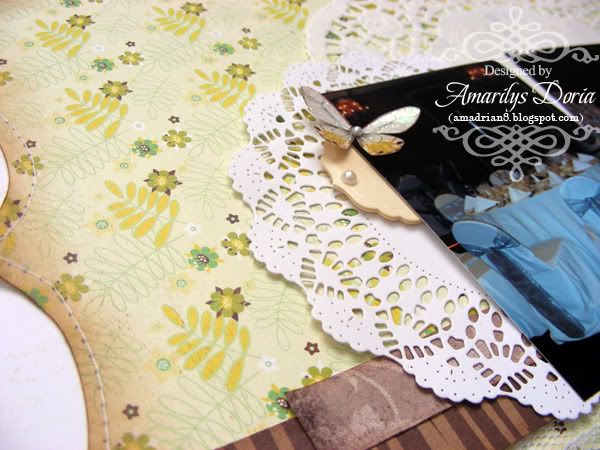
I made the die cut paper using my Pazzles Inspiration and a Basic Grey Origins paper (yes! I still have a few of these as I absolutely LOVED this collection!). I also die cut the small doily with my brand new Cheery Lynn Designs Die English Tea Party Doily which by the way, I LOVE! :)


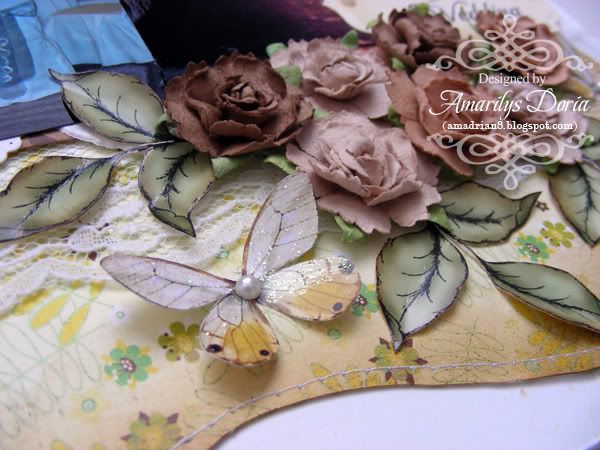
I used a full pack of PrimaSugar Plum Roses and a few leaves and butterflies for my cluster.


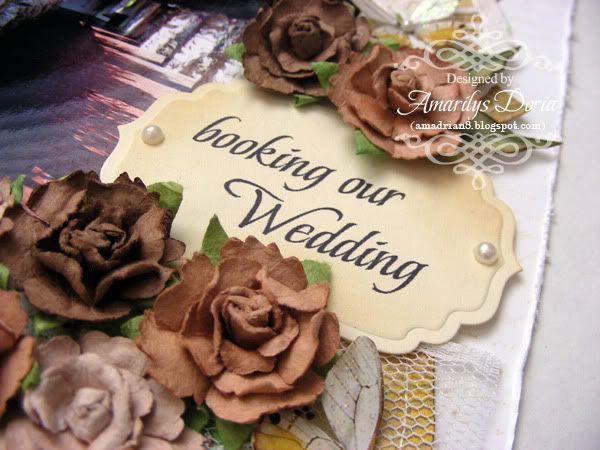
For the title, I printed it on cream cardstock and then I die cut it/embossed it and inked the edges a bit.

Thanks for stopping by today! :)

Friday, August 17, 2012

friday...AWDML new Friday Sale

Happy Friday! Today is my turn to share with you the new sale that starts today over at AWDML!

Featured Friday Spotlight for this week is Fancy Pants Transparent Diecuts - $5 from $14.99!

You can check out my full project over at the AWDML blog but below is a little teaser of my project! :)

Monday, August 13, 2012

monday...alcohol inks and transparencies tips

Hi everyone! I'm here today with a tip on how to alter transparency shapes to use in your layouts.

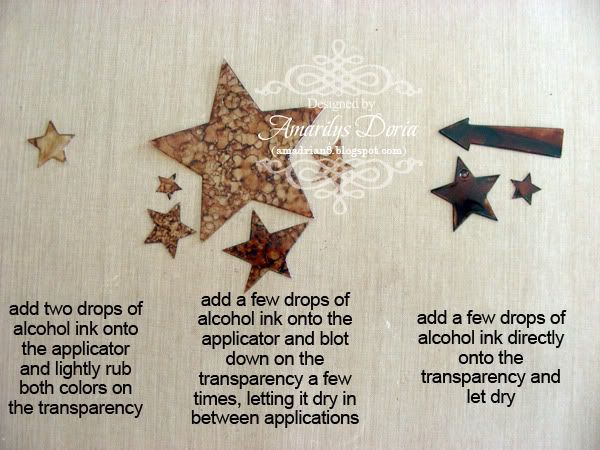
Tip: Use alcohol ink to alter transparency shapes and dies to use in cards and layout.
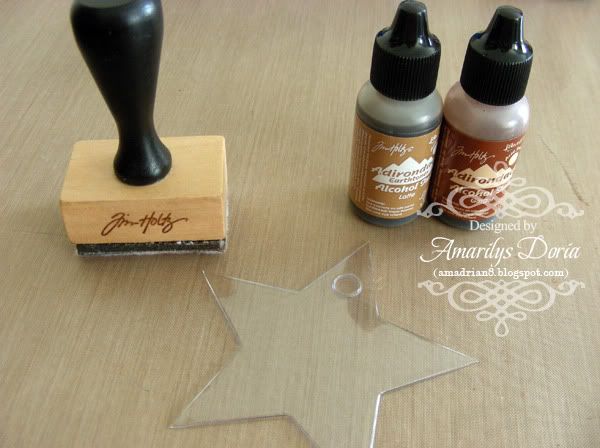
It is very simple. You need transparency shapes (or you can make your own die cuts), alcohol inks, and a Tim Holtz Applicator:


You can achieve different textures and looks depending on how you apply the alcohol ink. Below are three techniques that I used for my layout:


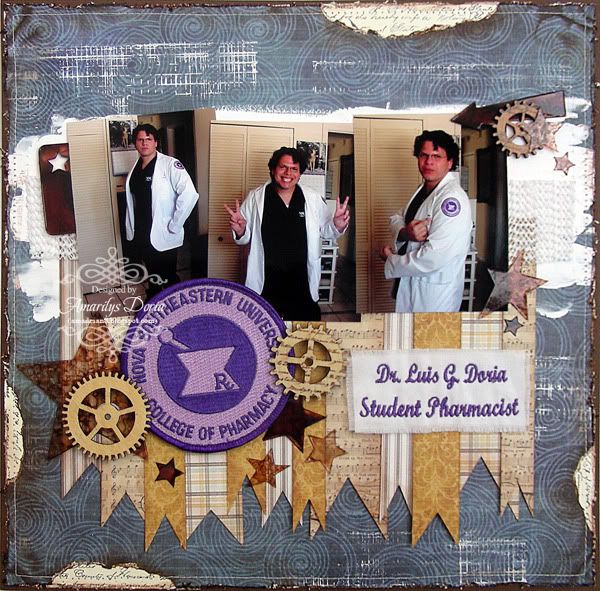
Below is my finished layout. I love the rustic look it gives my layout!


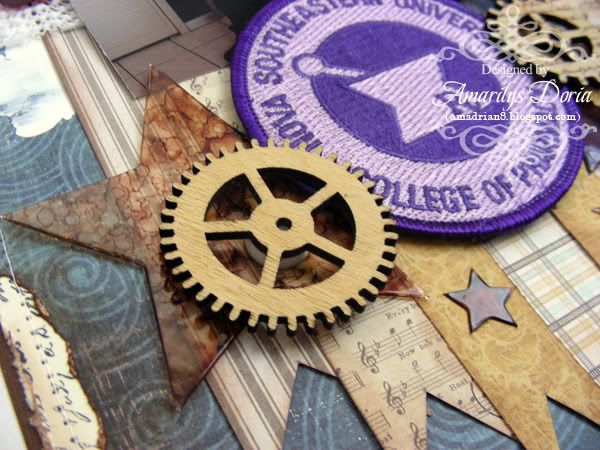
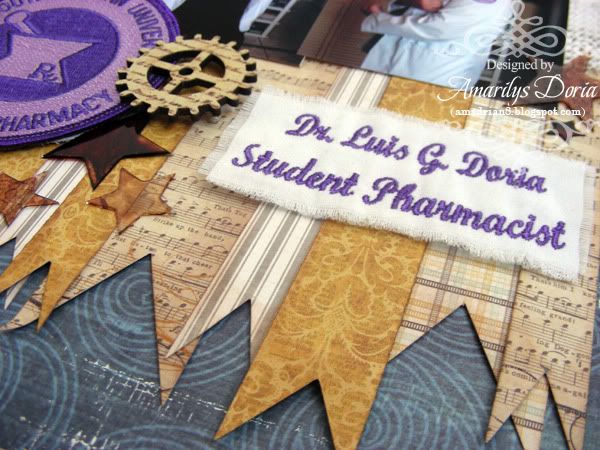
I used pictures of my husband that were taken on his first day at NSU back in 2007 when he started studying for his doctorate in Pharmacy. Because he graduated last year, I was able to include the purple logo and name from his jacket, the one that he was wearing in the pictures. It was hard to incorporate purple on a masculine layout but by using paint, distress stamps, gears, transparencies and masculine colors I think I pulled it off!

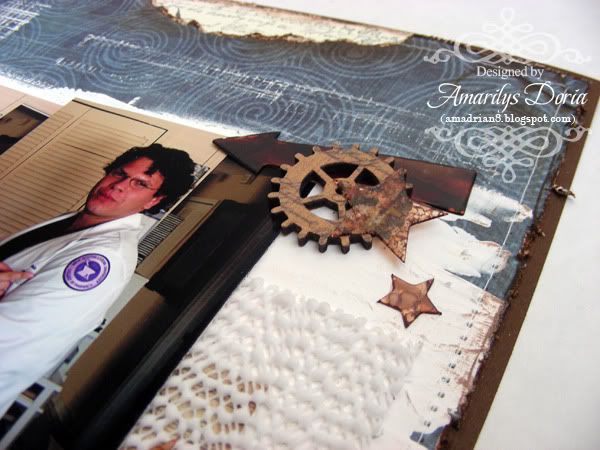
Here's are some close ups of the layout:


Thanks for stopping by!

Friday, August 3, 2012

friday...Authentique layout

Hi everyone! Last week I got to share with you AWDML's Friday Sale on their blog! I hope you took advantage of the sale as it ended yesterday!

Authentique has grown so much in the past year or so and have fast become many people's favorite brand. Their patterns are unique and their paper is thick and luxurious. Not only do they sell 12"x12" paper but they also have 6"x6" paper pads, which are also sold in single sheets. I love this because I can sample a few sheets of a collection before purchasing the whole thing!

Of course, 6"x6" papers are not just for card makers. I love using these smaller papers on my layouts too!
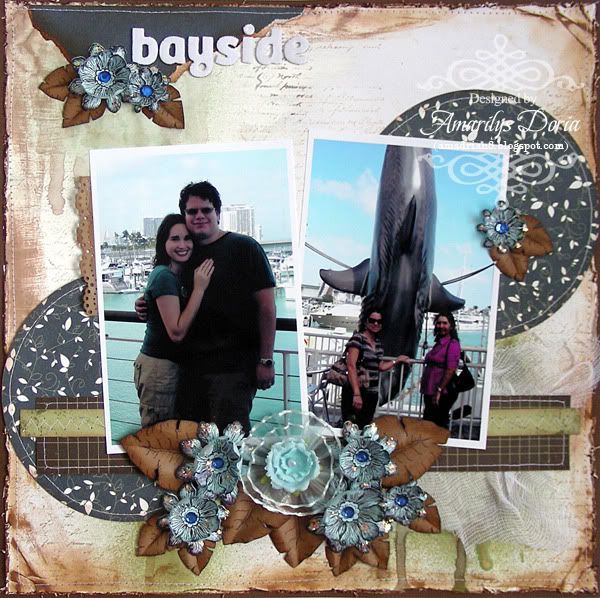
Here's a layout that I made using 3 sheets of Authentique's Freebird 6"x6" paper:


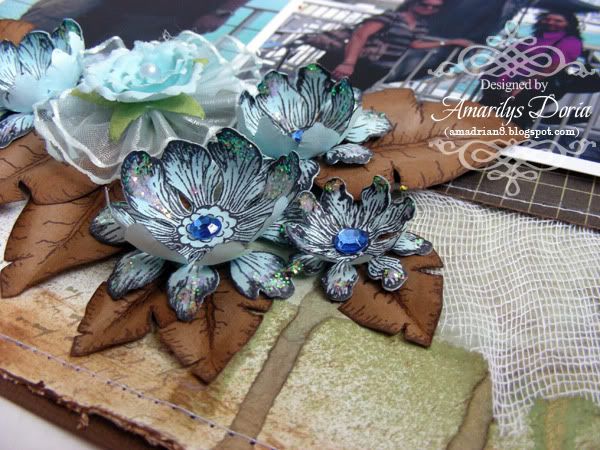
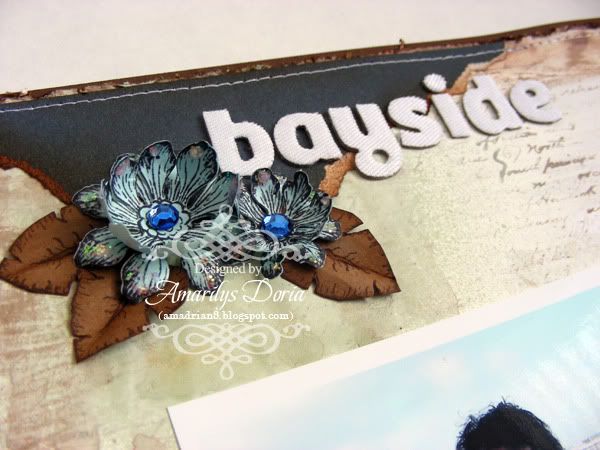
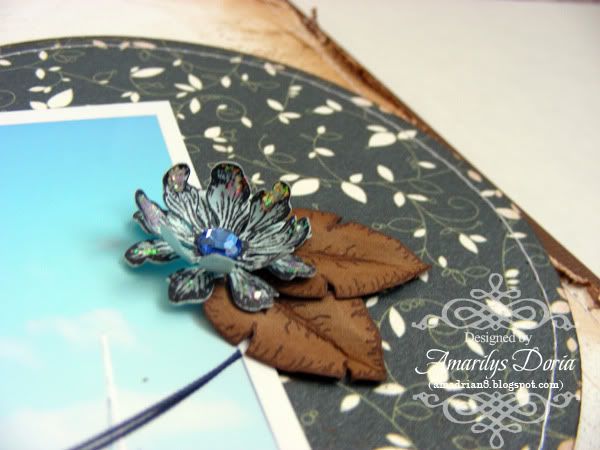
I used a white cardstock for my background which I stamped, inked and misted to create a custom made backrgound paper. I cut out two 5.5" circles out of the blue 6"x6" paper, machine stitched around the edges and added them in opposite sides. I then cut four strips of a double sided paper (1/2" and 1.5" thick) and added them in the middle, close to the bottom of the layout. I added my pictures over these layers and added handmade/storebought flowers and leaves in the center to hide where the strips of papers meet. I tore a piece of blue pattern paper and added it to the top left side and added my title and another cluster there.

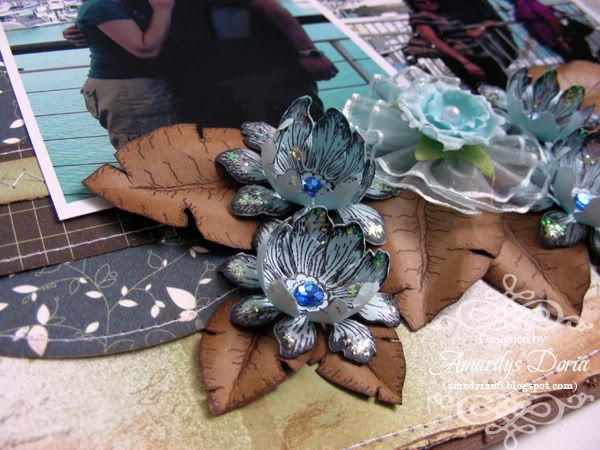
Here are some close ups of my layout:


You would never guess that I used only 3 sheets of 6"x6" pattern paper for this layout! If you have never tried making a 12"x12" layout of 6"x6" paper, give it a go! It's a great and fun challenge!

Tuesday, July 31, 2012

tuesday...circle punch flower tutorial

Hi! I'm here today with a brand new tutorial so let's get started! Today I'll be sharing with you how to make a flower using only your circle punch!

Supplies:
  • 1" circle punch 
  • embossing tool 
  • flower center 
  • cardstock 

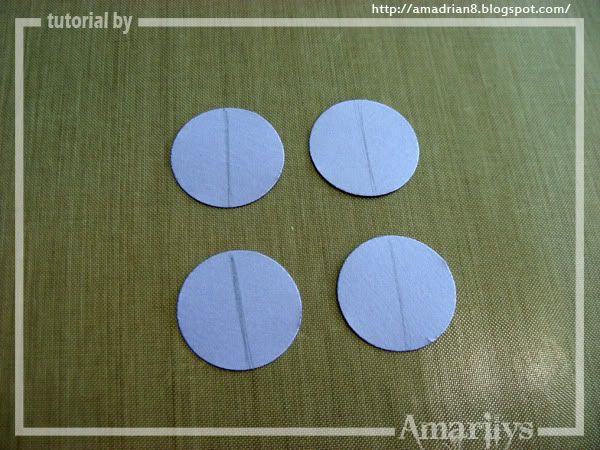
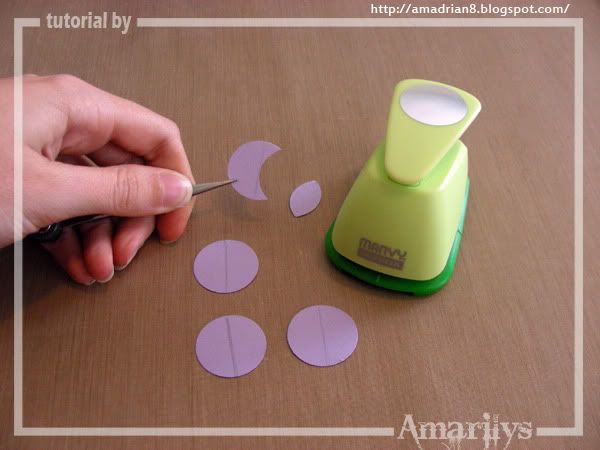
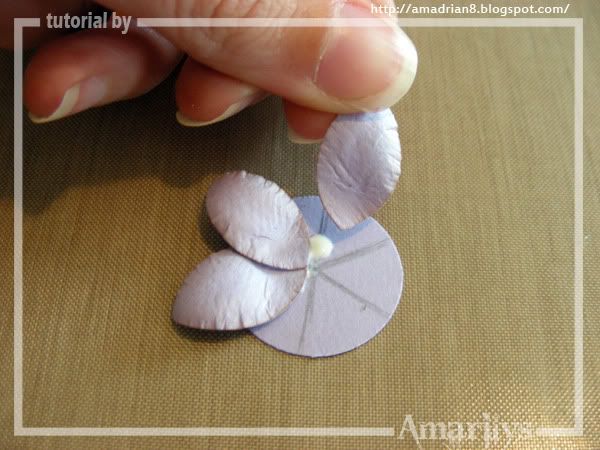
Step 1. Punch four 1" circles and draw a line through the middle.


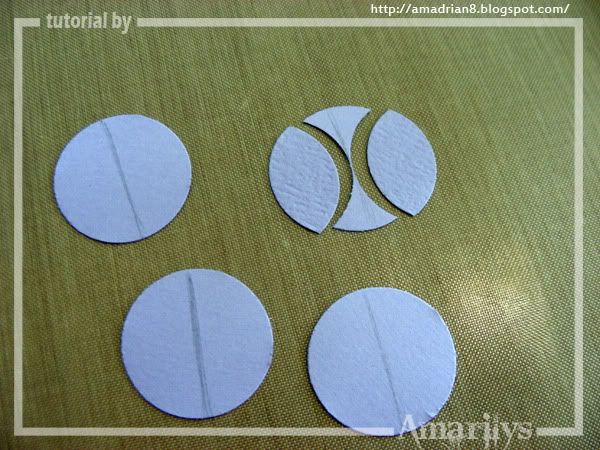
Step 2. Using your circle punch, punch out a 'petal' from the circle, up to the line.


Step 3. Do the same thing with both sides of the circle. You can use a pair of twizzers to help keep the circle in place. Do this with 3 of the circles.


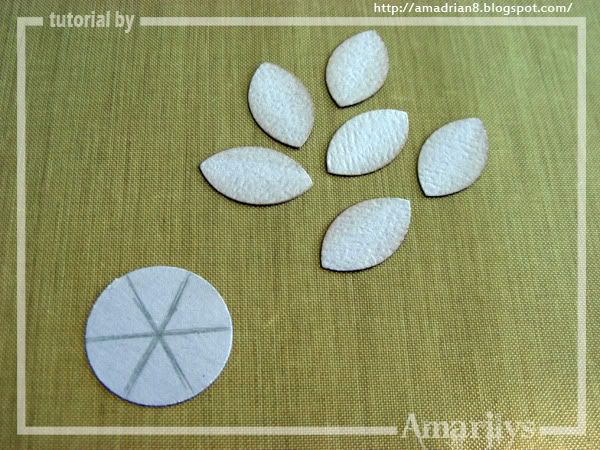
Step 4. Ink the edges of your petals and finish drawing a pie shape on the last circle. You will use this as a guide for your petals.


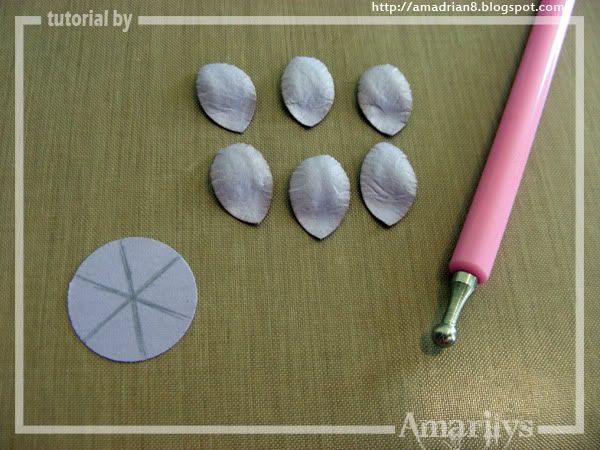
Step 5. Shape your 6 petals using an embossing tool.


Step 6. Start adhering your petals unto the 1" circle using the marks as a guide.


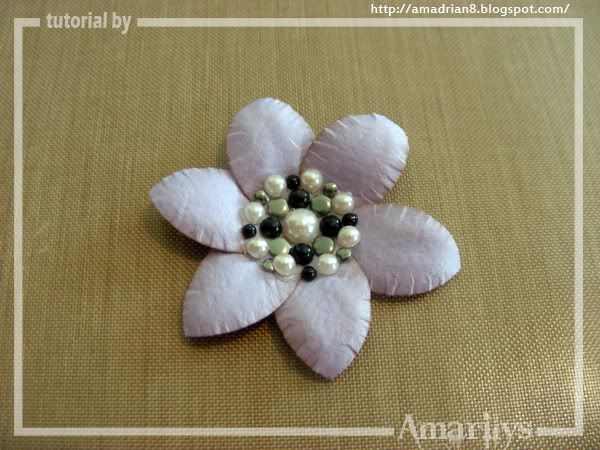
Step 7. Once you are done, add a flower center or anything you sih to the center of the flower.

You can make different size petals and therefore flowers by using a bigger circle punch. You can try layering these flowers for a more full bloom too!

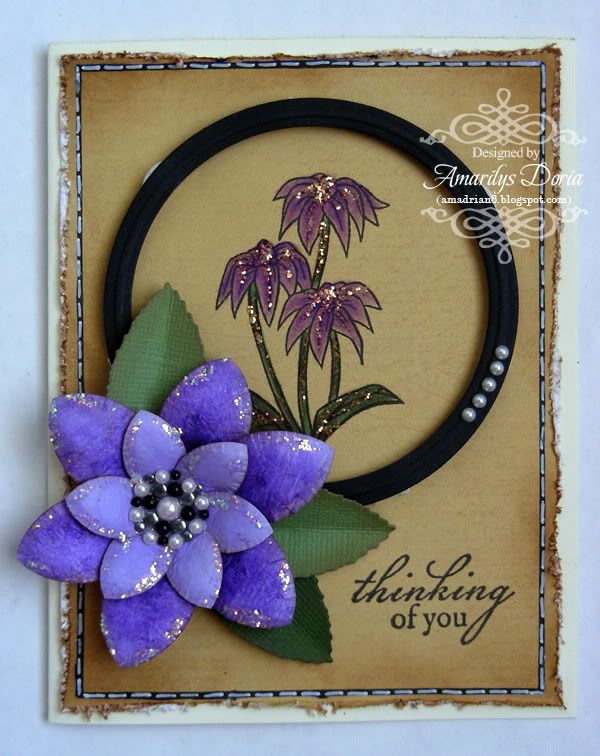
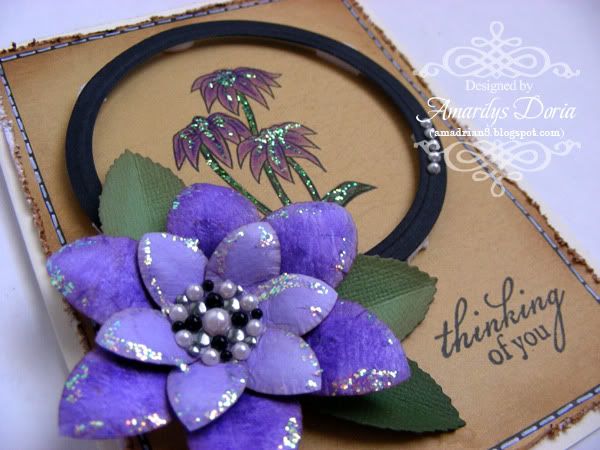
Below is a card that I made using this flower layered on top of a larger one.


Here's a close up of my flower and card. I used stickles to give it a bit of a finished glittery look to my flower.


Thanks for stopping by and checking out this simple flower tutorial. Hope you give it a try soon!

Friday, July 27, 2012

friday...AWDML new Friday Sale

Happy Friday! Today is my turn to share with you the new sale that starts today over at AWDML!

Featured Friday Spotlight for this week is Authentique Freebird loose sheets of paper are $0.20!

You can check out my full layout over at the AWDML blog but below is a little teaser of my layout! :)