Supplies:
- 1" circle punch
- embossing tool
- flower center
- cardstock
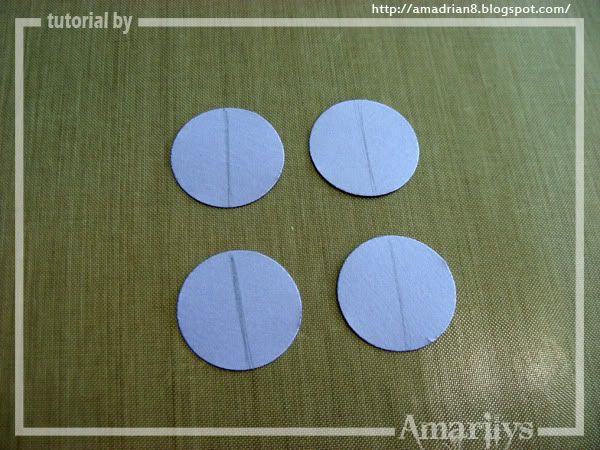
Step 1. Punch four 1" circles and draw a line through the middle.
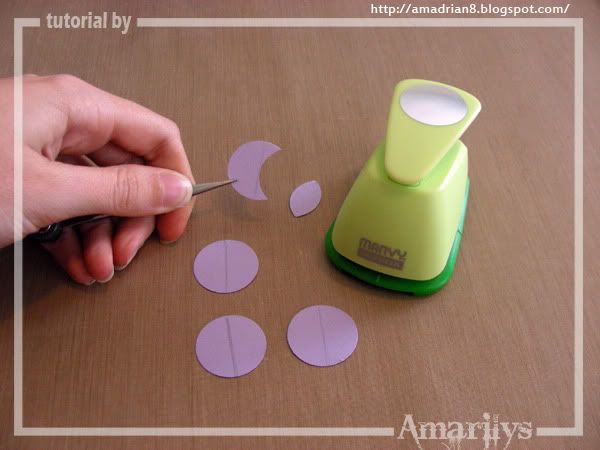
Step 2. Using your circle punch, punch out a 'petal' from the circle, up to the line.
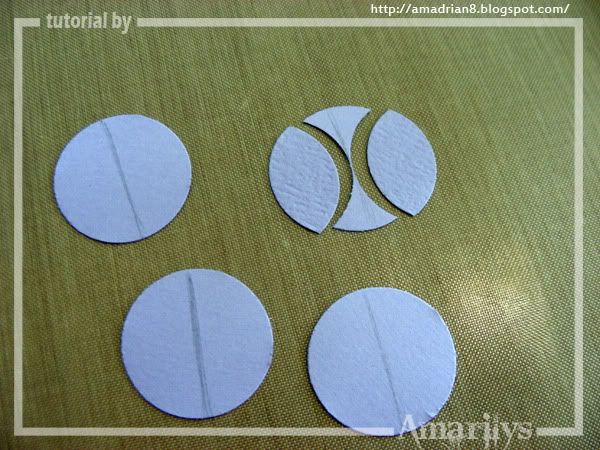
Step 3. Do the same thing with both sides of the circle. You can use a pair of twizzers to help keep the circle in place. Do this with 3 of the circles.
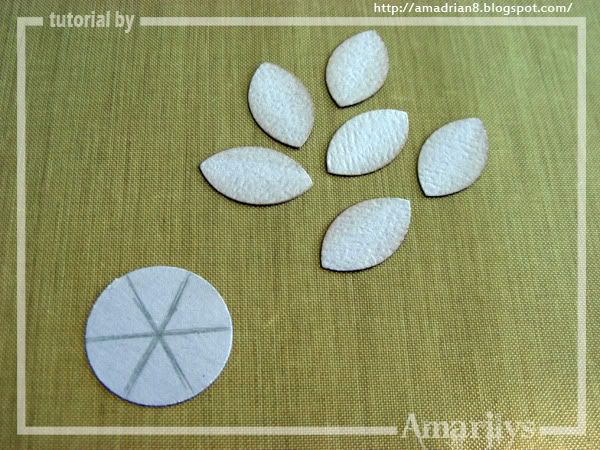
Step 4. Ink the edges of your petals and finish drawing a pie shape on the last circle. You will use this as a guide for your petals.
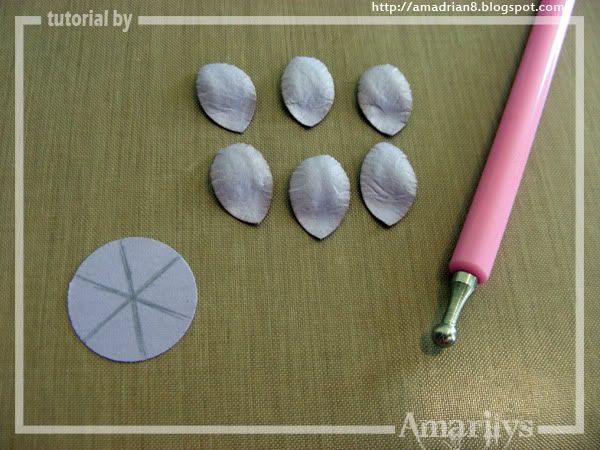
Step 5. Shape your 6 petals using an embossing tool.
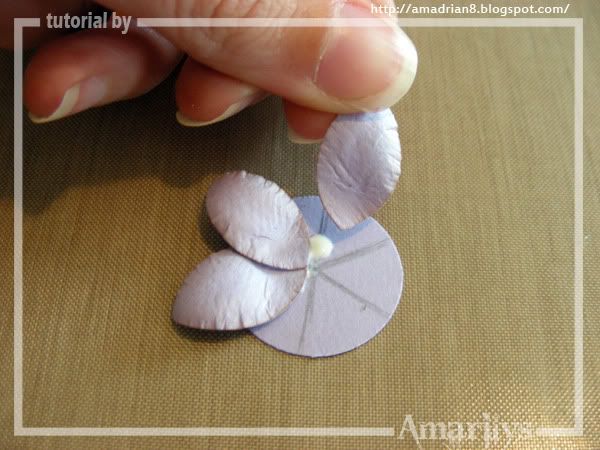
Step 6. Start adhering your petals unto the 1" circle using the marks as a guide.
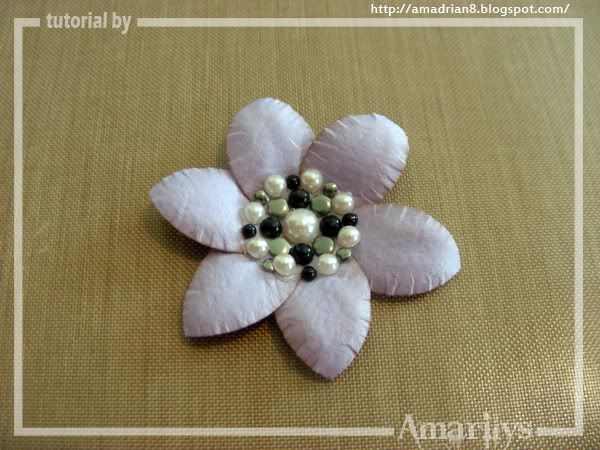
Step 7. Once you are done, add a flower center or anything you sih to the center of the flower.
You can make different size petals and therefore flowers by using a bigger circle punch. You can try layering these flowers for a more full bloom too!
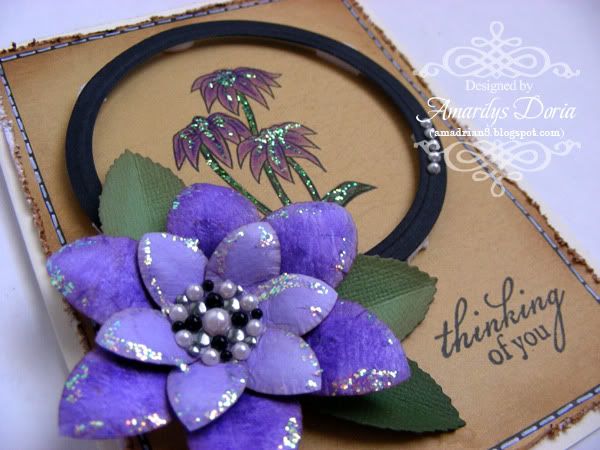
Below is a card that I made using this flower layered on top of a larger one.
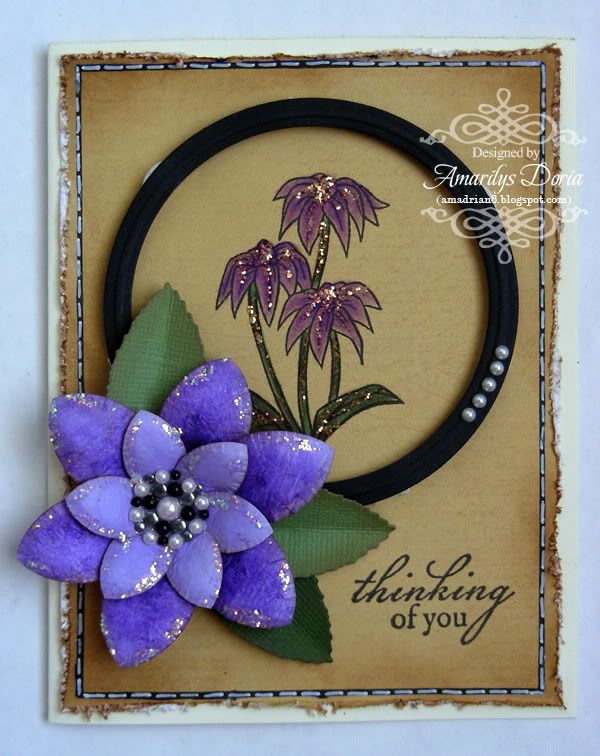
Here's a close up of my flower and card. I used stickles to give it a bit of a finished glittery look to my flower.
Thanks for stopping by and checking out this simple flower tutorial. Hope you give it a try soon!


Amy your flowers are always so fabulous and this one is no exception!!
ReplyDeleteSo beautiful! Looks like easy to follow. Must try it.
ReplyDelete