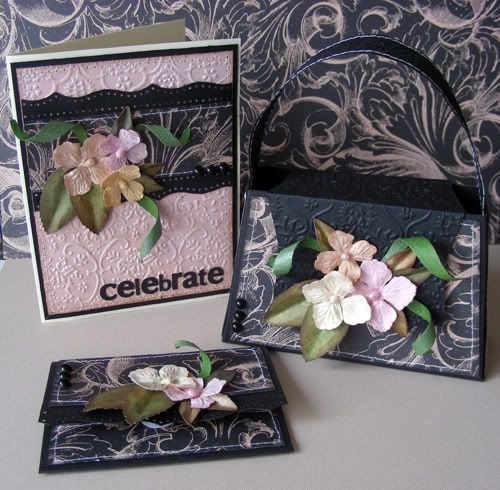
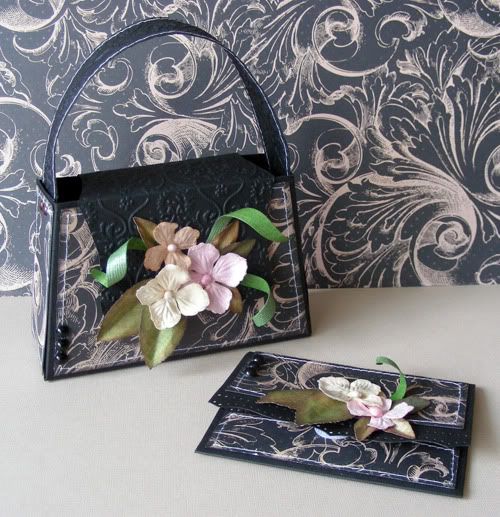
I made a birthday card, purse and gift card holder set:
Supplies-
cardstock: Bazzill (Raven), Recollections;
patterned paper: Prima Almanac Collection (Agenda, Shaffer);
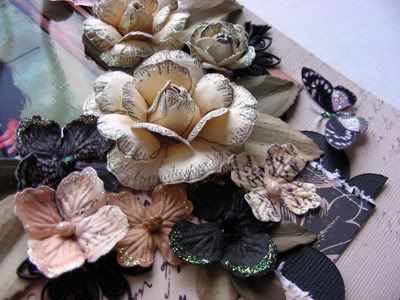
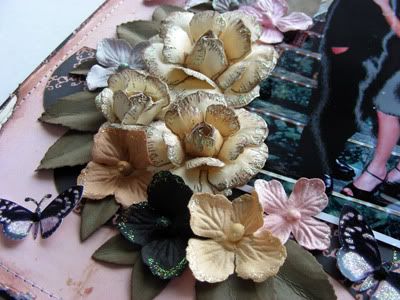
flowers: Prima Almanac Camille flowers;
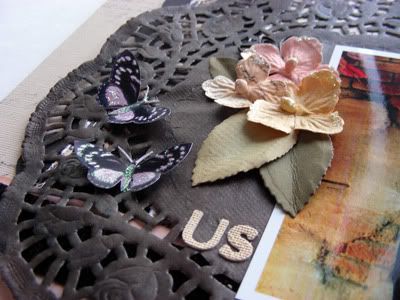
letter stickers: Prima Almanac Collection (8x10 Canvas Typography Alpha Stickers);
bling: Want to Scrap black peals;
tools: Cuttlebug Machine, Cuttlebug Textile Texture A2 Embossing Folder, Spellbinders Rose Creations, Spellbinders Carnation Creations, Martha Stewart Punch Around the Page (Cherish);
other: sewing machine, velcro fasteners, chrome mini brads
***The BOLDED supplies are included in the Birds of a Feather April Kit or Extra Embellies Kit. Everything else is from my stash.
Below is a close up and a little bit of info and links to tutorials for each item.
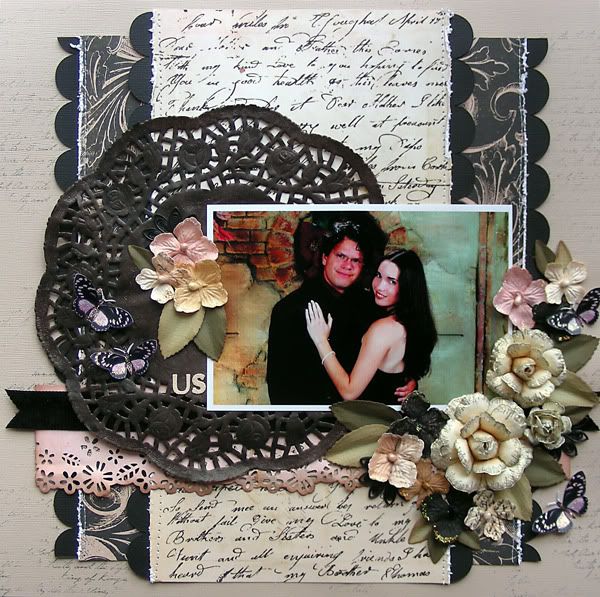
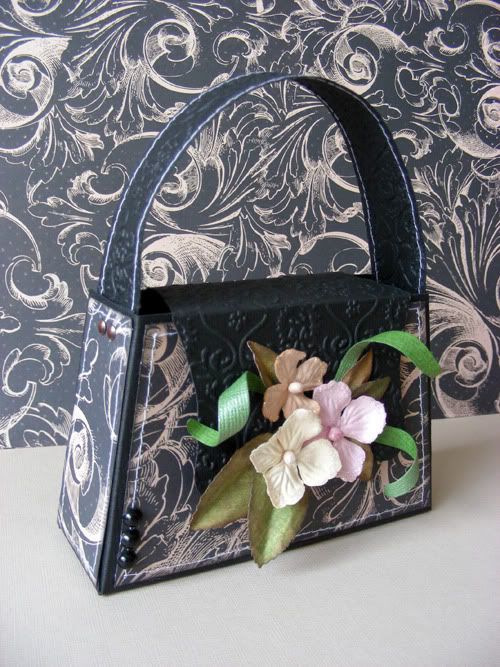
The Purse (front):
the back:

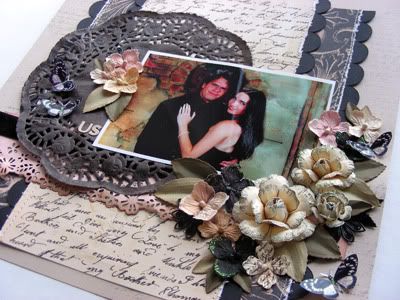
The purse and gift card holder, which fits inside the purse:
The purse and opened gift card holder:
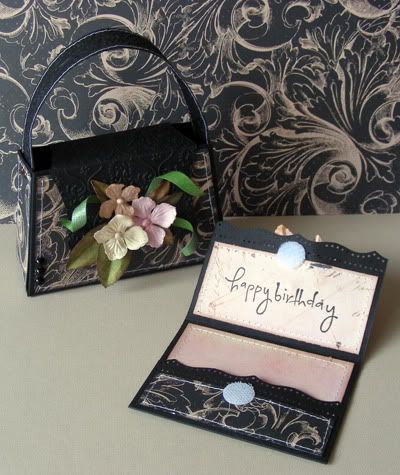
I've had this purse tutorial saved for a while now and was just waiting for the right papers and as soon as I saw this kit, I knew I had to make it! The gift card holder is actually one of my tutorials. You can find the gift card holder tutorial HERE.
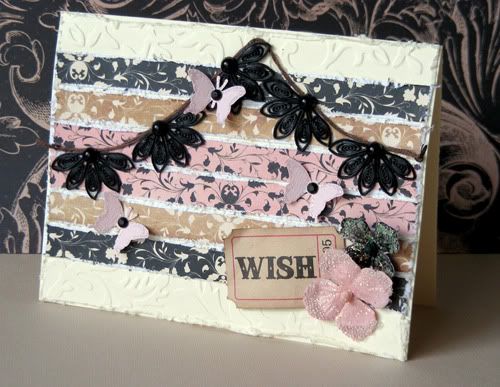
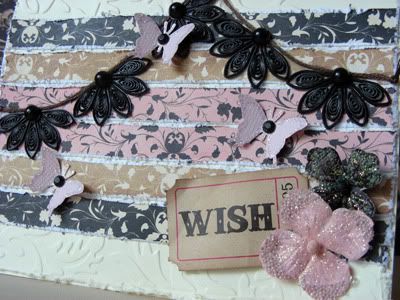
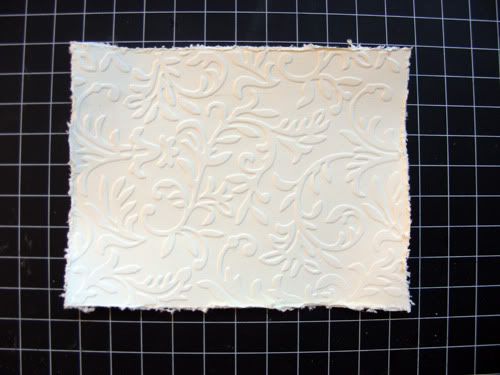
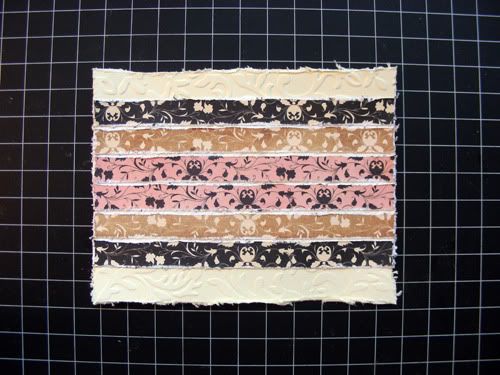
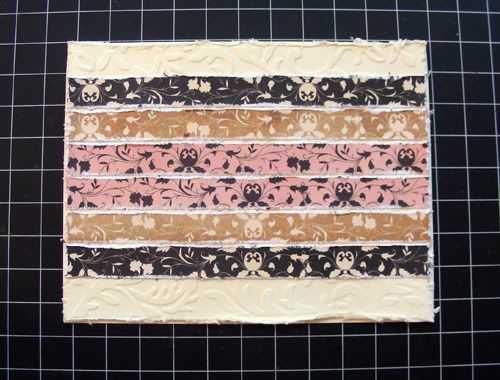
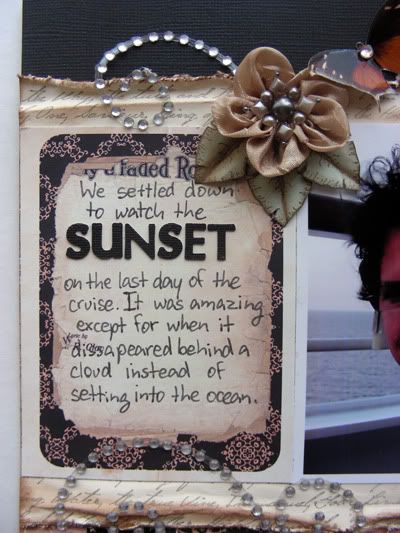
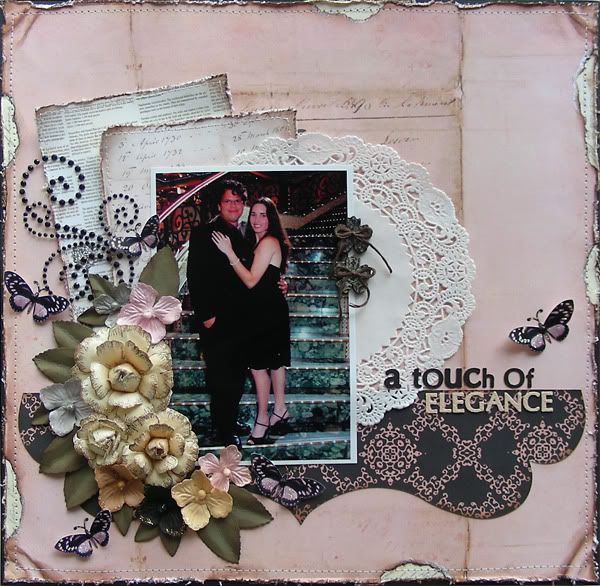
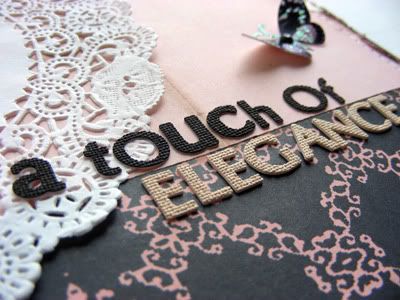
The card:
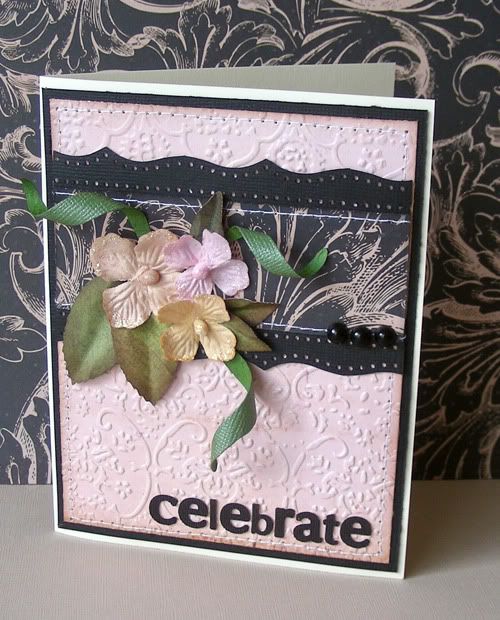
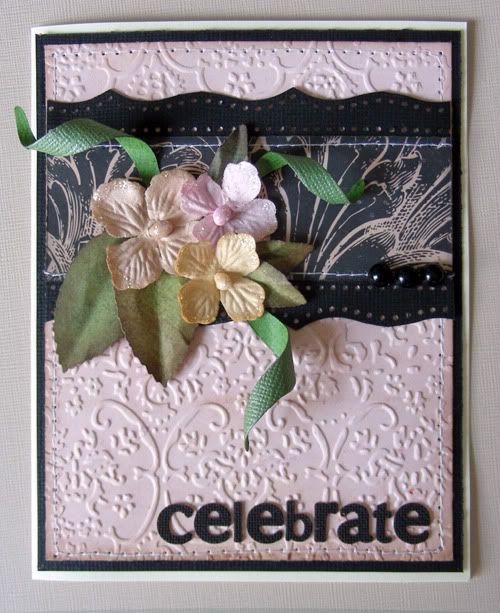
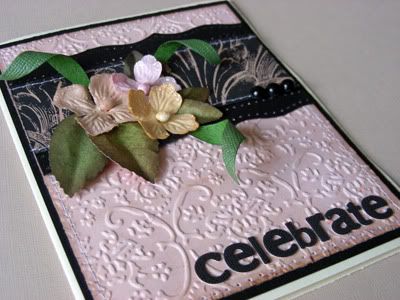
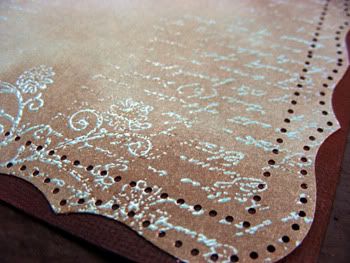
I embossed the pink pattern paper to give it some texture and just used a small strip of the black paper from the purse to tie it all together. Of course, I added the same cluster of flowers to all 3 pieces and this also helped tie them together.
I absolutely LOVED working with this month's Birds of a Feather kit. Thanks Amy for giving me the opportunity to do so! Thank you everyone for stopping my blog again today and know that I appreciate your comments!

the back:
The purse and gift card holder, which fits inside the purse:
The purse and opened gift card holder:
I've had this purse tutorial saved for a while now and was just waiting for the right papers and as soon as I saw this kit, I knew I had to make it! The gift card holder is actually one of my tutorials. You can find the gift card holder tutorial HERE.
The card:
I embossed the pink pattern paper to give it some texture and just used a small strip of the black paper from the purse to tie it all together. Of course, I added the same cluster of flowers to all 3 pieces and this also helped tie them together.
I absolutely LOVED working with this month's Birds of a Feather kit. Thanks Amy for giving me the opportunity to do so! Thank you everyone for stopping my blog again today and know that I appreciate your comments!