
This tutorial is quick and easy but has wonderful effects!
Supplies:
- Glossy Accents
- Tim Holtz Clear Fragments (or anything clear for that matter)
- Image, clip art or pattern paper

Step 1. Apply a thick layer of Glossy Accents to one side of the clear fragment, making sure that to cover all the surface. Do NOT shake your Glossy Accents or you will get bubbles.

Step 2. Carefully attach the clear fragment to the image that you chose. Make sure that it's either the same size or a bit bigger. Some of the Glossy Accent will come out. This is normal. Let it dry for a few minutes or hours, depending on the size of your clear fragment.

Step 3. Once it's dry, cut out the excess paper and you are done! Attach to any project for a neat and different embellie which gives your project great dimension!
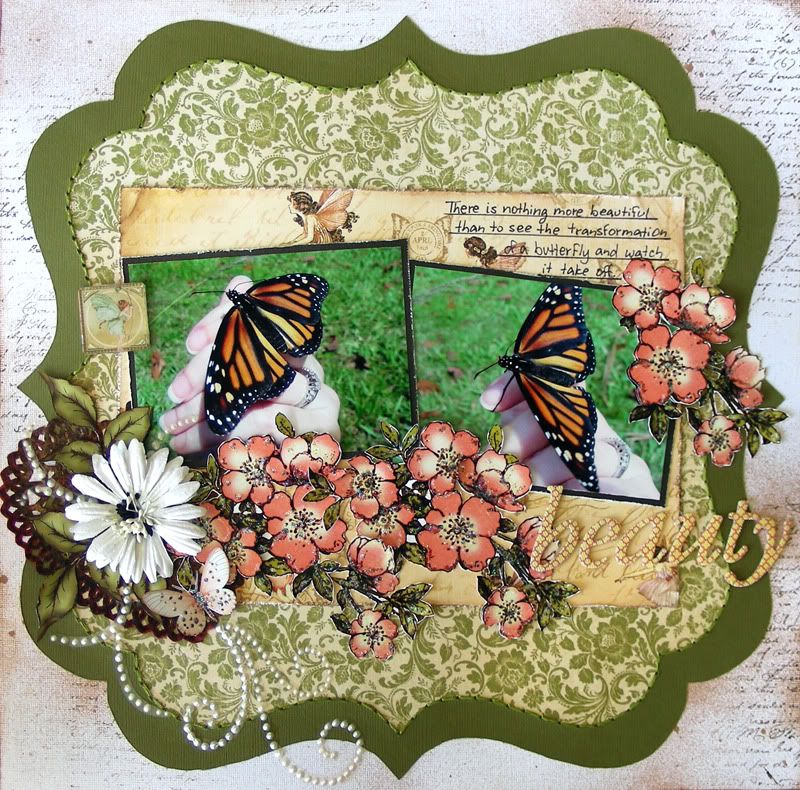
and here is my finished layout again so you can now see the fragment:
Hope you enjoyed this quick tutorial! Can't wait to see what you make with your Glossy Accents!

one of my fave lo's from you
ReplyDeleteJust a quick note to let you know that a link to this post will be placed on CraftCrave today [18 Mar 01:00am GMT]. Thanks, Maria
ReplyDelete