
Like I mentioned in the beginning of the month, this month's featured manufacturers are Doodlebug Designs and Copic Markers. This means that throughout this month you will be able to purchase any (or both!) of these manufacturers and you will receive a 25% off your purchase! I shared the Doodlebug designs projects with you back on the 1st so today I share my Copic projects.
You normally see people using Copics for coloring in stamps and then adding those beautiful images to their layouts but I'm here to show you that you don't have to be a stamper or a cardmaker for that matter to enjoy Copic markers.
Ok, without any further ado, here is my first layout featuring Copic Markers:
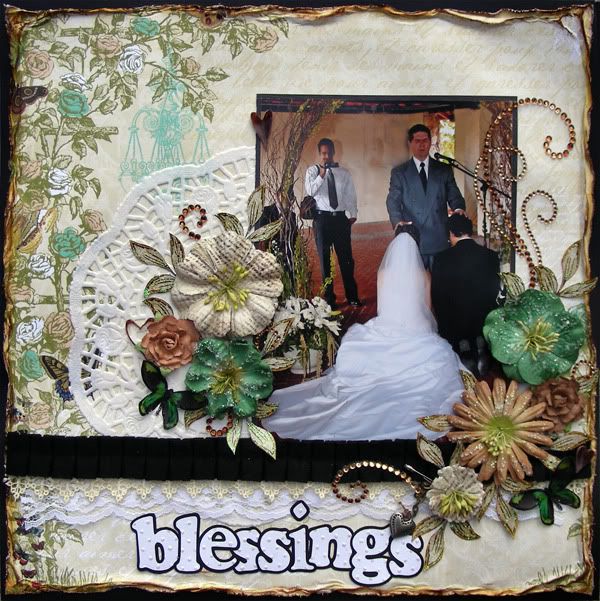
supplies- cardstock: Bazzill; patterned paper: Webster's Pages Life Portrait Light the Way; flowers: Prima Sugar Plum Roses; Recollections; pens: Copic Marker E57; glitter: Stickles; bling: Zva Creative Large Symmetrical Flourishes Clear G; tools: Pazzles Inspiration; other: Grafix shrink film, oven, lace
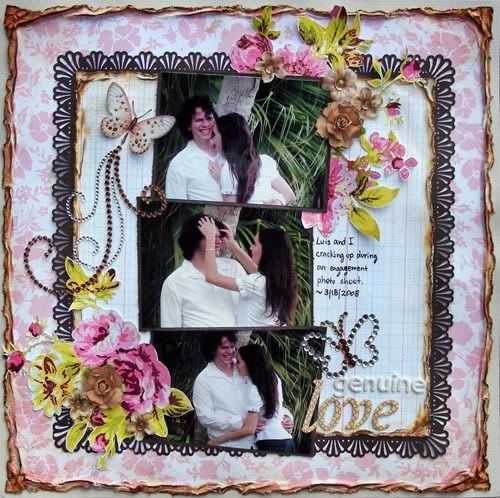
This is yet another layout for my wedding album (yes, I'm still working on it after almost 2 years). I used the yummy Websters paper which so happens to coordinate perfectly with my wedding theme and colors (butterflies and green). I did some water distressing on the edges, added some lace, a doily and used a 5x7 picture of my uncle, the pastor, praying for us. I added my title which I designed with my Pazzles Inspiration and ran through a Cuttlebug embossing dot folder. I'm making all of my titles the same throughout the album so that it flows.
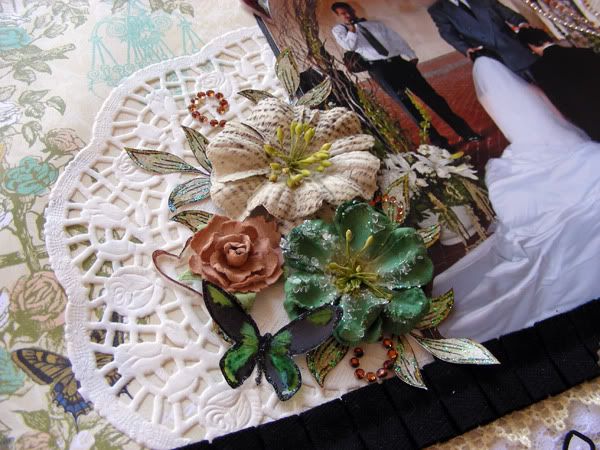
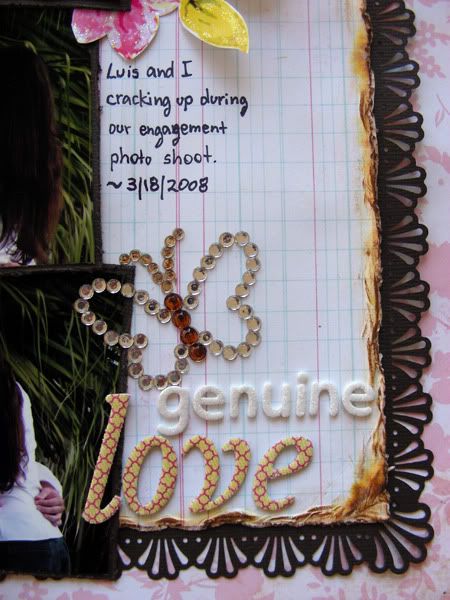
I finished it all of with some Recollection blooms that I picked up at Michaels at 1/2 off (thanks Annie for enabling! LOL) and added some leaves and butterflies, a few heart embellies and some bling. Did you notice the Copics? I bet that you probably didn't!
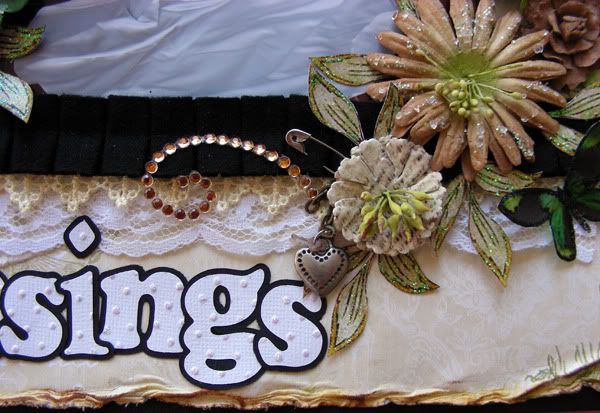
Look closely at the bling-yup, it's brown! I used my Copic marker to color my bling! I needed a brown bling so that it would match my layout but I don't like to buy them in different colors. In fact, I always buy them clear so that I can alter them. Also, if you look closely, with the heart charm there is a tiny brown key.
I made it by using Grafix Shrink Plastic, my Cuttlebug and yup-you guessed it!-a Copic marker!
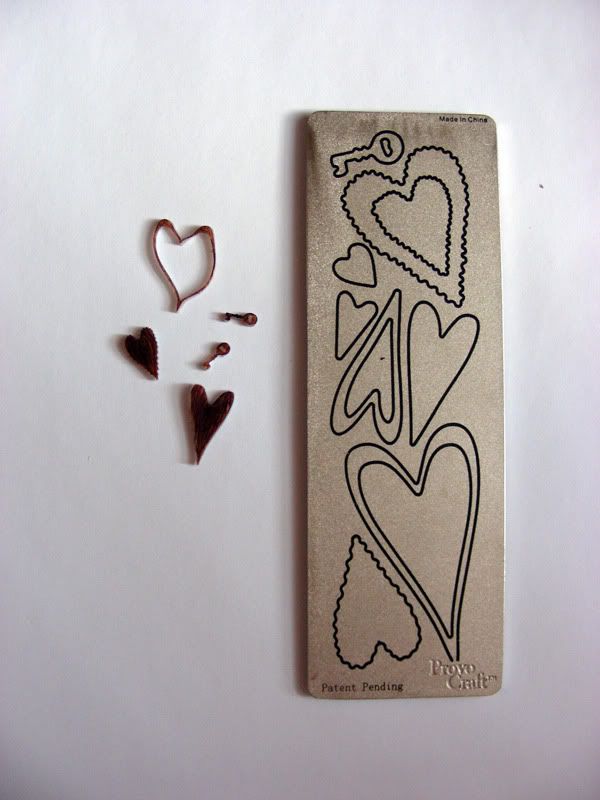
Here is the die cut that I used and the plastic shapes, before coloring it and shrinking it, so you can see how much it shrinks!
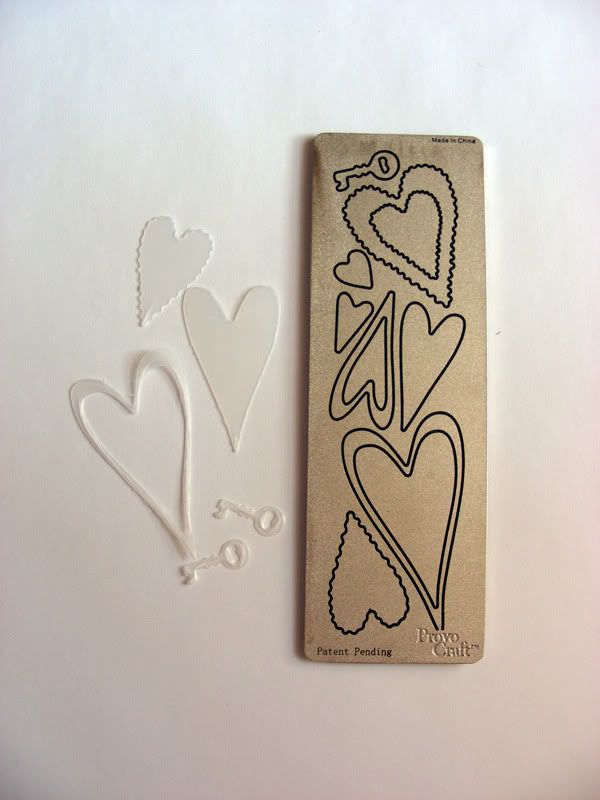
and here is the after. Notice how tiny and thick the pieces are after they have been shrunk!
I know that this is not a new technique but I just discovered this month and boy am I having fun making my own embellies!
TIP: Do you see my skeleton heart how it's all bent out of shape? You can actually heat it up again and shape it before it cools down using a pair of tweezers. I took this picture so I can show you what can happen with thinner pieces and how you can correct it.
Now, let's move on to the next layout.
Supplies-cardstock: Bazzill; patterned paper: The Girl's Paperie Paper Girl Shabby Flower, The Girl's Paperie Paper Girl Cabbage Rose; chipboard: Thickers; flowers: Prima Sugar Plum Roses; pens: Copic Marker E57, Sharpie; glitter: Stickles; jewels: The Robin's Nest Dew Drops,Imaginisce i-Rock Hot Rocks Compact Crystal; bling: Zva Creative; tools: Imaginisce i-Rock; punch: Martha Stewart; other: small white flowers from Michaels flower department, handmade white thickers
I must admit that I LOVE how this layout turned out! I used the yummy The Girl's Paperie papers which I water distressed and inked with Tim Holtz Vintage Photo Ink pad.

I fuzzy cut the flowers from the pattern paper and added them to my layout. I added a few brown Prima flowers but ran into trouble when I was looking for smaller brown flowers and I couldn't find any in my stash. Just then I remembered that I had a few tiny white flowers and a Copic marker in brown and voila! I colored in from the center out with the marker and got instant brown/cream colored flowers for my layout! I finished them off with some dew drops in yellow.

I added a butterfly and again, I spruced up Zva Creative bling with my Copic marker to make the layout flow and match.
Finally, I used my i-Rock Tool from Imaginisce to make this bling butterfly.
----------------------------------------------------------
Here is a quick tutorial for you. I actually wrote a review on the i-Rock in the March 15th, 2011 AWDML newsletter, if you are interested in reading about it before you buy it.
Step 1. Trace a butterfly pattern or hand draw your own. I used the other butterfly in my layout as a template for my bling butterfly.
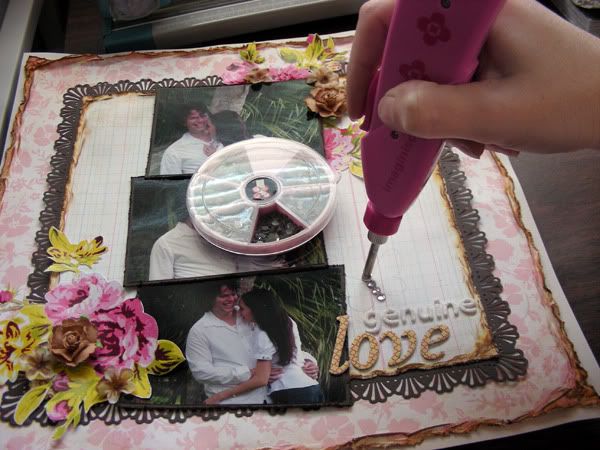
Step 2. Using your i-Rock bling, lay them out on your traced line. Turn your i-Rock tool ON, press the light pink button for a few seconds to heat up the tip, and touch the bling lightly- no pressure needed.
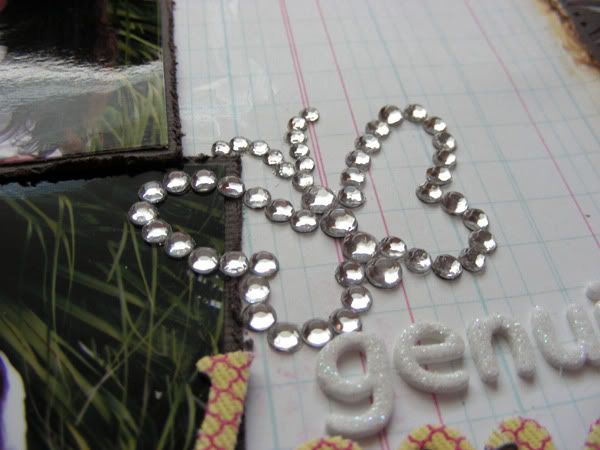
Step 3. Use different size bling to add depth. This is the finished bling butterfly.

Step 4. (OPTIONAL) Color your butterfly center and antennas with a Copic marker to make it coordinate with your layout.
Here is the finished butterfly:

----------------------------------------------------------
Now, my last two projects for Copics are cards.
supplies-patterned paper: Prima Marketing; pen: Copic Marker E57; jewels: Imaginisce i-Rock Hot Rocks Compact Crystal; stamp: My Pink Stamper; tools: Cuttlebug, Imaginisce i-Rock; other: Grafix shrink film, oven, lace
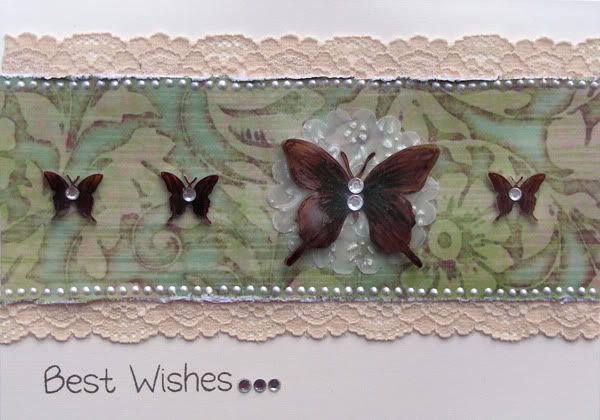
This first card is very generic as I stamped a Best Wishes sentiment on it. I used some lace on a cream colored base and a green Prima paper that I've had for a while now.

The butterflies were done with the shrink plastic. The bigger one I hand draw and cut out while the smaller 3 were cut out with a Cuttlebug die cut. I painted them with my Copic marker and drew in some lines simulating the veins seen in some butterflies. You can see some of them in the bigger butterfly. I finished the card with a few white 3D paint along the green paper edges and a few bling on the butterflies' bodies and next to the sentiment.
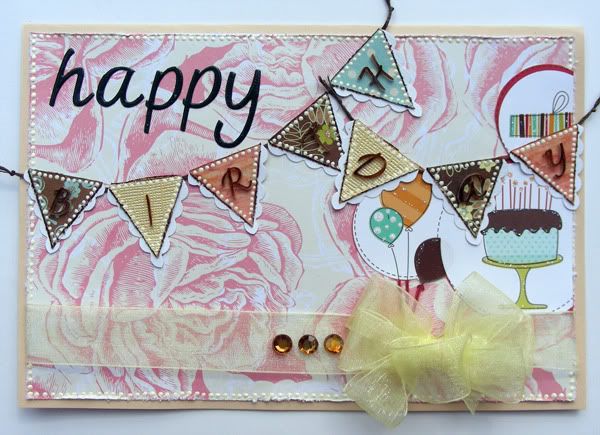
This next card is a Happy Birthday card:
supplies-patterned paper: Colorbok; pen: Copic Marker E57; tools: Cuttlebug; other: Grafix shrink film, oven, ribbon
This card was a lot of fun to make. It measures 8"x5.5". Again, the base is a cream colored cardstock and is based on my sketch.
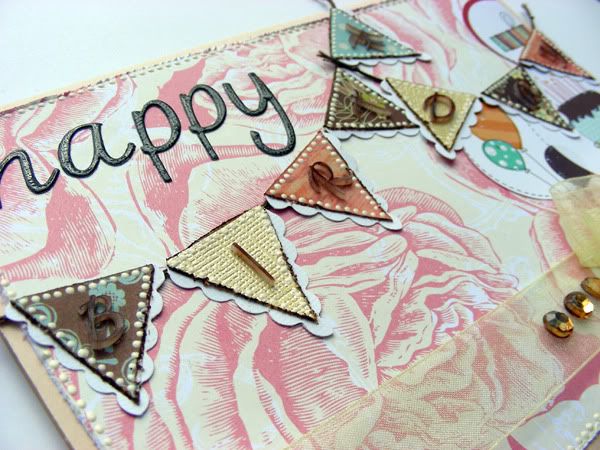
I handmade the banner using only scraps of pattern paper and made a tutorial on how to do it. If you like the banner and would like to learn how to make your own using scraps of papers, check out my AWDML blog post today!
I cut out a cake and presents from a Imaginisce pattern paper and I added a ribbon bow that I made with yellow ribbon. The word birthday is cut out with the cuttlebug using the shrink plastic and Copic marker. It gives a great depth and texture to the card! I finished the card off by adding some 3D paint pearls all round the border.
Thank you so much for coming by my blog today. I hope that you enjoyed all the little tips and tutorials that I have given you today. I hope that after reading my blog post today you will not be scared to pick up a few Copic Markers and try them out-even if you don't call yourself a cardmaker!
Have a great rest of the week!

I love all your work!
ReplyDelete