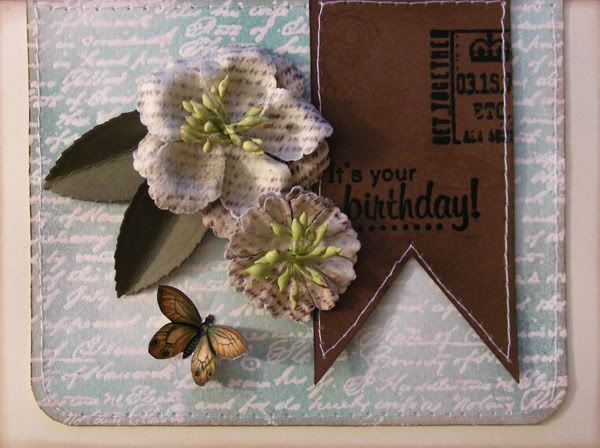
Supplies-
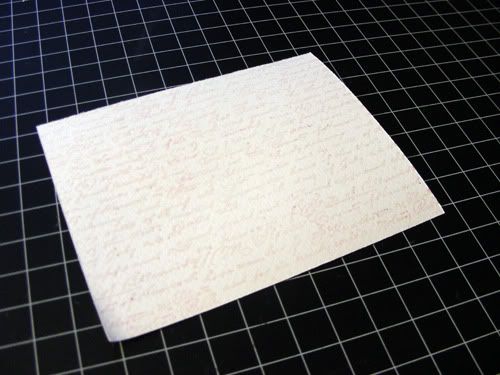
Step 1. Cut down a white cardstock to 5"x4". Stamp and emboss the Prima Notary stamp using clear embossing powder.
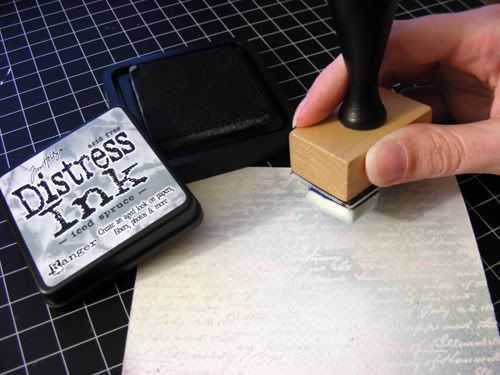
Step 2. Using the Tim Holtz tool, apply Spruced Ice distress ink from the Winter Set randomly over the embossed image,leaving some areas white.
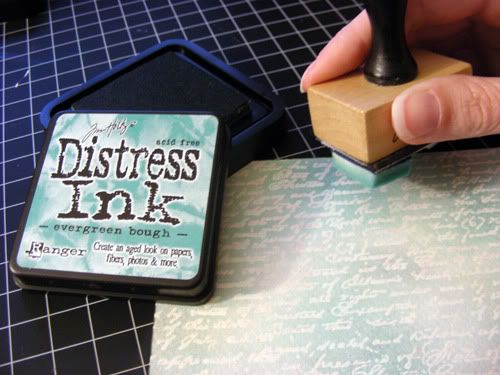
Step 3. Using the Tim Holtz tool, apply Evergreen Bough distress ink from the Winter Set randomly over the embossed image, overlapping the previous colors but still leaving some areas white.
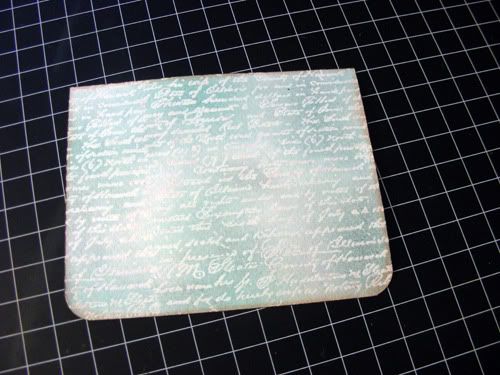
Step 4. Round up the bottom corners and ink the edges with Vintage Photo Distress Ink.
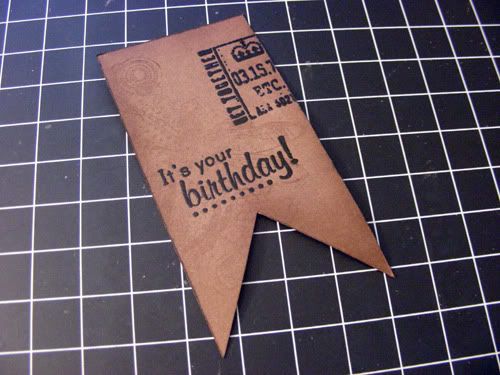
Step 5. Cut down a strip of brown cardstock to 3"x2" and make a banner pendant with it (snip off a V shape in the bottom). Distress the edges with Vintage Photo distress ink and stamp a dragnfly image from the Inkadinkado Morphic Bugs set with this ink as well. Emboss with black embossing powder the birthday sentiment from Fiskars All Year Greetings and BoBunny Etc Stamp.
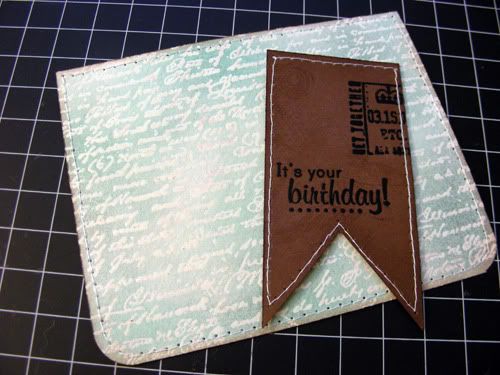
Step 6. Machine stitch both of these layers individually.
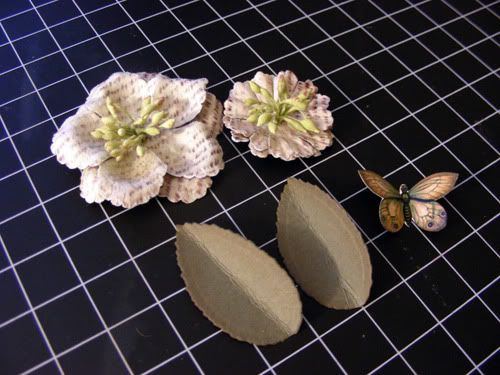
Step 7. Gather your embellies-two flowers, two die cut leaves from the Spellbinders Rose Creations dies, and a handmade butterfly.
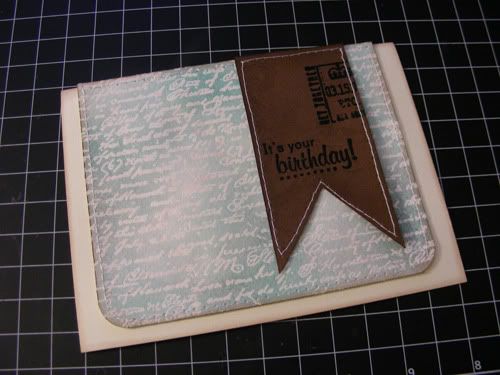
Step 8. Adhere the background handmade paper to a 5.5"x4.25" cream card base. To make this just fold a 8.5"x11" cardstock in half and then cut this folded piece in half to get two 5.5"x4.25" card bases. Glue the pennant over the handmade paper on the right side of the card, as shown.

Step 9. This is the finished card. To finish it, just add your embellies around the pennant and that's it!
I hope you enjoyed this step by step tutorial for this birthday card using Tim Holtz's Winter Ink Set!

cardstock: Bazzill, Recollections;
flowers: Recollections;
ink: Tim Holtz Distress Ink Pads Seasonal Winter Set (iced spruce, evergreen bough), Vintage Photo; Ranger Tim Holtz Embossing pad, Ranger Tim Holtz embossing powder (clear, black);
stamps: Prima Notary Script, Inkadinkado Morphic Bugs stamps, Fiskars All Year Greetings, BoBunny Etc stamps;
tools: Spellbinders Rose Creations die, Cuttlebug machine, Tim Holtz blending tool, Marvy Uchida Embossing Heat Tool;
other: sewing machine

Step 1. Cut down a white cardstock to 5"x4". Stamp and emboss the Prima Notary stamp using clear embossing powder.

Step 2. Using the Tim Holtz tool, apply Spruced Ice distress ink from the Winter Set randomly over the embossed image,leaving some areas white.

Step 3. Using the Tim Holtz tool, apply Evergreen Bough distress ink from the Winter Set randomly over the embossed image, overlapping the previous colors but still leaving some areas white.

Step 4. Round up the bottom corners and ink the edges with Vintage Photo Distress Ink.

Step 5. Cut down a strip of brown cardstock to 3"x2" and make a banner pendant with it (snip off a V shape in the bottom). Distress the edges with Vintage Photo distress ink and stamp a dragnfly image from the Inkadinkado Morphic Bugs set with this ink as well. Emboss with black embossing powder the birthday sentiment from Fiskars All Year Greetings and BoBunny Etc Stamp.

Step 6. Machine stitch both of these layers individually.

Step 7. Gather your embellies-two flowers, two die cut leaves from the Spellbinders Rose Creations dies, and a handmade butterfly.

Step 8. Adhere the background handmade paper to a 5.5"x4.25" cream card base. To make this just fold a 8.5"x11" cardstock in half and then cut this folded piece in half to get two 5.5"x4.25" card bases. Glue the pennant over the handmade paper on the right side of the card, as shown.

Step 9. This is the finished card. To finish it, just add your embellies around the pennant and that's it!
I hope you enjoyed this step by step tutorial for this birthday card using Tim Holtz's Winter Ink Set!


Amy ...this is just beautiful! thanks for all the instructions!
ReplyDelete