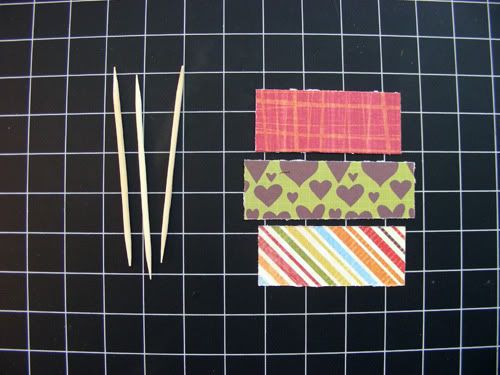
Step 1. Trim three coordinating pieces of paper to about 2"x1" and gather 3 toothpicks from your kitchen.
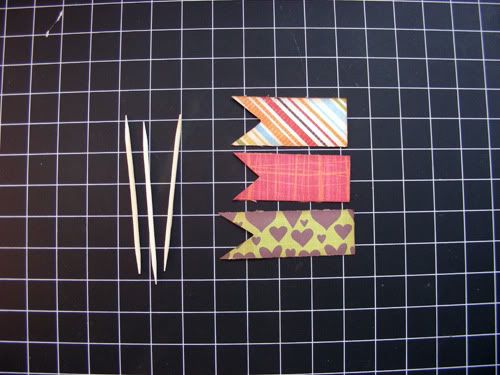
Step 2. Cut a V on each pattern paper.
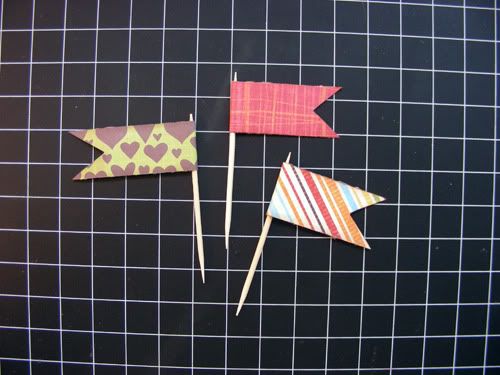
Step 3. Wrap a piece of the paper around the toothpick and hold it tight until the glue dries.
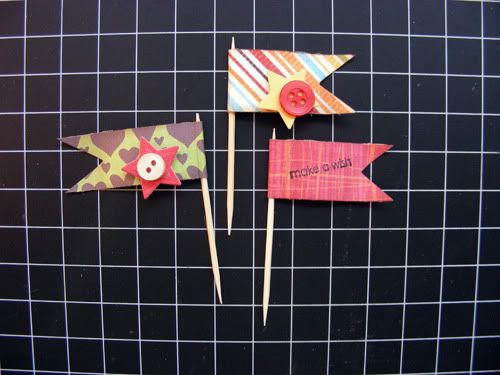
Step 4. Add embellies: stars, flowers, butterflies, circles, stamped sentiments, buttons-anything you want. You now have three small flags to use in your project!
Here is the birthday card that I made with my flags:
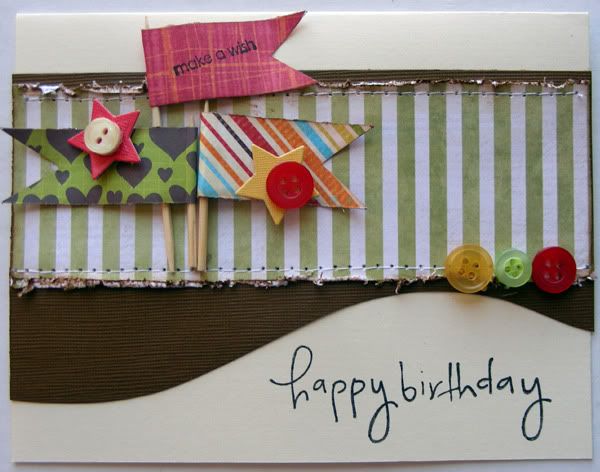
Supplies-
cardstock: Bazzill;
patterned paper: My Mind's Eye Lost and Found Two 6x6 designer paper pad-Breeze;
ink: Ranger Tim Holtz Distress Ink (Vintage Photo), StazOn Archival Ink (Jet Black);
stamp: Basic Grey Delta Series Acrylic Stamps Birthday Hat;
tools: Tim Holtz Paper Distresser;
other: buttons from my stash, sewing machine
and a close up of my embellies:
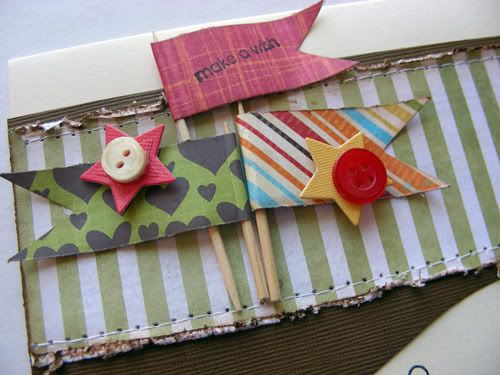
I hope that you enjoyed this embellie step by step tutorial and can make good use of those scraps! I used Sketch Support's Bonus Sketch #9.


too cute!
ReplyDeleteI just love all of your ideas and creations!! Thanks so much for posting this idea on using scraps to make flags/banners!! Thank you for your lovely comment on my blog!!
ReplyDeletethey look adorable...and fabulous on the card!
ReplyDelete