
Supplies:
- polymer clay
- toothpick
- Heartfelt Creations Tattered Collage Precut Set (HCPC 3471)
- black archival ink
- Tim Holtz distress markers
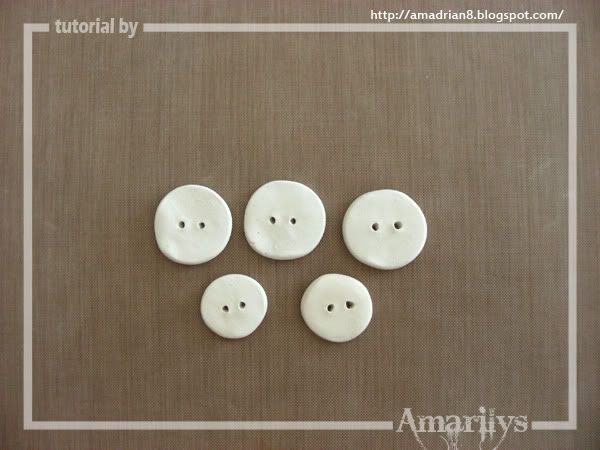
Step 1. Soften your clay and make small circles. Squish them to about 1/8th of an inch or about the thickness of a real button. Poke two holes with a toothpick. Bake your clay following the instructions on the package. Let cool before handling.
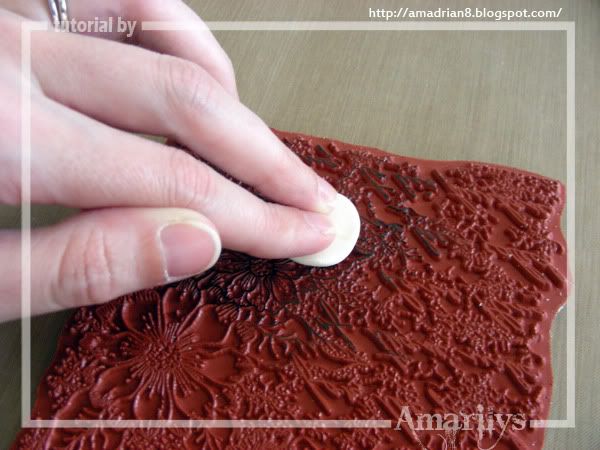
Step 2. Ink random areas of the background stamp and press your button down into it.
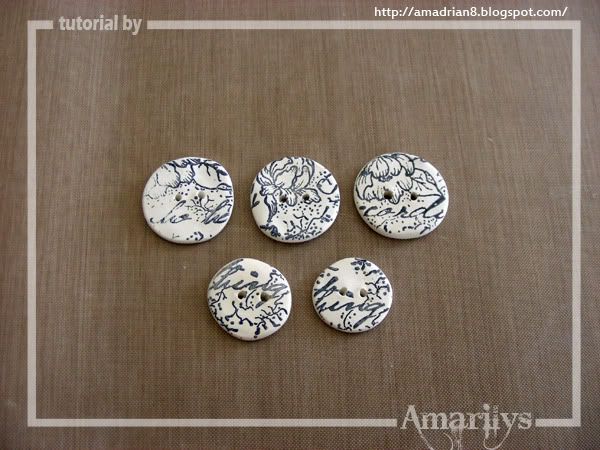
Step 3. When you are done, you will end up with something like this.
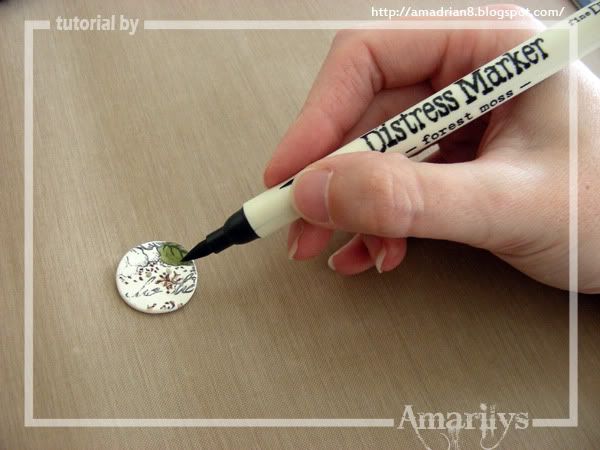
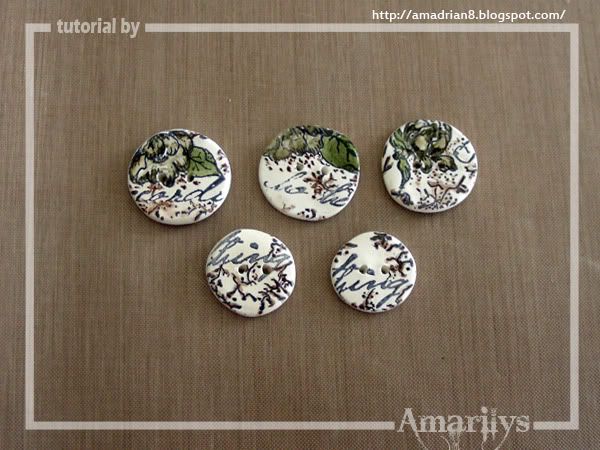
Step 4. Color in your button to add color using distress markers.
Step 5. You will end up with completely custom made buttons that can be used in your cards and layout!
I hope you enjoyed this quick tutorial. Come back next week and I'll show you the layout that I made with these!

Wonderful tutorial! You make it look easy - I'm going to have to try it out. Thanks!
ReplyDeleteLisa, it REALLY IS easy and so much fun to do!
DeleteLove this...now I know what to do with my leftover clay!
ReplyDeleteWow gotta try this!! I have some clay I want to try. They remind me of the prima tiles. Did u seal it with anything???
ReplyDeleteI'd love to see your buttons Keren! No, I didn't seal these but I'm sure you can use glossy accents or diamond glaze to seal them
Delete