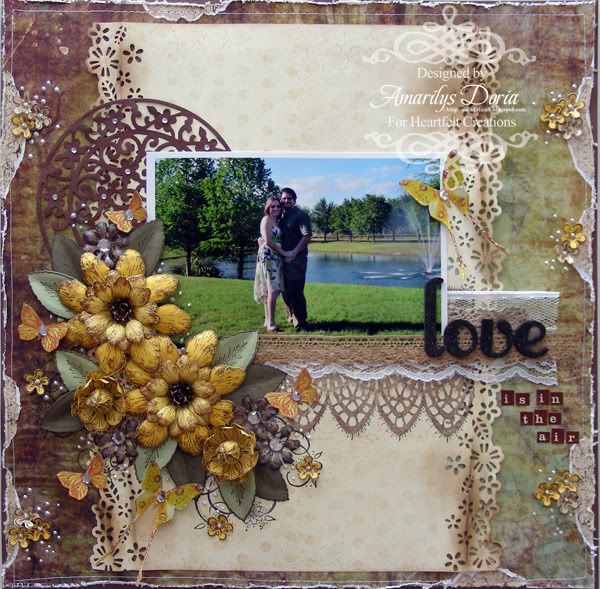
Anyway, here's my layout for Heartfelt Creations using their newest Collection: Old English Garden Collection. I wanted to make this layout soft and feminine as well as Springy so I came up with this layout:
Supplies-
Heartfelt Creations:
HCPC 3403 Shabby Chic Lace PreCut Set
HCPC 3407 Botanical Floral 2 Precut Set
HCPC 3439 Flirty Fleurs Precut Set
HCPC 3468 Tattered Blosoms Precut Set
HCPC 3469 Tattered Blossom Swirls Precut Set
HCPC 3470 Broken Cinder Blocks Precut Set
HCPC 3473 Tattered Background Precut Set
HCD 717 Layered Scalloped Posy Die
HCD 722 Tattered Blossoms Die
452255 Grand Calibur
472186 Rose Creations Shapeabilities
Other:
BoBunny Beautiful Life Dots, Tim Holtz Distress Inks (Antique Linen, Walnut Stain), StazOn Archival Ink (Jet Black), Fiskars Sun punch, Martha Stewart Punch Around the Page (Wild Flowers), Rangers Liquid Pearls (White Opal), Rangers Stickles (Diamond), Kaisercraft Lace Pack (Natural), Bazzill Cardstock (light & dark green, dark and light yellow, brown), Recollections cardstock (cream), i-Rock Tool, Rhinestones, American Crafts Thickers, Cosmo Cricket mini alphas (brown), sewing machine
I used this year's Easter picture of my hubby and I because I just love it! This year we volunteered to take family pictures at a local brand new small church to give them as a gift. We set up our Nikon camera and our tripod and snapped away. At the end of the day, we took 90 good pictures between the service, family pictures and candid kids pictures. This one is the picture that my hubby and I took of ourselves with a RF remote control at the end so we could also have our picture taken. I'd say this little remote control is the best $5 we have ever spent lately!
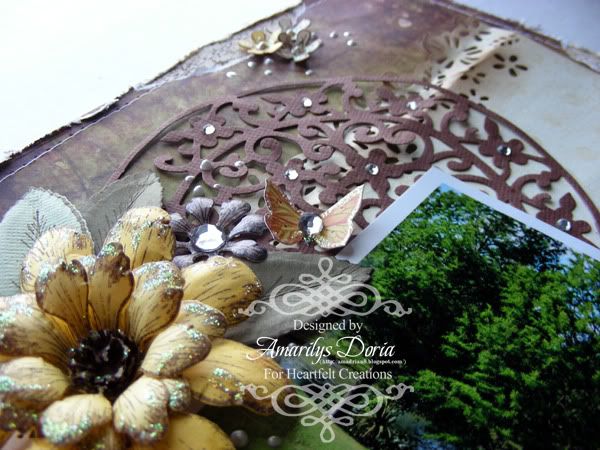
I added a doily die and butterflies and small liquid pearl dots to accent this layout.
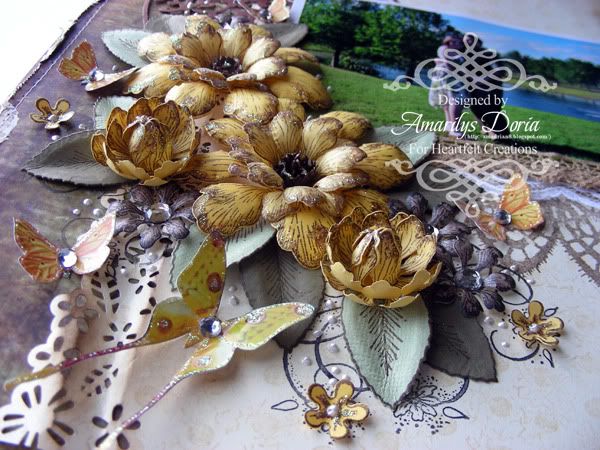
Of course, I made a bunch of blooms to embellish my layout. There are so many ways you could use these flower stamps/dies to make flowers! I think it might become my favorite very, very soon! I stamped the flower stamp with Walnut Stain on yellow Bazzill cardstock.
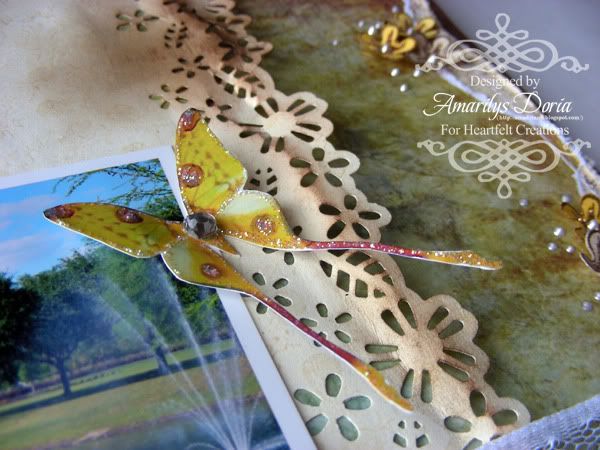
I added some butterflies throughout the layout as well. I love how much they add to the layout!

I added some butterflies throughout the layout as well. I love how much they add to the layout!
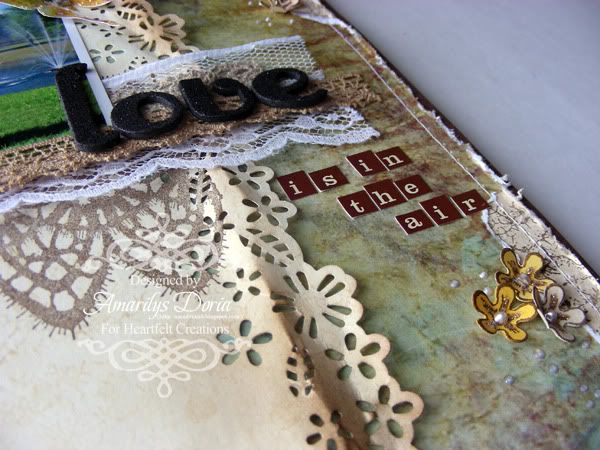
I made the cream colored paper using one of the background stamps in this set and then punched 2 of the edges with Martha Stewart Wild Flowers punch. I used Thickers and tiny letter stickers for my title.
Here is the step by step write-up for this layout:
Stamp the dot Tattered Background on a 8.5”x11” Recollections cream cardstock with Antique Linen distress ink. Punch 2 of the edges using Martha Stewart Wild Flowers punch and lightly ink them. Randomly tear small pieces of paper from the BoBunny pattern paper. Stamp the Broken Cinder Blocks stamp on a cream color cardstock and layer beneath the peek a boo areas. Distress all the edges and adhere to the background brown cardstock. Machine stitch around all the edges. Adhere the punched and stamped 8.5”x11” sheet of cardstock to the center of the background. Stamp the Shabby Chic Lace in the middle of the cream cardstock and layer a white lace over it. Die cut a Layered Scalloped Posy circle lace in brown and adhere to the left side of the layout. Add your photo over the doily and lace. Layer a few more pieces of brown lace over the photo. Stamp the Tattered Blooms onto yellow cardstock using Walnut Stain distress ink and die cut using the matching dies. Layer you blooms and add to the page in the bottom left side of the photo. Punch 4 suns using the Fiskars Sun Punch, scrunch them up, and add as flower centers for the large flowers. Add rhinestones as the centers for the smaller, single layer blooms. Stamp the Tattered Blossoms Swirls in black twice under the cluster to make it look like a rub-on. Stamp, die cut and adhere a few small flowers from the Flirty Fleurs Precut Set around the cluster and peek-a-boo areas. Stamp and die cut a few leaves and add to the cluster. Add liquid pearl dots as flower centers for the small flowers and randomly around the clusters for added interest. Add rhinestones using the i-Rock tool to the brown die cut circle doily. Add your title to the right side of the photo. Finally, add a few randomly placed butterflies around the cluster and photo. Finish by adding stickles to the booms and butterflies.
Thank you for stopping by my blog today! Remember to go to the Heartfelt Creations BLOG and check out what the other designers made this week!


Beautiful layout! I especially like the flowers - some fully open, and some still closed. Really nice.
ReplyDeletethis is just so yummy and yes your flowers are gorgeous!!!!!!!!!!!!!!
ReplyDeleteAmy this is so pretty and your close ups are exquisite. The flowers are over-the-top gorgeous!
ReplyDeleteWhat an amazing layout! I admire your detailed work and the colors are, as usual, fantastic!
ReplyDeletehugs 'n smiles,
Emmy