
Supplies:
- Tim Holtz Tattered Florals die
- Cuttlebug Machine
- Tim Holtz (Vintage Photo)
- Rangers Stickles (Diamond)
- Prima Flower Centers
- stylus
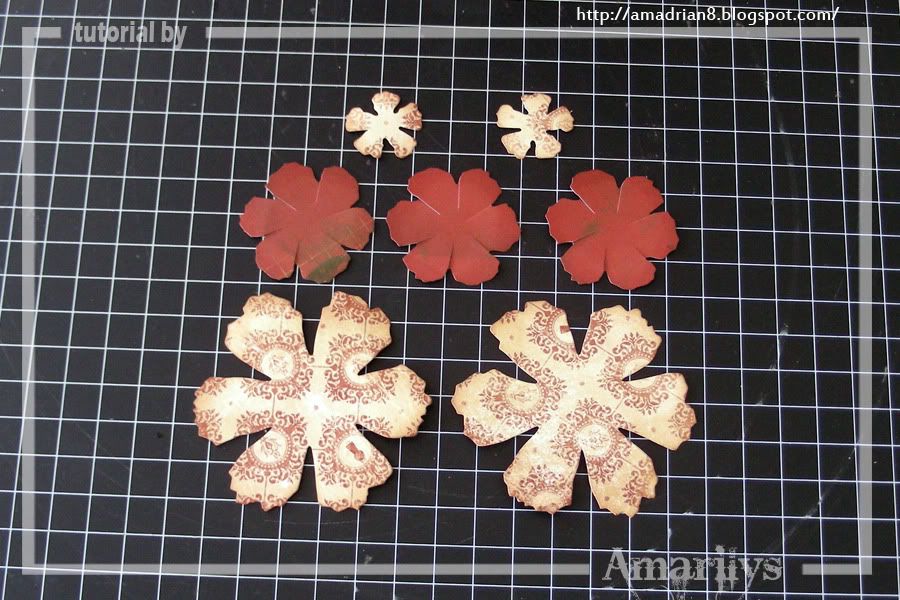 Step 1. Die cut 2 large, 3 medium and 3 small blooms from the Tattered Florals Die from one pattern paper. Flip the medium blooms over to expose the other side of the pattern paper for contrast.
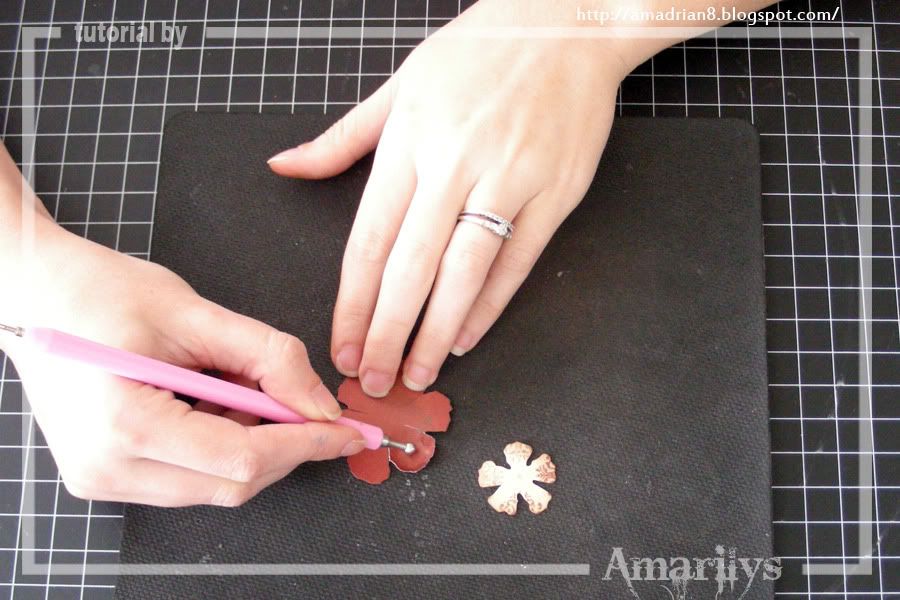 Step 2. Using a stylus and mat (I use my mouse pad), work on each petal by embossing in a circle around the petal on the opposite side of the pattern paper. Do this to both the medium and small dies.
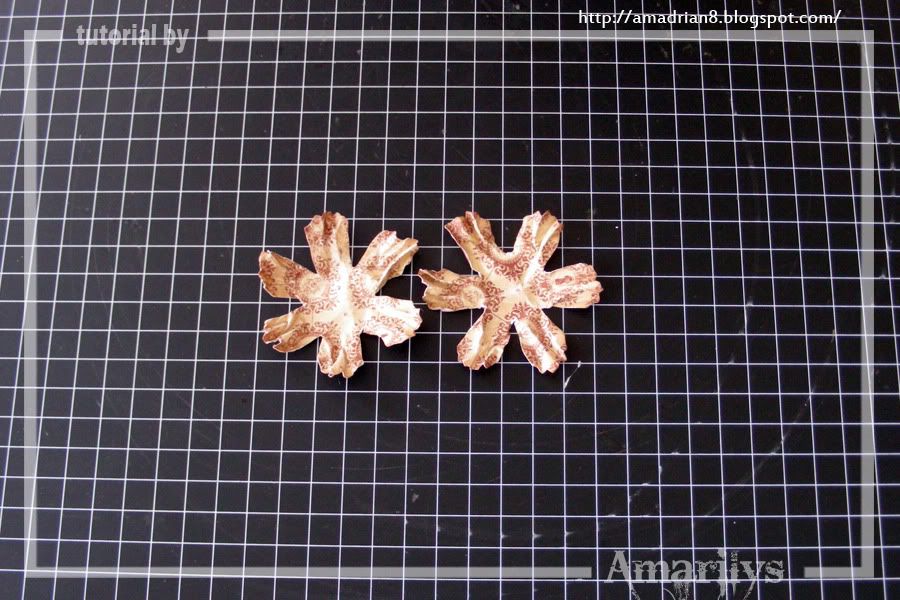 Step 3. For the large dies, spritz them with water and let them stand for 10-15 secs. Dry them and scrunch up the individual petals like so. Let dry.
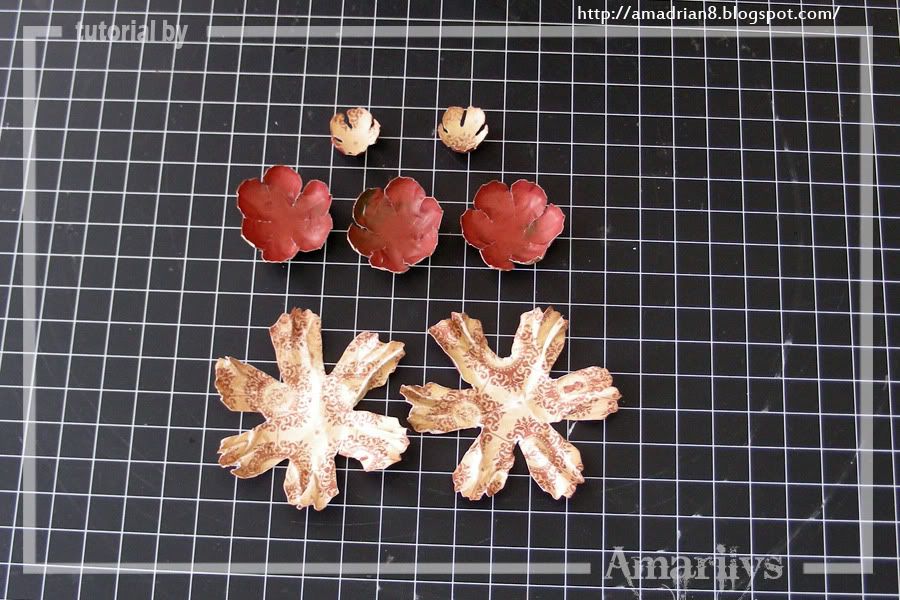
Step 4. At this point your dies should look like this. Ink the edges with Vintage Photo.
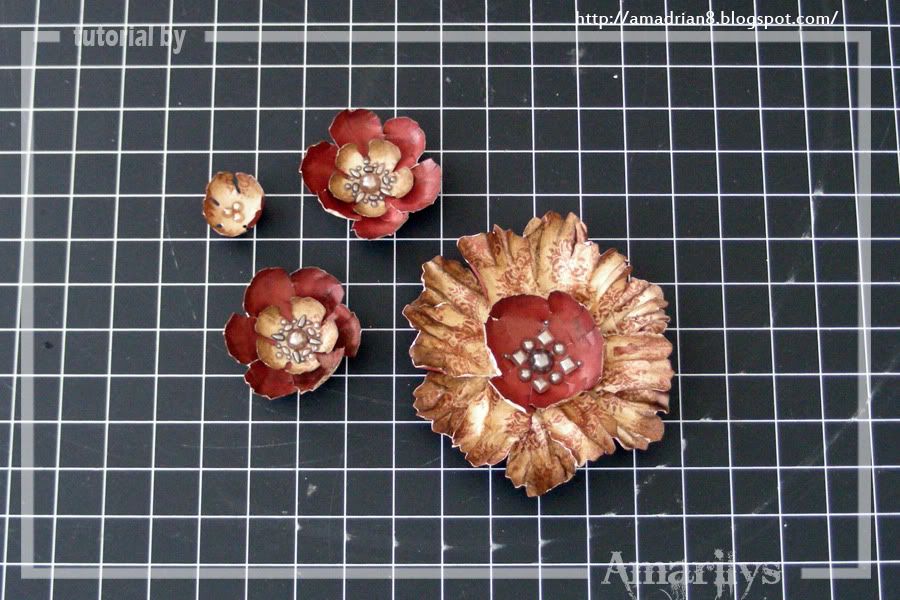 Step 5. Layer your dies to make 3D flowers and add a Prima Flower Centers to each bloom. You can use these flowers as they are right now or add stickles to the edges.
I hope that you enjoyed this step-by-step tutorial and now feel confident to make your own flowers!

too cute
ReplyDelete