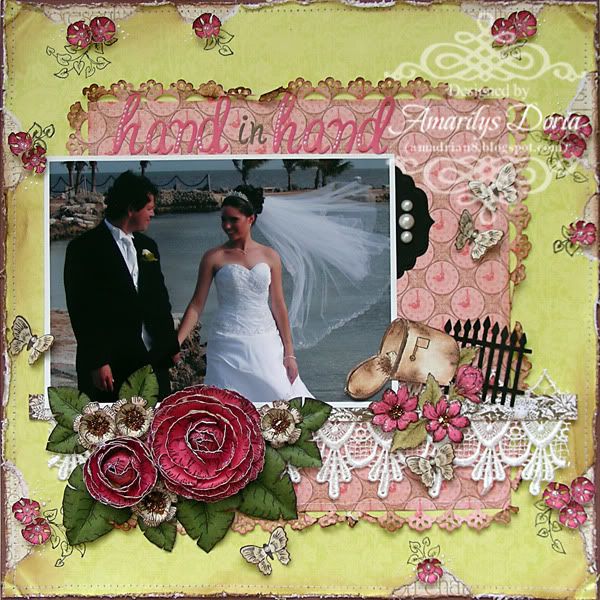
Today I would like to share with you another wedding layout that I made for Heartfelt Creations using Scrap That! June Kit, "Life's Muse".
Supplies-
Heartfelt Creations: HCPC 3376 Distressed Leaves Precut Set
HCPC 3438 Carnation Florals 2 Precut Set
HCPC 3448 Dainty Blooms and Birdies Precut Set
HCPC 3475 Special Delivery Precut Set
HCPC 3480 Brookside Manor Precut Set
HCD 723 Garden Romance Die
452255 Grand Calibur
472185 Shapeabilities Carnation Creations
393386 Shapeabilities Labels 4
9brn Brown Gala Glitz
Other:
Websters Pages Everyday Poetry Collection, Green Tara White Lace, Tim Holtz Distress Inks (Vintage Photo), StazOn Archival Ink (Timber Brown), Ranger Distress Markers (Forrest Moss), Recollections White Pearls, Prismacolor Pencils (PC945, PC947), Mona Lisa OMS, Rangers Liquid Pearls (White Opal), Rangers Stickles (Diamond), Bazzill Cardstock (brown), Martha Stewart Punch Around the Page (Vintage Flowers), sewing machine
This kit was so amazing to work with and I couldn't just miss the opportunity to create a wedding layout with it! I chose this picture because is one of my favorites. It is actually a candid shot and I love how we are looking at each other and my veil was just flying with the wind.
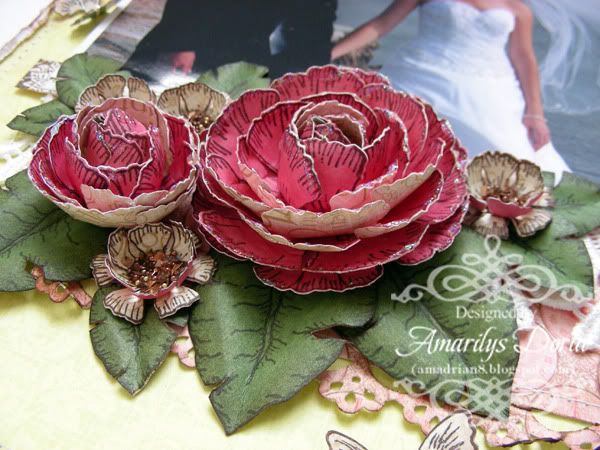
I made two large pink blooms and several smaller flowers for my cluster. I used 4 large and 4 one size down to make the large bloom. I used only 4 of the second size down to make the smaller flower.
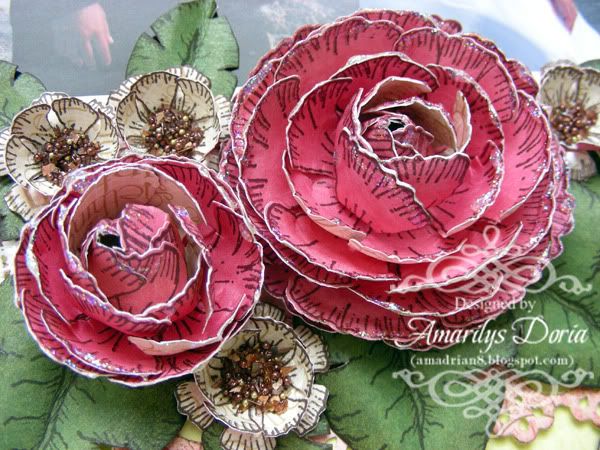 For the smaller flowers, I used the smallest die to make two. I then layered them inside each other and added gala glitz (I love this stuff!). I stamped and cut some leaves and added them to the cluster.
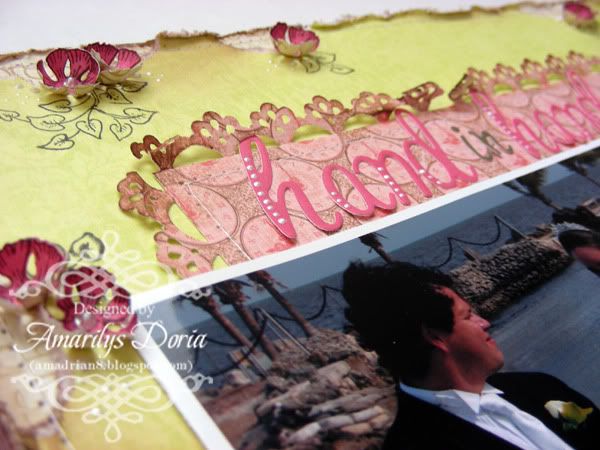
I punched and distressed the pink pattern paper. I added tiny liquid pearl drops to the title for added bling. This is actually one of my favorite techniques to do!
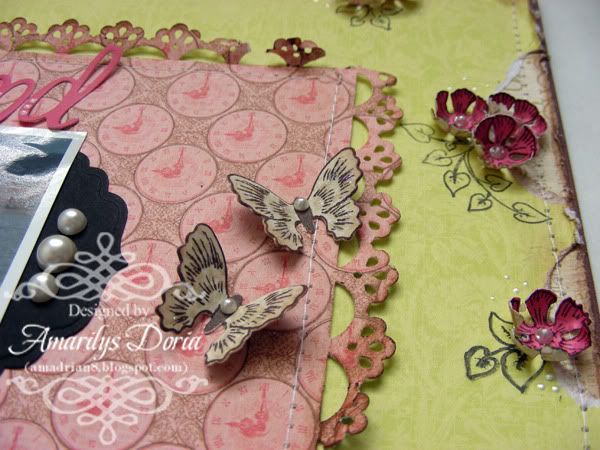
I made peek-a-boo areas on the green background paper and added some stamped black leaves and pink blooms.
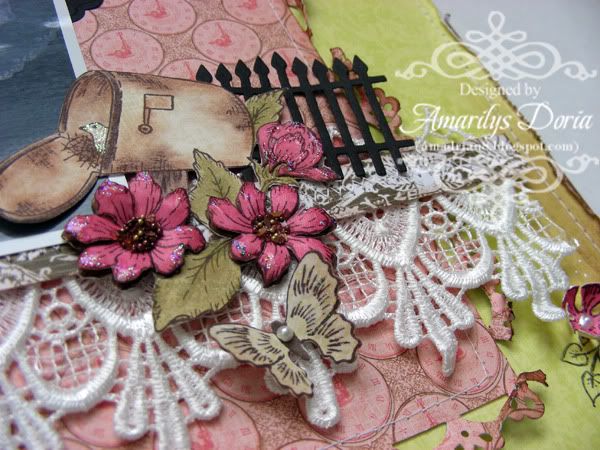
I added a small mailbox with a dove in it and an iron fence over the gorgeous thick lace.
Here is the step by step write-up for this layout:
Start with a lime green pattern paper and distress the edges. Tear in random areas and add a script pattern paper underneath to create peek a boo areas. Adhere to background brown cardstock and machine stitch the edges. Punch around the edges of a pink 9” pattern paper. Distress the edges by tearing and inking some areas. Machine stitch this later unto the center of the background. Add a white lace over the bottom side of the background pink pattern paper and add a brown strip of paper over it. Add your 5”x7” photo on the left side over the lace. Die cut a Labels 4 die and add under the photo, making sure that only a little bit shows on the top right side of the photo. Add three pearls over it. Stamp and color the mailbox and flowers image with the Prismacolor pencils and Rangers marker. Stamp a second image on pink pattern paper and cut out the flowers. Layer the pink flowers over the mailbox image and lift up the petals. Add gala glitz in the center and stickles to the edges. Fuzzy cut image and add over a die cut fence on the right corner of the photo. For the flowers, stamp and die cut 4 of the largest and next larges carnations unto pink pattern paper. Shape the flower dies to make a big layered bloom and adhere together. Use only 4 smaller die cut flowers for the smaller pink flower. For the smaller cream colored blooms, stamp and die cut two smaller blooms per flower. Die cut and layer together. Add gala glitz to the center. Adhere the blooms to the bottom of the photo. Stamp and cut some leaves from the Distressed Leaves Precut Set. Ink the edges and add to the cluster. Stamp and die cut a bunch of small carnations for the peek a boo areas. Lift up the petals and place them randomly in the peek a book areas around the page. Using the birdies stamp from the Dainty Blooms and Birdies Precut Set, ink different areas of leaves at a time and stamp directly below the peek a boo areas to add some leaves to the cluster. Add liquid pearls to the center of each bloom and randomly placed liquid pearl dots around the clusters. Finally, stamp and die cut a few butterflies. Add a pearl center and add randomly to the layout. Add stickles to the blooms and butterflies.
Thank you so much for stopping by my blog today. I really appreciate all of your comments! Remember to go to the Heartfelt Creations BLOG and check out what the other designers made this week!


Love this layout. You look so happy. Thanks as always for sharing.
ReplyDeleteWhat a beautiful layout!! I love how you did the flowers!!!
ReplyDeleteSo, so gorgeous! Love those flowers!
ReplyDeleteI sure hope you are making duplicate layouts so you can keep all these gor-geee-us pages for your own albums!! So many nice details you included!
ReplyDeleteGorgeous layout ! So many beautiful details! Blessings! Kathy
ReplyDelete