
Tip: Use Spellbinders nestabilities dies to make your own frames for cards and layout.
The idea is simple:
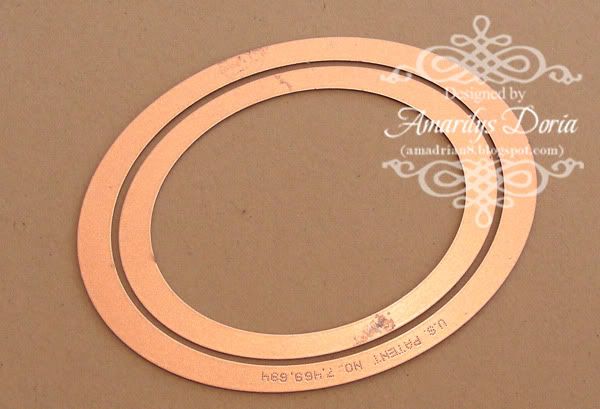
1. Run two different size dies, one inside the other, through the Cuttlebug machine to cut, like so.
2. Run it again using your embossing mat and emboss the space in between the two dies.
3. Remove die cut and use in your project!
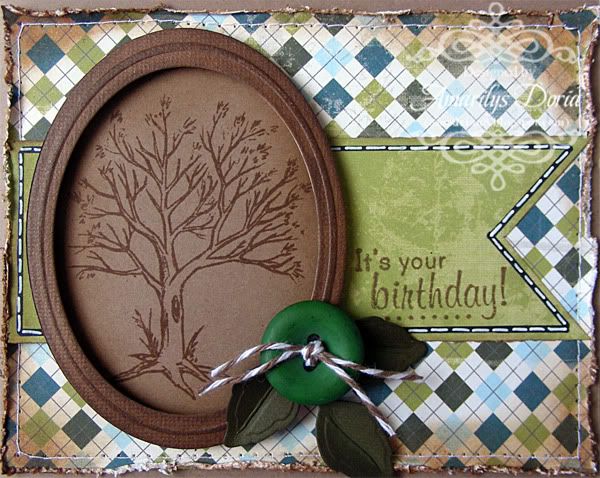
You can then ink this frame and pop dot it unto another layer of die cut cardstock to mat your stamped image, like I did in my card below:
cardstock: Recollections;
patterned paper: Authentique 6x6 Bundle Collection: Loyal;
buttons: Buttons Galore Button Bonanza Rainforest;
twine: The Twinery Twine Cappuccino Bundle;
pens: Black Sharpie, Signo white pen;
ink: Rangers Tim Holtz Distress Ink (Vintage Photo);
stamp: Stamp School Natural Landscape, Fiskars All Year Greetings clear stamps;
tools: All Night Media Foam Pop Dots 1/2", Cuttlebug machine, Spellbinders Classic Ovals Large, Tim Holtz Paper Distresser tool, Ranger Ink Blending Foam Tool Handle, Ranger Ink Blending Foam Refills, Spellbinders Foliage dies;
other: sewing machine
Here's a close up of my card:

I hope that you enjoyed this little tip and can use it to spruce up your projects!

No comments:
Post a Comment
Thank you for taking your time to comment on my blog!