Supplies:
- Spellbinders Rose Creations
- Manual Die cutting Machine (I use the Cuttlebug)
- Ranger Stickles Icicle
- White Pearl Brad (included in kit)
- Cream Cardstock (included in kit)
- mini mister with water
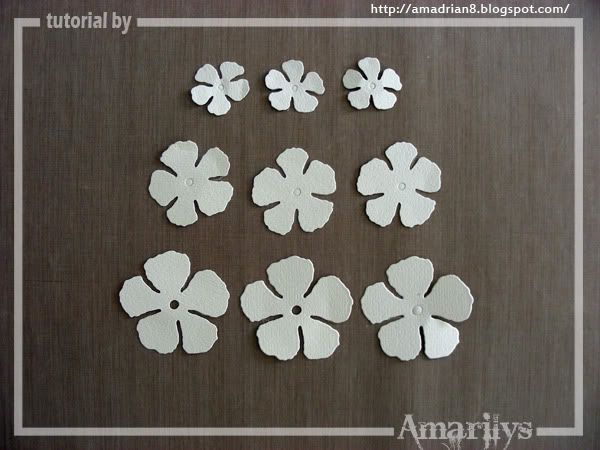
Step 1. Die cut 3 of each size from the smallest up.
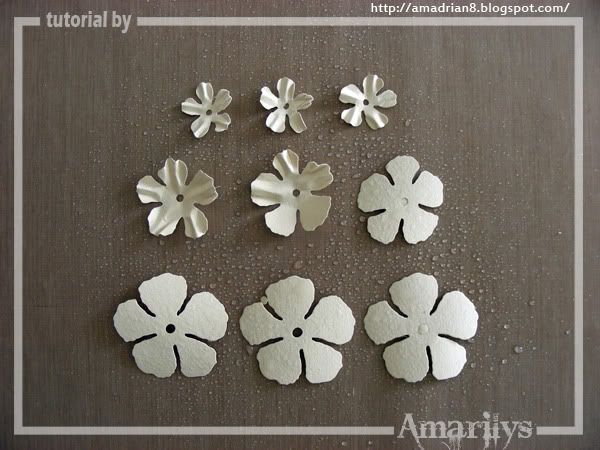
Step 2. Mist them with water and start pinching each individual petal as shown.
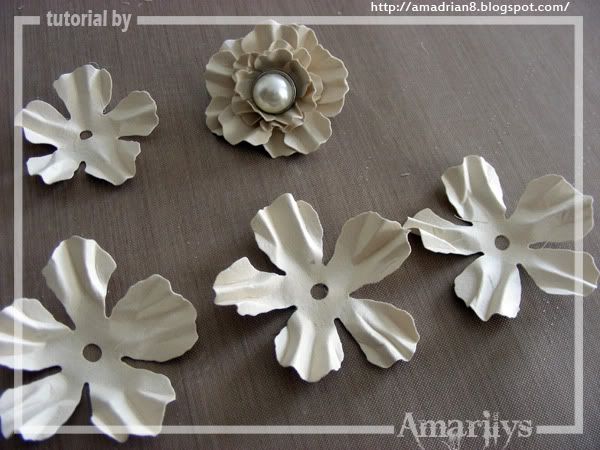
Step 3. Use a pearl brad and start layering them from the smallest to the larges and staggering the petals to make a fluffier bloom.
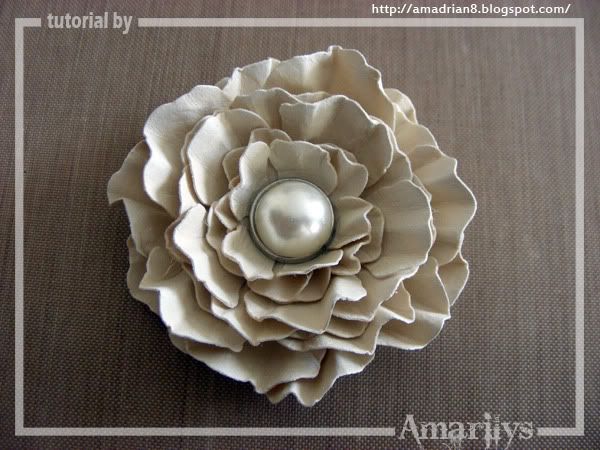
Step 4. Your bloom should look like this when you are done. You can move the individual dies around until you are happy with your flower. You can also add a bit of adhesive between the larger dies so that they hold better.
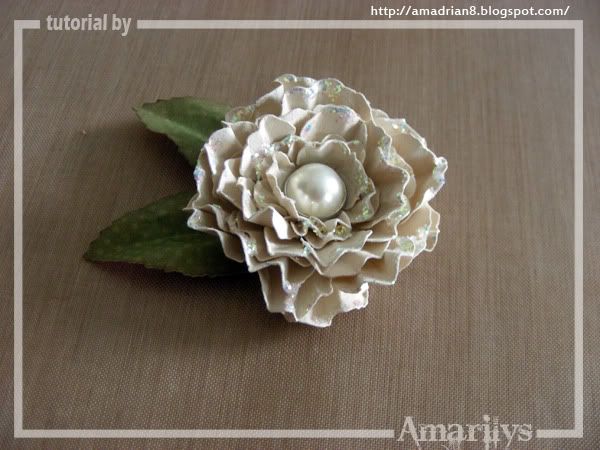
Step 5. Bling up your bloom with stickles and you are done!
Thanks for stopping! I hope that you are inspired to make something with this amazing kit!


Hi Amarilys,
ReplyDeleteI love your flower tutorials, and I certainly will try this one too. Thanks so much for sharing :))
Beautiful as always ...love it!
ReplyDeleteBeautiful flower!
ReplyDeleteLove the background of you blog.
gorgeous flowers
ReplyDeleteThank you for the tutorial!!! Your flowers are always gorgeous and this one is too!! Ive never thought of pinching the petals in just that pattern, but it makes for a super beautiful flower. Thanks for sharing!!
ReplyDeleteSuch beautiful, sweet flowers! TFS! ~ Blessings, Tracey
ReplyDeletehttp://gracescraps.blogspot.com/
Thanks for your tutorial. Is a beautiful flowers.
ReplyDeleteMyrna