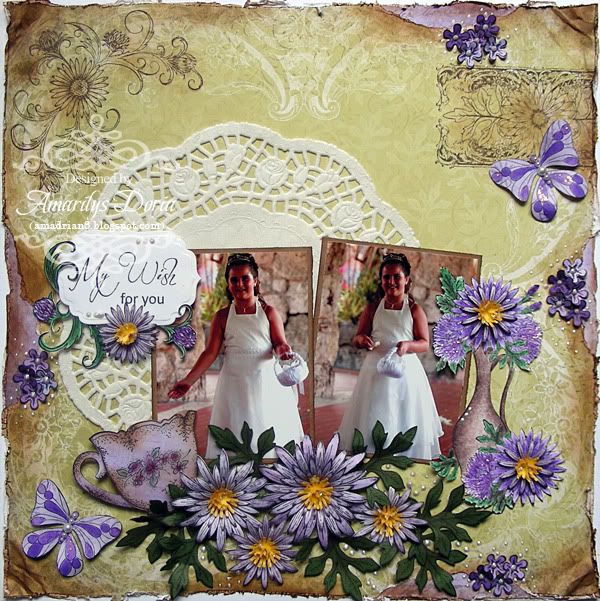
Have I told you how much I love purple/green together now? This new paper pack is simply amazing! Here's the layout that I made of my sweet flower girl at my wedding (she's is my little cousin):
Supplies-
Heartfelt Creations: HCPC 3439 Flirty Fleurs PreCut Set
HCPC 3472 China Fragments PreCut Set
HCPC 3494 Delicate Asters PreCut Set
HCPC 3496 Delicate Twining Asters PreCut Set
HCPC 3497 Script Aster Background PreCut Set
HCPC 3498 Delicate Aster Vase PreCut Set
HCPC 3499 Delicate Asters and Butterflies PreCut Set
HCD 701 Posy Patch Die
HCD 726 Delicate Asters Die
HCDP1 226 Delicate Asters Paper Collection
452255 Grand Calibur
204800 Nested Tea Cups Shapeabilities
393386 Labels 4
DDOTS Double Dots 100pc.
Other:
Prismacolor Pencils (PC908, PC932, PC947), OMS, Tim Holtz Distress Inks (Vintage Photo), StazOn Archival Ink (Jet Black, Timber Brown), Tim Holtz Blending tool, Recollections White Pearls, Ranger Stickles (Icicle), Rangers Liquid Pearls (White Opal), Zutter Distress-it All tool, white doily
I went for a vintage feel to the layout so I distressed a lot on this layout. I tore random spots on the background and tucked in a purple coordinating paper underneath to make peek-a-boo areas of interest. I made a bunch of different shades of purple flowers and added them there too. I crumbled the corners and inked all the edges. It's still a wedding layout so I added a delicate white doily too.
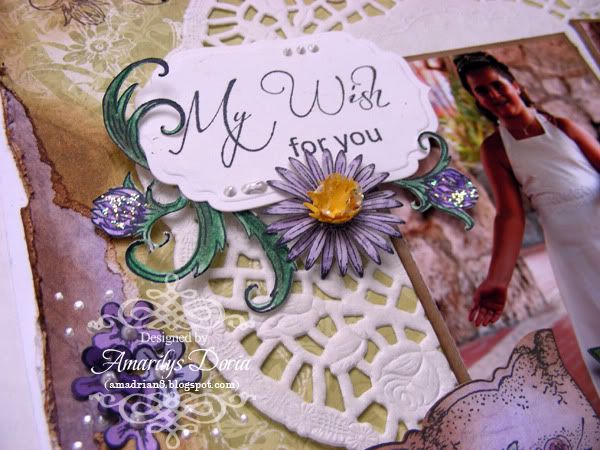
I stamped my title on white cardstock and die cut it and embossed with the middle size labels 4.
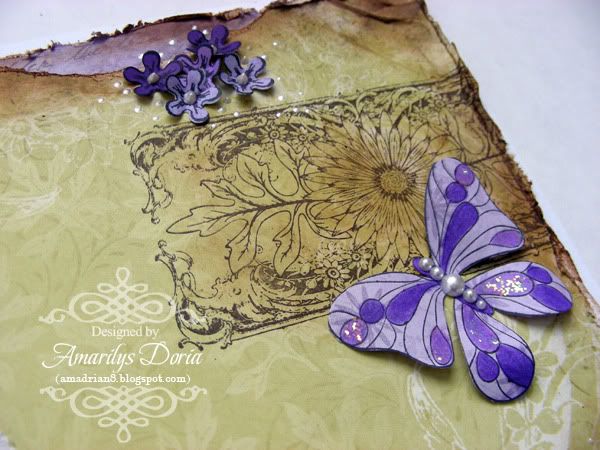
I made a few butterflies, colored them with Prismacolor Pencils and added stickles to those areas.
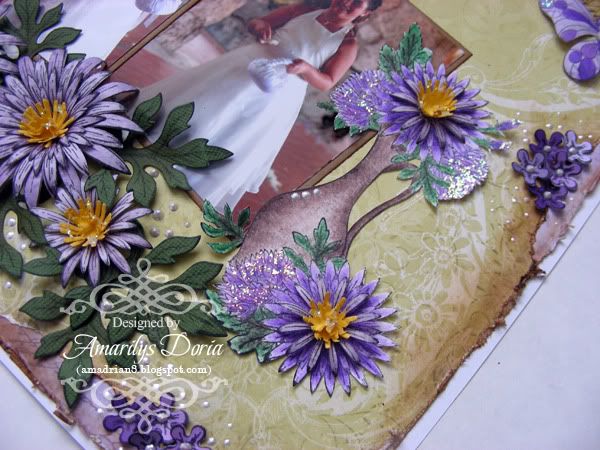
I stamped the vase and colored with Prismacolor Pencils and blended them with OMS. I then fuzzy cut it and added it to the right side of the pictures.
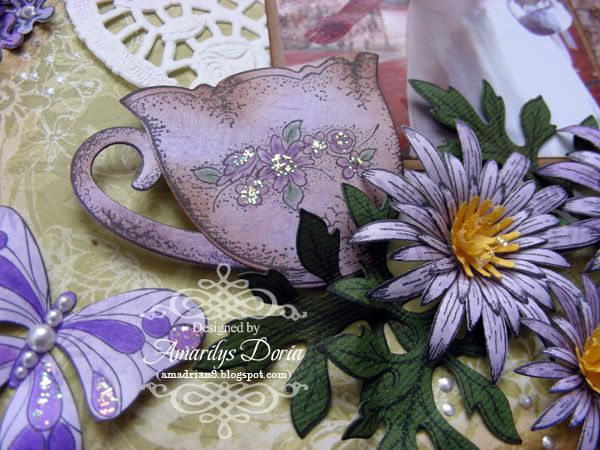
I stamped, die cut and colored the second smallest tea cup from the China Fragments PreCut Set. I inked the edges and pop dotted it around the flower cluster. I love this tea cup in purple and distressed with brown ink!
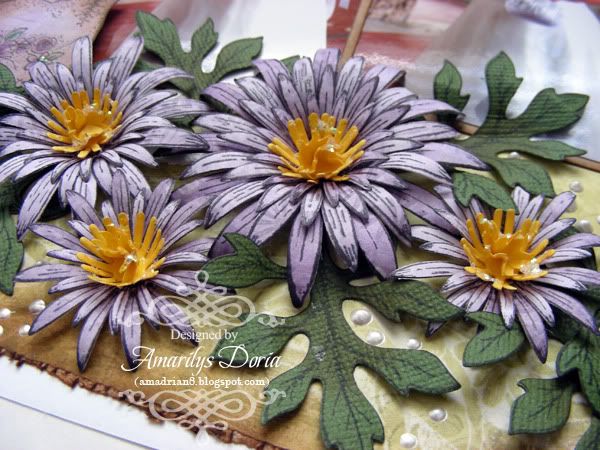
Of course, I made a bunch of delicate asters blooms for my cluster as well as some green leaves. For the flowers I stamped and die cut one of each size blooms and layered them together, staggering the petals to form a larger and fuller bloom. To finish off my layout, I added stickles on the flower center and randomly added different size liquid pearl drops around the clusters for a delicate effect.
Here is the step by step write-up for this layout:
Distress the edges of the light green pattern paper with the Distress-it All. Tear in random spots to create peek-a-boo areas. Ink all edges with Vintage Photo distress ink and the Tim Holtz blending tool. Adhere the green pattern paper unto white cardstock and tuck in some purple strips of paper under the peek a boo areas after distressing it the same way you did for the background. Stamp with brown archival ink the corner flourish from the Delicate Twining Asters Set on the top left corner and the border stamp from the Delicate Asters & Butterfly Precut Set on the right side of the page. Add a white doily over the left area of the layout and add two 4”x3” matted photos over it as shown. Stamp your sentiment on white cardstock and cut and emboss with the third largest die from Labels 4 Shapeabilities. Pop dot it and add to left side of the picture. Stamp the smaller flourish from the Delicate Twining Asters Set and the vase from the Delicate Aster Vase Precut Set on white cardstock and color with Prismacolor Pencils and blend with OMS. Fuzzy cut these and add the swirl under the title and the vase on the right side of the picture. Stamp and die cut with its coordinating die the medium tea cup from the China Fragments Precut Set and color with Prismacolor Pencils. Distress with Vintage Photo distress ink around the edges to give it a vintage feel. Add to the left bottom corner of the picture. For the flowers, die cut one of each size and three yellow centers per flower. Shape each die cut with a stylus and layer them to form a full bloom. Stamp and die cut with the coordinating die a few leaves as well. Add the blooms and leaves under the pictures. Add a one layer bloom on each of the flowers on the vases too. Stamp, color and fuzzy cut 2 butterflies and add to the layout as shown. Add pearls to their bodies. Die cut a bunch of the small posy from the Flirty Fleurs Precut Set in different shades of purple cardstock. Shape and add a bunch to each of the peek a boo areas. Finally, add stickles to the butterflies, flowers’ centers and fuzzy cut pieces. Add liquid pearl drops to the small posy flowers and randomly around the clusters of flowers.
Thank you for stopping by my blog today! Remember to go to the Heartfelt Creations BLOG and check out what the other designers made this week!


Wow, your flowers and stamp work are amazing!! Gorgeous page!! ~ Blessings, Tracey
ReplyDeletehttp://gracescraps.blogspot.com/
Another gorgeous piece of art! I love your layouts!
ReplyDeleteBeautiful page once again!! You always include so many super details and your flowers are gorgeous!! The different sizes of pearls on the butterfly are a fantastic way to make a body for it!
ReplyDelete