
For today's project I decided to make another card:
Supplies-
Heartfelt Creations:
HCPC 3394 Classic Bella Rose PreCut SetHCPC 3400 Bella Rosebuds PreCut Set
HCPC 3406 Botanical Floral 1 PreCut Set
HCPC 3407 Botanical Floral 2 PreCut Set
HCPC 3479 Wings of Hope PreCut Set
HCPC 3480 Brookside Manor PreCut Set
HCPC 3494 Delicate Asters PreCut Set
HCD 710 Decorative Oval Window Die
HCD 712 Bella Rose Die
HCD 723 Garden Romance Die
HCDP1 226 Delicate Asters Paper Collection
452255 Grand Calibur
472186 Rose Creations Shapeabilities
354802 Classic Oval Lg
DDOTS Double Dots 100pc.
Other:
Tim Holtz Distress Inks (Antique Linen, Vintage Photo),
StazOn Archival Ink (Timber Brown), Recollections White Pearls, Rangers Liquid
Pearls (White Opal), Tim Holtz Stickles (Diamond), Martha Stewart Punch Around
the Page (Cherish), cream colored ribbon, sewing machine
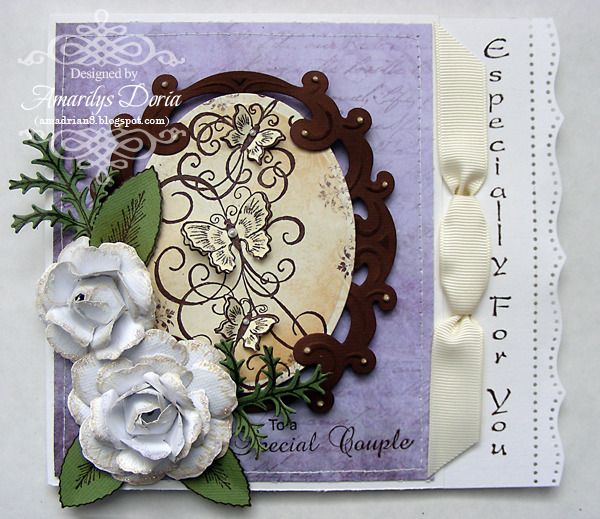
I wanted to make an elegant wedding card because I thought that this light purple color with with would look awesome together and guess what? IT DOES!
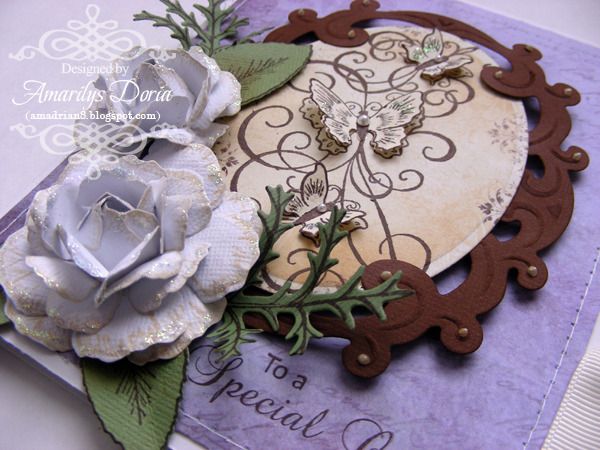
This card measures 6”x6.5” and I punched the right side edge to give it a bit of an elegant feel to it. I also threaded some ribbon through it. I made some white roses and used the stamped butterflies swirls as my image. I thought it went perfectly for a wedding card.
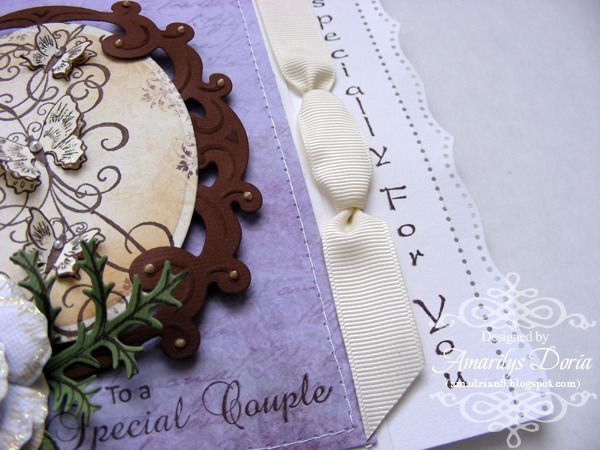
Here you can see the punched border and the ribbon. I just love how this side looks!
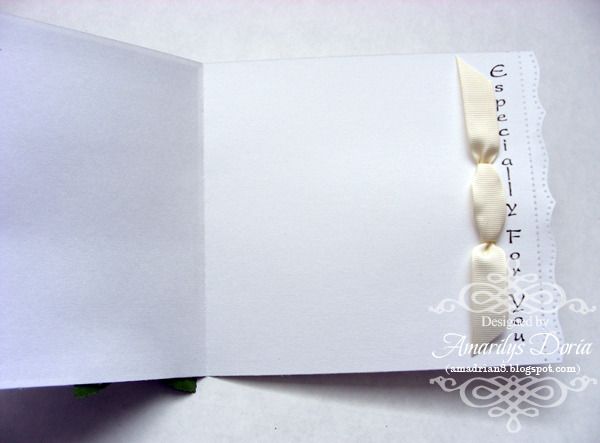
Just a quick shot of the inside of the card for you to see how it opens. You still see the ribbon and stamped sentiment on the edge when you open it and you also have plenty of space to write your good wishes for the couple.
Here is the step by step write-up for this layout:
Cut a 12”x12” white cardstock to 6”x11.75” and fold 5” from the left. Punch along
the side with Martha Stewart Cherish border punch to give it a shaped edge.
Stamp the sentiment along the right side. Punch 2 holes about 1.5” apart and thread cream
colored ribbon through it. Trim a piece of purple pattern paper to
4.75”x5.75”. Machine stitch around the
edges and adhere onto the background cardstock. Stamp the sentiment from the Bella Rosebud
Precut Set on the bottom right hand corner of the card. Stamp the 3 butterflies
from the Wings of Hope Precut Set unto cream cardstock using brown archival ink
and die cut and emboss the image with the largest Oval die Shapeabilities Ink
some areas on the inside to give it some dimension. Cut and emboss the Decorative
Oval Window Die and snip off the cross in the middle. Tuck in the oval stamped
image in the center of the window. Pop dot the two dies and adhere on the
center of the card. Stamp and die cut 2 small and one large butterfly from the Brookside
Manor Precut Set. Add each butterfly over the coordinating image of the Wings
of Hope stamped image and lift up their wings to give them dimension. Add a
white pearl to the center and stickles to their wings. Add liquid pearl dots to accent some areas of
the Decorative Oval Window Die. For the roses, stamp and die cut a bunch of
different size rose images. For the larger flower, use two of the largest size
and 4 of the second largest. Use only 4 of the second largest to make the
second smaller flower. Add stickles to the edges and let it dry. Stamp and die
cut a few rose leaves and thorn fillers from the Classic Bella Rose Precut Set
and add to flower cluster.
Thank you for stopping by my blog today! Remember to go to the Heartfelt Creations BLOG and check out what the other designers made this week! Also, you can now vote for the semifinalists and old DT to stay on the Heartfelt Creations DT one more term. If you do, you will get your name thrown in for a $50 gift certificate to the store!

Stunning card, your creativeness is awesome!
ReplyDeleteGorgeous card! xx
ReplyDeleteVery pretty ribbon treatment!
ReplyDeleteBeautiful card! I love how you did the butterfly swirl and your flowers are AMAZING! So life like! Blessings! Kathy
ReplyDelete