We are pleased to introduce the Timeless Amour Collection. Grab your cup of cocoa and snuggle up. This set is as warm and romantic as the days when the snow flies and the fireplaces pops. Typography of love, roses of delight, and patterns of mesmerizing drama are all included in the Timeless Amour Collection. There are 5 new PreCut Stamp Sets, one 12x12 Paper Collection, and one beautiful new exclusive Spellbinders die designed for Heartfelt Creations. Leave a comment on the HC blog by November 27th and you will be eligible to win the entire release valued at $134.93 .
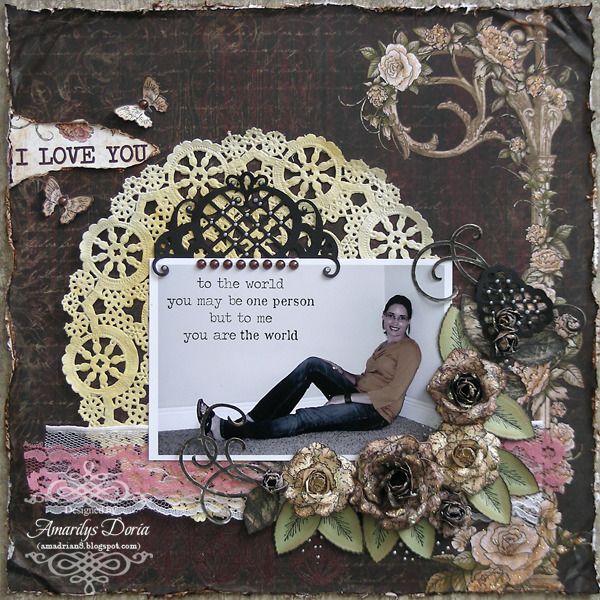
For today's release I made a layout:
Supplies-
Heartfelt Creations:
HCPC 3390 Bella Rose Leaves PreCut Set
HCPC 3407 Botanical Floral 2 PreCut Set
HCPC 3480 Brookside Manor PreCut Set
HCPC 3500 Open Vintage Floret PreCut Set
HCPC 3502 Mini Vintage Floret PreCut Set
HCPC 3508 Timeless Lace PreCut Set
HCPC 3509 Timeless Sentiments PreCut Set
HCD 712 Bella Rose Die
HCD 723 Garden Romance Die
HCD 727 Vintage Floret Die
HCD 728 Timeless Amour Die
HCDP1 228 Timeless Amour Paper Collection
452255 Grand Calibur
159730 Floral Pee Wee Kit
472186 Rose Creations Shapeabilities
Other:
Tim Holtz Distress Inks (Vintage Photo), StazOn Archival Ink (Jet Black), Ranger Liquid Pearl (Opal White), Tim Holtz Blending tool, Zutter Distress-it-all, ATG, Tattered Angels Glimmer Mist (Sunflower), Tim Holtz Distress Embossing Ink, American Craft Zing Embossing Powder (Chestnut), Rangers Embossing Tool, Zva Self Adhesive Bling (Pewter), doily, white and pink lace
I had a lot of fun with this layout! I distressed, embossed, inked, misted and blinged this layout! I used a picture of me some days back and stamped directly on the picture. I used this particular sentiment because my hubby always says this to me :)
Here are some close ups of the layout:
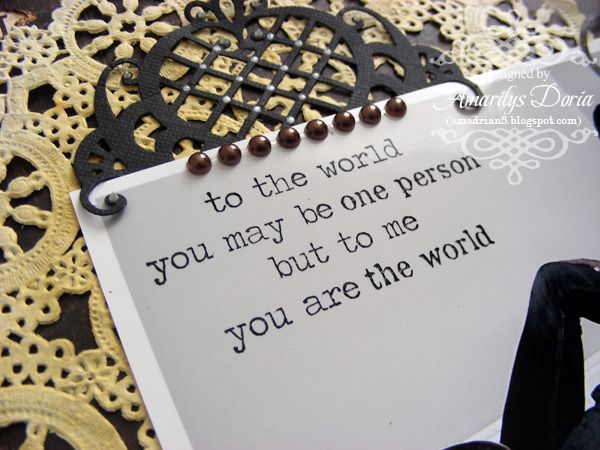
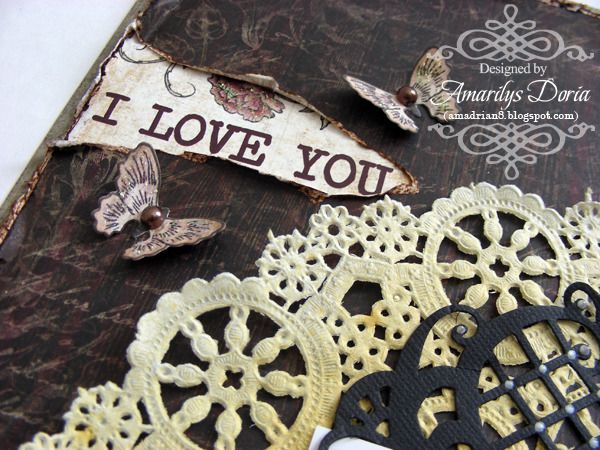
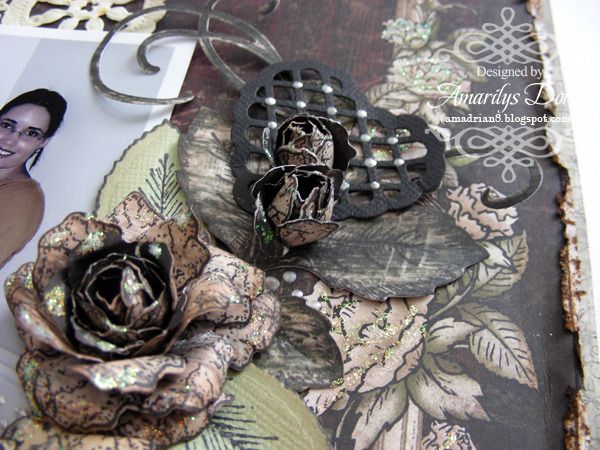
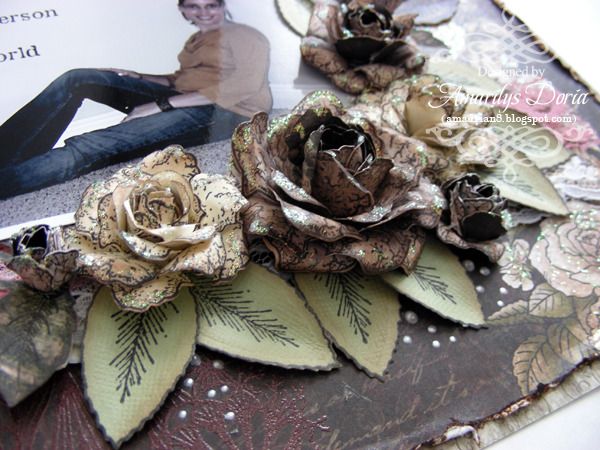
I loved working with this pattern paper and stamp collection. The colors are so gorgeous! I added some glitter to the printed paper to make it stand out and embossed directly on the background paper.
Here is the step by step write-up for this layout:
Distress a dark colored pattern paper with the Distress it all tool. Rip a 3” long piece out of the top left side of the paper and tuck in the journaling card so that you see the words ‘I love you’. This will be your title. Ink all the edges with Vintage Photo. Distress the journaling card’s edges as well and adhere these two layers over a coordinating pattern paper. Stamp and emboss in brown the lace from the Timeless Lace Precut Set on the bottom left side of the layout as shown. Slightly mist a white doily with Sunflower glimmer mist to add some color. Adhere over the center of the layout. Print your picture and stamp the sentiment from the Timeless Sentiments Precut Set directly unto the photo. Adhere photo over doily and tuck in a pink and white lace under it. Die cut a large flourish from the Timeless Amour Die under the top left side of the photo. Add liquid pearl dots on each intersection as shown. Add a strip of pearls over the photo right under the die cut. Stamp and die cut two butterflies from the Brookside Manor PreCut Set. Add a pearl to each butterflies’ center and add around the title. For the cluster, stamp, die cut, shape and layer a bunch of flowers from the Open Vintage Floret Precut Set and Mini Vintage Floret Precut Set. Use 2 of each size to make the flowers. HERE is a good tutorial by Emma Lou for how I made these flowers. Add some clear glitter from the Floral Pee Wee Kit and let it dry. Stamp and die cut a bunch of leaves from the Rose Creations Shapeabilities. Ink the edges a bit to antique them and bend in half to give them some shape. Now, add your flowers and leaves to the bottom right corner of the photo as shown. Stamp and die cut a Bella Rose Leaves PreCut Set out of green pattern paper. Cut in half and tuck in at ends of cluster. Die cut a small heart from the Timeless Amour Die and add to the cluster. Add liquid pearl drops to each intersection as shown. Finally, randomly add liquid pearl drops around the cluster and some stickles to the background image and butterflies.
Thank you for stopping by my blog today! Remember to go to the Heartfelt Creations BLOG and check out what the other designers made this week with the new release!


Wonderful layout, Amarilys! The colors and fab design with the dimensional roses are stunning!!!
ReplyDeleteThis is simply gorgeous!
ReplyDeleteThis is just lovely, Amarilys! Hope you had a great turkey day! :)
ReplyDeleteWonderful page -- love the sentiment on the actual photo!
ReplyDeleteAmarilys, Beautiful layout! I love all the detail and textures. Your roses are perfect. Beautiful
ReplyDeleteVery pretty layout and your flowers are gorgeous!
ReplyDeleteThis L/O is a WOW Factor. So gorgeous, i can look forever lol
ReplyDeleteHugs Nataliya
Gorgeous layout! The flowers look awesome!
ReplyDeletehugs,
Gini