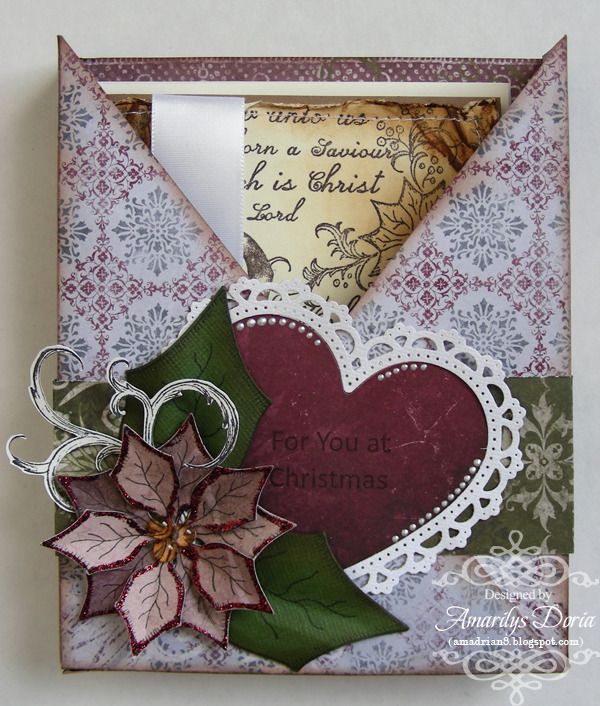
I have a Handmade Card Gift Set that I made for the Heartfelt Creations DT that I would like to share with you. Again, I used the Ornamental Lights Collection for this project.
Supplies-
Heartfelt Creations:
HCPC 3415 Petite Poinsettia PreCut SetHCPC 3489 Festive Yuletide Doorway PreCut Set
HCPC 3491 Holiday Haven PreCut Set
HCPC 3492 Noel Collage PreCut Set
HCPC 3493 Yuletide Sentiments PreCut Set
HCD 728 Timeless Amour Die
452255 Grand Calibur
125156 Layered Poinsettia Shapeabilities
DDOTS Double Dots 100pc.
HCDP1 225 Frosty Blanket Paper Collection
Other:
Tim Holtz Distress Inks (Vintage Photo, Embossing Powder),
Rangers Embossing gun, American Crafts Embossing Powder (White), StazOn
Archival Ink (Timber Brown, Jet Black), Rangers Stickles (Burgundy), Distress-it-all
tool, sewing machine, white ribbon
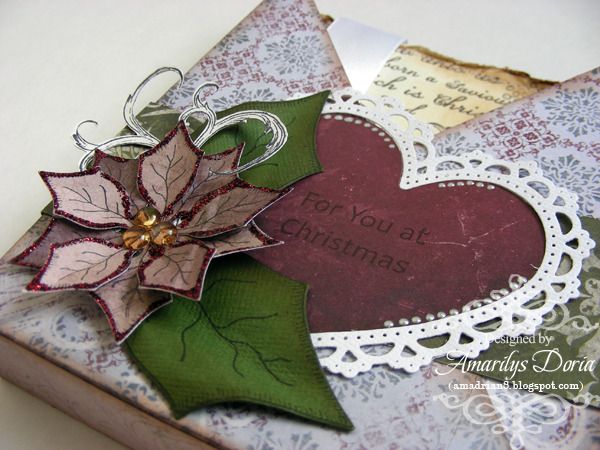
I found this awesome tutorial to make this criss-cross card holder that I just had to try! Here's a better look at the box:
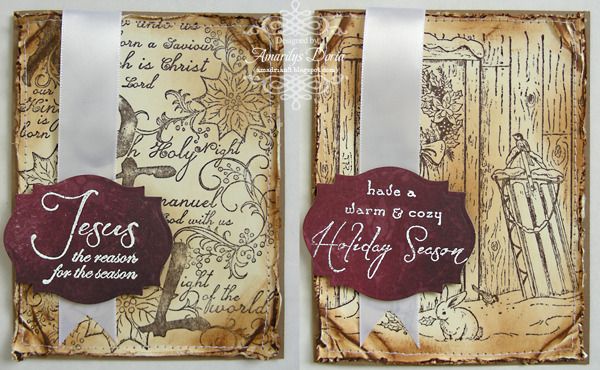
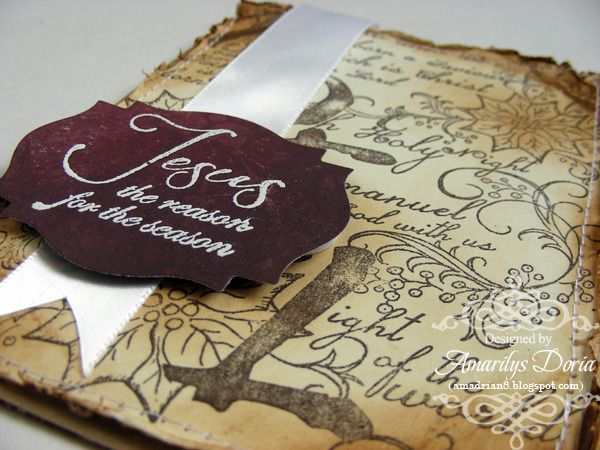
Of course, I handmade two different styles of cards to go inside the gift box. I went for a more antique feel and this is what I came up with:
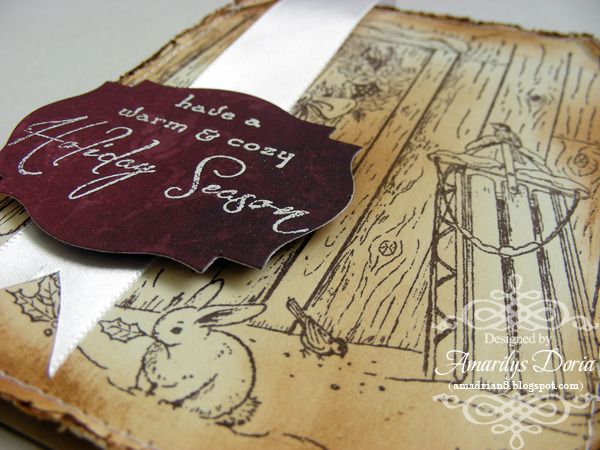
Here are some close ups of the cards:
Here is the step by step write-up for this project:
To make the box, please follow this amazing tutorial. Of course, use the Frosty Blanket Paper Collection by Heartfelt
Creations pattern papers and ink all the edges for a finished look. To
embellish your criss-cross box, die cut a heart from the Timeless Amour Die set
in white and red. Stamp the sentiment in the center of the red heart and adhere
to the box right in the center. Add the white heart border. Stamp and die cut
two poinsettia flowers. Fold in half and layer together. Add three dew drops in
the center and stickles around the edges. Stamp and die cut two leaves. Layer
the leaves and flower on the bottom left corner of the box. Stamp and fuzzy cut
a flourish from the Holiday Haven PreCut Set and
add to cluster.
For the cards, stamp the
background images from the Festive Yuletide Doorway PreCut Set and Noel Collage
PreCut Set on a 4.25”x5.5” cream colored cardstock using brown archival ink.
Ink the edges and random spots on the cards with Vintage Photo distress ink and
run images through the Distress-it-all tool to distress the edges. Machine
stitch all around the edges and adhere on a brown colored 4.25”x5.5” card base
each. Cut a V on white ribbon and add over the left side of the card. Stamp,
emboss and die cut the corresponding sentiment on red pattern paper. Pop dot
and place over the white ribbon as shown.
Thank you for stopping by my blog today! Remember to go to the Heartfelt Creations BLOG and check out what the other designers made this week!


Wow, this is stunning!
ReplyDeleteBeautiful project, Amarilys! I've seen the envelope, but not the box version of this, great idea! Blessings! Kathy
ReplyDeleteWow, what an amazing project, Amy!! Your stamping and flower are simply gorgeous!! ~ Blessings
ReplyDeleteBeautiful designed card.Happy Holidays!!!!!
ReplyDeleteHugs Nataliya
What a beautiful set~! Love the classic colors :)
ReplyDeletexErin
This is just gorgeous Amy. I love how you sprinkled the heart with some little rows of pearls. It's just beautiful. Wishing you a New Year filled with Love, Health, Happiness, and many blessings!
ReplyDeleteBear Hugs,
Carol