
Heartfelt Creations has created a delightful ‘Countryside Evening’ for you. There’s beautiful typography, countryside scenes, one awesome die, and 24 beautiful papers.This set is a beautiful choice for the beautiful moments. Get yours now at www.heartfeltcreations.us. Leave a comment on the HC blog by January 15th and you will be eligible to win the entire release valued at $150.92 .
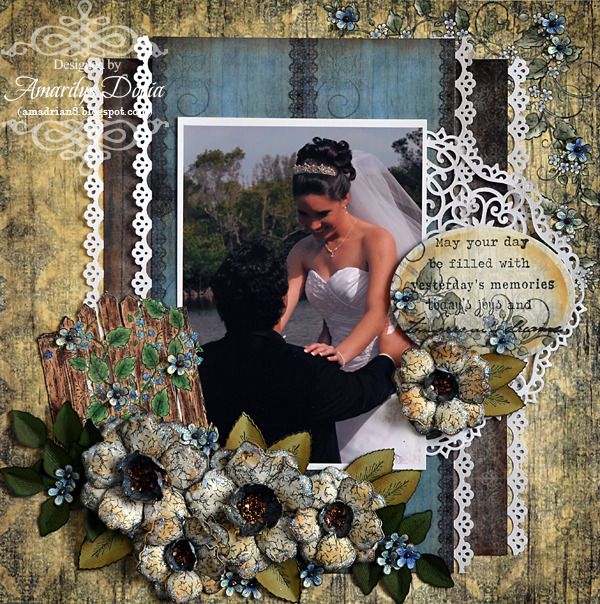
Here's what I did with this gorgeous new collection!
Supplies-
Heartfelt Creations:
HCPC 3303 Posy Patch Flowers PreCut Set
HCPC 3405 Leaf Medley PreCut Set
HCPC 3407 Botanical Floral 2 PreCut Set
HCPC 3500 Open Vintage Floret PreCut Set
HCPC 3502 Mini Vintage Floret PreCut Set
HCPC 3514 Floral Fence PreCut Set
HCD 701 Posy Patch Die
HCD 727 Vintage Floret Die
HCD 729 Decorative Blossom Corner Die
HCDP1 229 Countryside Evening Paper Collection
452255 Grand Calibur
159730 Floral Pee Wee Kit
354802 Classic Oval Lg
472123 Foliage Shapeabilities
472186 Rose Creations Shapeabilities
DDOTS Double Dots 100pc.
9brn Brown Gala Glitz
Other:
Tim Holtz Distress Inks (Vintage Photo), StazOn Archival
Ink (Jet Black), Prismacolor Pencils (PC904, PC908, PC933, PC947), Ranger
Liquid Peal (Dark Chocolate), OMS, Tim Holtz Blending tool, Martha Stewart
Punch Around The Page (Vintage Flowers), embossing tool
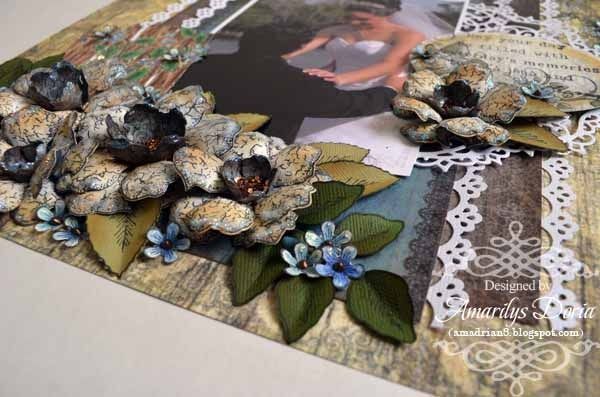
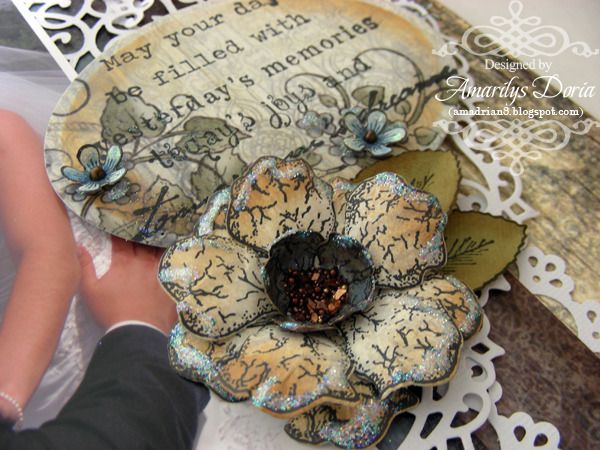
Here's a side view to see all the layers and depth in this layout. I LOVE how much depth you can get with the flowers alone!
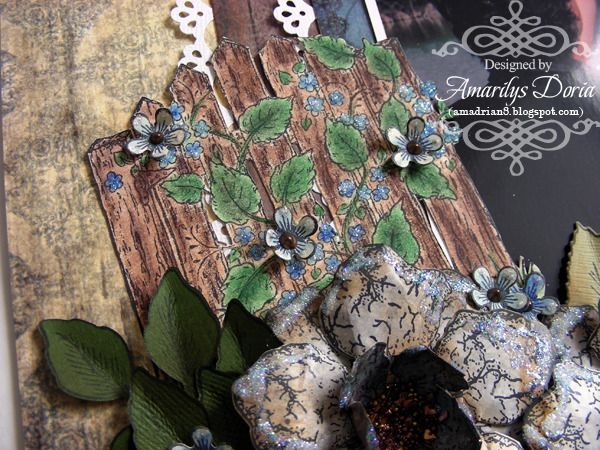
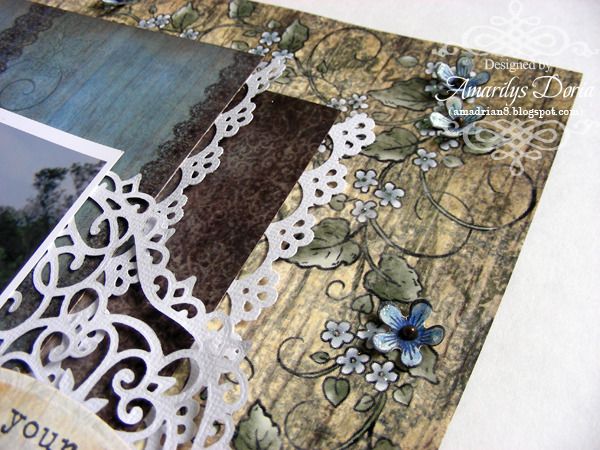
This collection includes a lot of weathered and antique-looking images and this little fence was the perfect image for this corner.
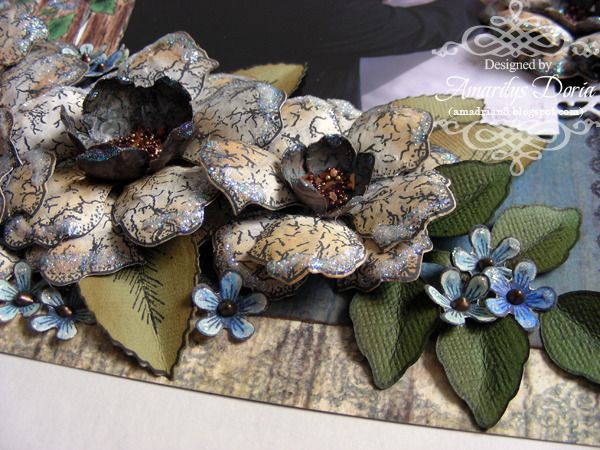
Of course, I made a bunch of distress-looking flowers with the Vintage Floret Collection and complimented them with some tiny blue posies.
Here's a better view at the stamped sentiment/title area.
This collection comes with two corner dies which are perfect for making circles and semi-circle doilies. Come back next week and I'll show you how with a visual step by step!
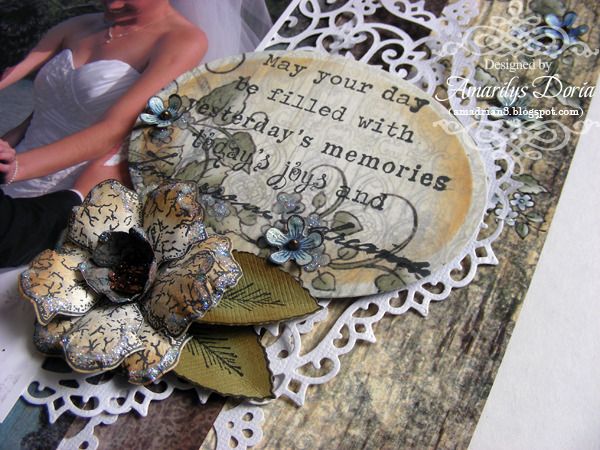
Better close up of the sentiment area.
Here is the step by step write-up for this project:
Thank you for stopping by my blog today! Remember to go to the Heartfelt Creations BLOG and check out what the other designers made this week with the new collection!

One word.....WOW!!
ReplyDeleteAnother gorgeous layout!! Love all the pretty details!
ReplyDeleteThis is so gorgeous, Amy! I would love to win that whole collection! =)
ReplyDeletethat's really beautiful! the paper is awesome.
ReplyDeleteYour wedding pages are just stunning!! What a beautiful book you must have [or are going to have!] :)
ReplyDeleteLove all the details and all the layers!
ReplyDeleteWow, so gorgeous, Amy!! Love your gorgeous flowers!! They are simply amazing!! ~ Blessings, Tracey
ReplyDeletehttp://gracescraps.blogspot.com/
Gorgeous page! I always enjoy seeing your wedding pictures. The flower cluster is amazing!
ReplyDeleteMy goodness, such a beautiful L/O.
ReplyDeleteHugs Nat