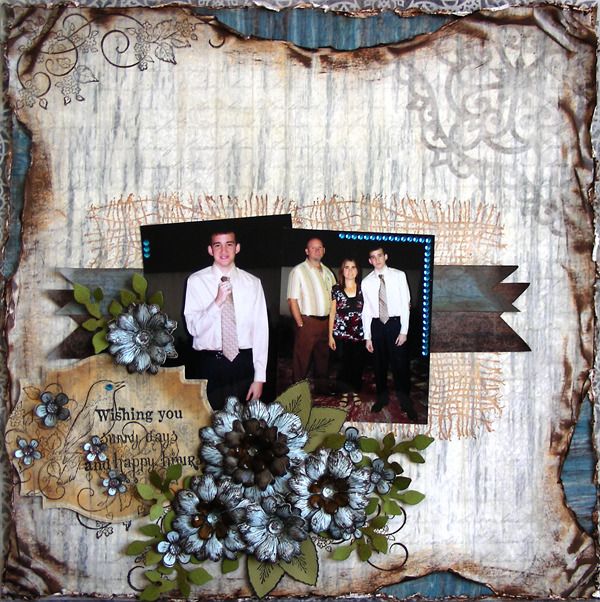
Supplies-
Heartfelt
Creations:
HCPC 3303 Posy Patch Flowers PreCut SetHCPC 3407 Botanical Floral 2 PreCut Set
HCPC 3468 Tattered Blossoms PreCut Set
HCPC 3510 Petite Floral Swirls PreCut Set
HCPC 3511 Melodious Songbird PreCut Set
HCPC 3515 Burlap Background PreCut Set
HCD 701 Posy Patch Die
HCD 720 Western Broncos Die
HCD 722 Tattered Blossoms Die
HCDP1 229 Countryside Evening Paper Collection
452255 Grand Calibur
472186 Rose Creations Shapeabilities
Other:
Tim Holtz
Distress Inks (Vintage Photo), StazOn Archival Ink (Jet Black, Timber Brown), Zutter
Distrezz it all tool, Tim Holtz Blending tool, Shapeabilities labels 18, The
Robin’s Nest Dew Drops (Lily Pad, Forrest Fun), BoBunny Powder Mountain Jewels,
This was a very fun layout to work on! I distressed to my heart's content! :)
I recently purchased the Zutter Distrezz it all tool and I have to say that I LOVE it! Of course, i put it to good use on this layout!
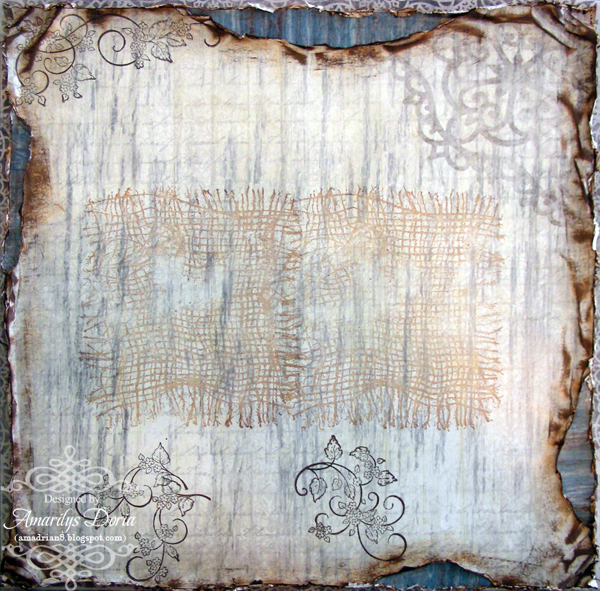
This is what the background looked like by the time I was done. I felt a little bad covering it up but then again, this is a scrapbook page therefore we are supposed to preserve memories and pictures, not our backgrounds! So, I finished my layout using my brother's ring ceremony pictures and kept the layout a bit more simple and masculine.
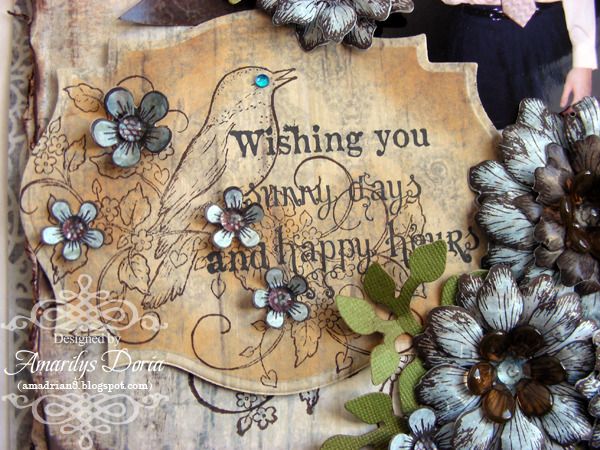
I added this sweet little bird and saying as my title because it was very fitting for these pictures. I made a few posies and added them randomly to the die cut title area to give it more interest and color.
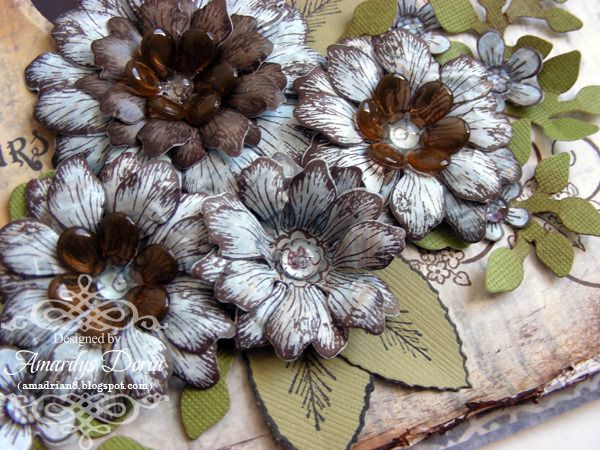
Of course, I had to add flowers even in a masculine layout! I made these blue/brown flowers and added dewdrops flower centers in neutral colors. Here's a quick tutorial for the flower centers.
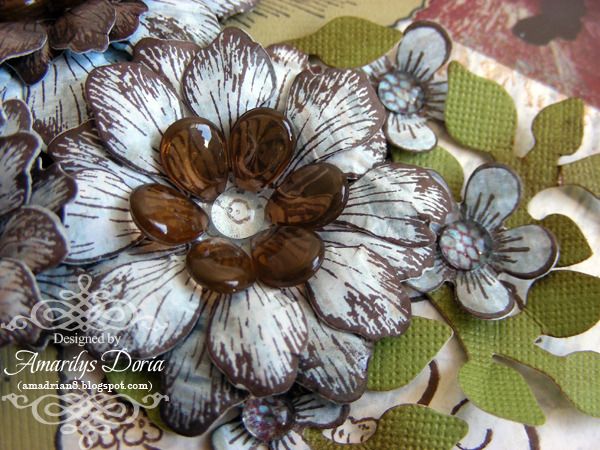
Here's a close up of the flower center and a flower that I made. Aren't these so adorable?
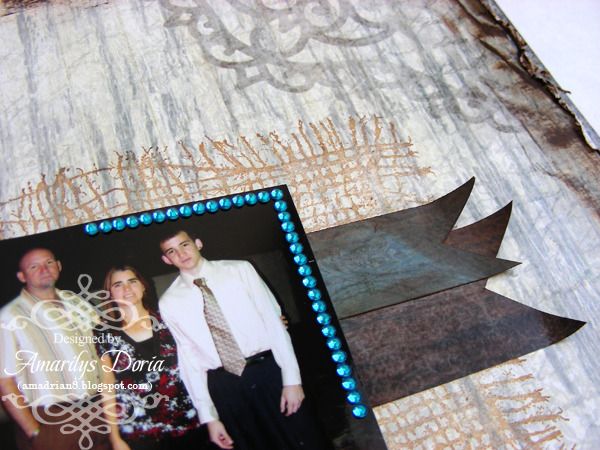
Finally, I finished the layout by adding some rhinestones in bright blue to liven this page up!
Here is the step by step write-up for this project:
Distress a
12”x12” pattern paper from the Countryside Evening Paper
Collection. Randomly make tears on all the four sides. Distress with the Zutter
Distrezz it all tool and ink the edges with the Tim Holtz Blending tool and Vintage Photo distress ink.
Tuck in a dark blue pattern paper under the ripped areas and mat the whole
thing on another sheet of pattern paper. Stamp the flourishes from the Petite
Floral Swirls PreCut Set as shown: the large one on the top left corner, the
medium one in the bottom right side and the small one closer to the left side.
Stamp this one twice. Stamp the burlap background stamp twice side by side in
the middle of the layout with Vintage Photo distress ink. Cut a strip of blue
and brown paper, 0.75 and 1.50” thick respectively, and cut out a V from each
tip. Adhere over the stamped burlap image as shown. Adhere two 3”x4” photos
over the strips and stamped image. On a separate paper, stamp the bird image
from the Melodious Songbird PreCut Set in brown. Die cut and emboss the image
with the largest die from the Shapeabilities labels 18. Stamp the sentiment
over it and ink the edges. Add this piece over the left bottom corner of the
picture. For the cluster, stamp two flowers per size of the tattered floral
set. Shape your individual dies and layer them to make a full flower. Die cut a
few leaves from the Western Broncos Die and the Rose Creations
Shapeabilities. Stamp the corresponding leaves. Adhere flowers and leaves to
the layout as shown. Stamp and die cut a few posies and add to layout. For the
centers, add dew drops to the smaller flowers. For the larger ones, follow this
simple TUTORIAL to make the centers. Finally, add blue rhinestones to the pictures as shown.
Thank you for stopping by my blog today! Remember to go to the Heartfelt Creations BLOG and check out what the other designers made this week with the collection!


Another gorgeous layout! I love how you used the bird stamp as a background! Genius!!
ReplyDeleteLove your layout! Beautiful flowers and I like the bling!
ReplyDeleteSo gorgeous. I love how you used Dewdrops.
ReplyDeleteHugs Nataliya
Another beautiful layout!! Love the flowers!!!
ReplyDeleteThis is stunning!
ReplyDeleteGorgeous layout!!! love the dewdrops in the flower centres. Clever :)
ReplyDeleteAwesome layout - love the burlap background!
ReplyDeleteBeautiful layout. Your flowers are spectacular.
ReplyDelete