
The Sunny Day Collection captures the tranquility of a sunny day in the garden. Setting the tone with serene garden views and peaceful plant and butterfly harmonies is the Sunny Day Paper Collection. Stamps include bustling bees, a vintage watering can and botanical butterfly medleys. The Decorative Butterfly Corner Die in this collection will add unique versatility to any project. Leave a comment on the HC blog by February 19th and you will be eligible to win the entire release.
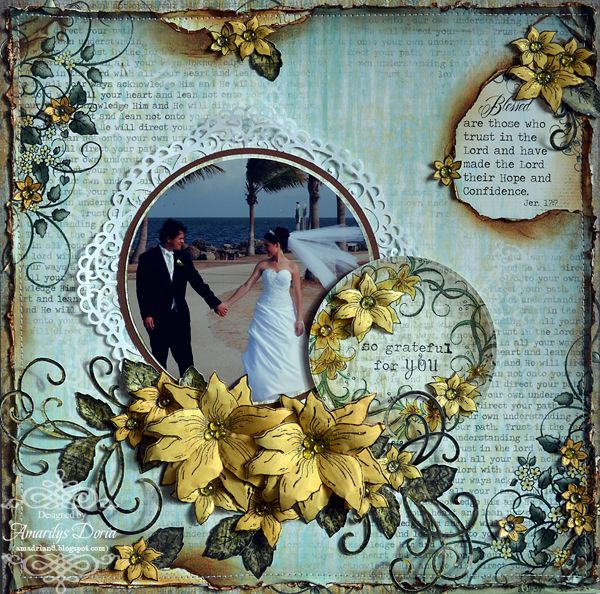
here's the layout that I made with it:
Supplies-
Heartfelt
Creations:
HCPC 3390 Bella Rose Leaves PreCut SetHCPC 3453 Malabar Clematis PreCut Set
HCPC 3520 Botanical Oval PreCut Set
HCD 712 Bella Rose Die
HCD 719 Cross and Lilies Die
HCD 730 Decorative Butterfly Corner Die
HCDP1 230 Sunny Day Paper Collection
452255 Grand Calibur
354806 Standard Circle Large
Other:
Tim Holtz
Distress Inks (Vintage Photo), StazOn Archival Ink (Jet Black), Dew Drops-Lily
Pad, Prismacolor Pencils (PC908, PC945, PC1003), OMS, Distress it all tool, Tim
Holtz Blending tool, Martha Stewart Large Circe Cutter, stickles, embossing tool, pop
dots, sewing machine
I loved working with this collection! The new images are phenomenal and I love the fact that I can use virtually any previous flower release and it will match with the new stamps!
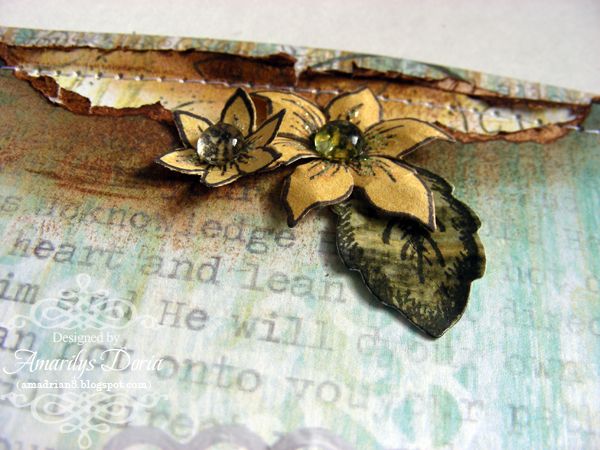
I made a few peek a boo areas on my layouts. I like how much depth they add to the layout.
The papers are amazing in this collection! I loved working with the yellow/blue papers. I made a few flowers to give the corners a bit of depth.
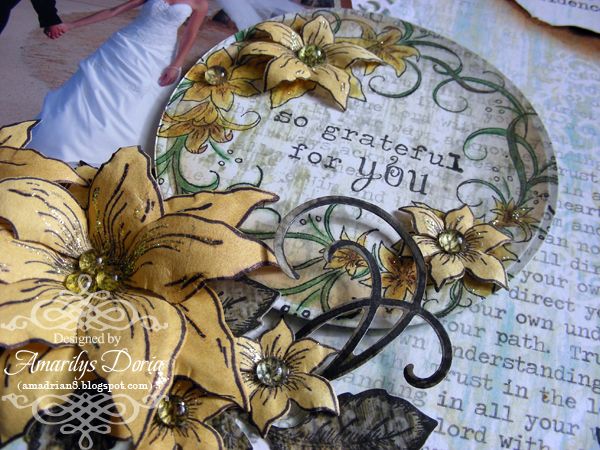
For the sentiment, I stamped the flowers and the sentiment right in the center. I then die cut and emboss it with the Shapeabilities (Spellbinders) largest circle and pop dotted it to give it more dimension.

Of course, I cannot make a layout without a yummy flower cluster! I used the Malabar blooms to make my flowers in yellow for this layout. I added the dew drops to the centers and layered two dies for the larger flowers to give them extra dimension. I also used the rose leaves for this cluster. i like how elegant it looks!
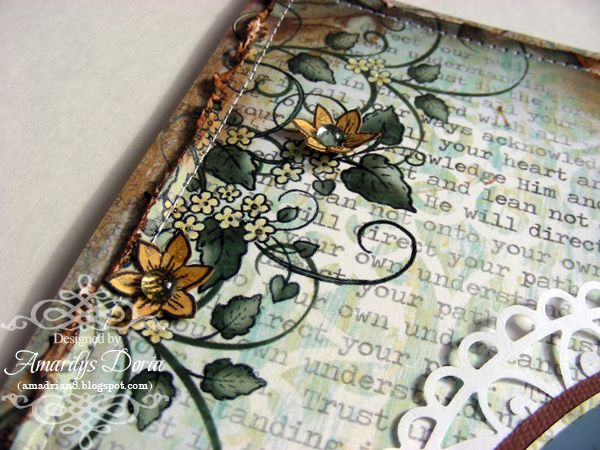
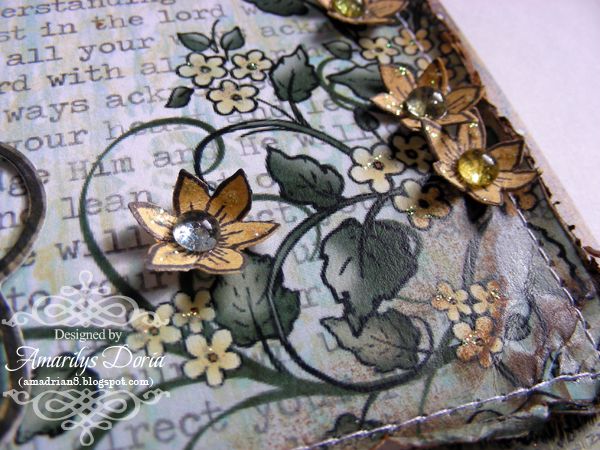
here's another close up of the distressed pattern paper and tiny blooms.
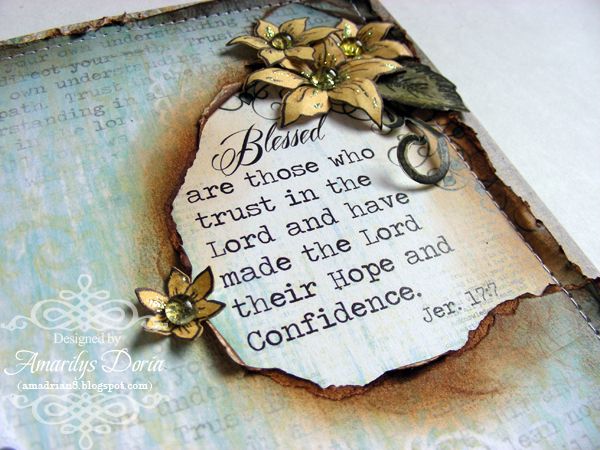
Finally, here's a close up of the larger peek a boo area. I wanted to include this verse from the Bible so I made a larger peek a boo area to accommodate it. I inked the edges of the background paper and tucked it in underneath it. I added a few flowers around it as well.
Here is the step by step write-up for this project:
Trim 1/4”
off two sides of the background pattern paper. Use the Distress it all tool to
distress the edges. Make three peek a boo areas on the paper, a small one on
the top and bottom sides and another larger one on the right side as shown. Ink
the edges with the Tim Holtz blending tool and Vintage Photo distress ink. Tuck
in two small strips of distressed papers under the smaller peek a boo areas and
a sentiment card under the larger peek a boo area. Adhere to another background
pattern paper and machine stitch all around the edge. Fold a 7”x3.5” white
cardstock in half and run the smallest die from the Decorative Butterfly
Corner Die through the Grand Calibur machine. You might need to
run it a few times to get it to cut both sheets of paper at the same time. Run
it again to do the other side of the folded semicircle. When everything has
been cut, unfold the cardstock and adhere the small doily over the background.
Use a 5”x7” picture and crop it to a 5” circle. Make a double mat with cream
and brown cardstock. Adhere the photo and mats over the doily as shown. For the
sentiment, stamp the Botanical Oval Precut Set and color with the
Prismacolor pencils. Die cut and emboss it using the largest die from the Shapeabilities Standard Circle Large
set. Stamp the sentiment right in the center of the circle. Pop dot the
sentiment and add it to the right of the photo. For the clusters, stamp and die
cut using the coordinating die a bunch of flowers in different sizes from the Malabar
Clematis PreCut Set. Shape them and add to the cluster. Layer the larger
flowers to give them extra dimension. Add dew drops as their centers. Stamp and
die cut using the coordinating die a few Bella Rose Leaves. Tuck them in the
cluster to fill it up. Make a few extra smaller flowers and leaves for the peek
a boo areas and to add randomly over the corners of the printed paper and over
the stamped sentiment.
Thank you for stopping by my blog today! Remember to go to the Heartfelt Creations BLOG and check out what the other designers made this week with the new collection!

Stunning layout! Beautiful flowers!
ReplyDeleteOh what a beauty!!!!! Your Photo are stunning! And so many lovely elements. Just gorgeous.
ReplyDeleteHugs Nat
Amazing details, stunning!!!
ReplyDeleteYep another GORGEOUS page!!
ReplyDeleteStunning creation and photo!!!!
ReplyDeleteStunning page, Amarilys! Blessings! Kathy
ReplyDeletemagical!!!! these flowers are so wondeful!!!
ReplyDelete