
Supplies-
Heartfelt
Creations:
HCPC 3453 Malabar Clematis PreCut SetHCPC 3521 Botanical Window PreCut Set
HCD 719 Cross and Lilies Die
HCD 720 Western Broncos Die
HCDP1 230 Sunny Day Paper Collection
452255 Grand Calibur
393386 Labels 4
159730 Floral Pee Wee Kit
Other:
Tim Holtz
Distress Inks (Vintage Photo), StazOn Archival Ink (Jet Black), Dew Drops-Lily
Pad, Prismacolor Pencils (PC908, PC945, PC1003), OMS, Distress it all tool, Tim
Holtz Blending tool, Martha Stewart Vintage Flowers Punch, embossing tool, pop
dots, sewing machine
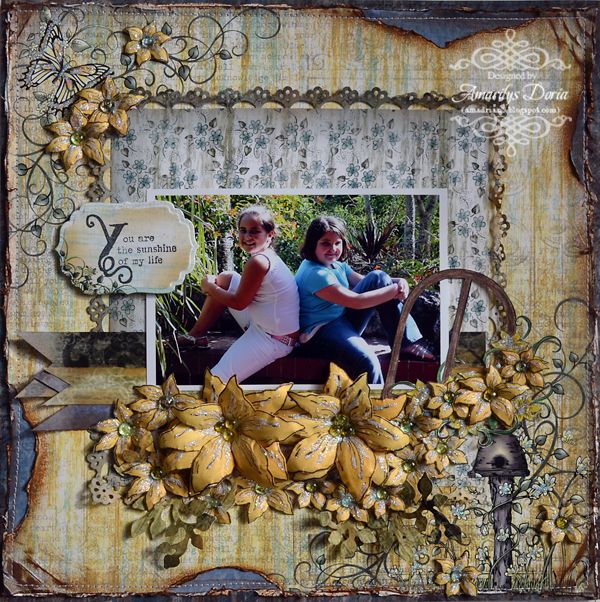
The picture is of my adorable little cousins on my hubby and I's wedding rehearsal They were hamming it up for the camera that day! :)
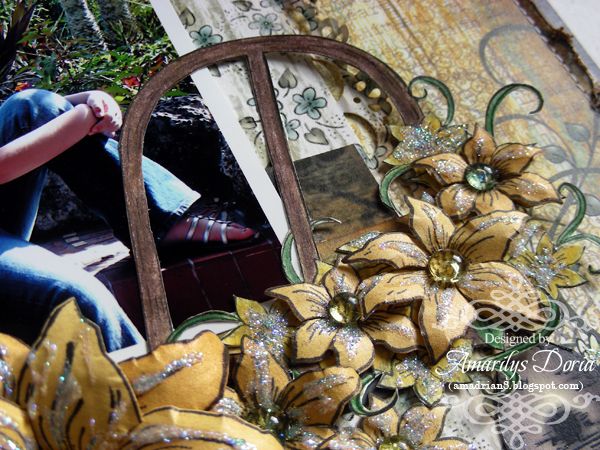
I wanted this layout to be happy and sunny as both girls are so energetic I stamped, colored and fuzzy cut the arch window and added it tot he corner of the photo. the girls were actually sitting in an arch in this picture although it's hard to tell.
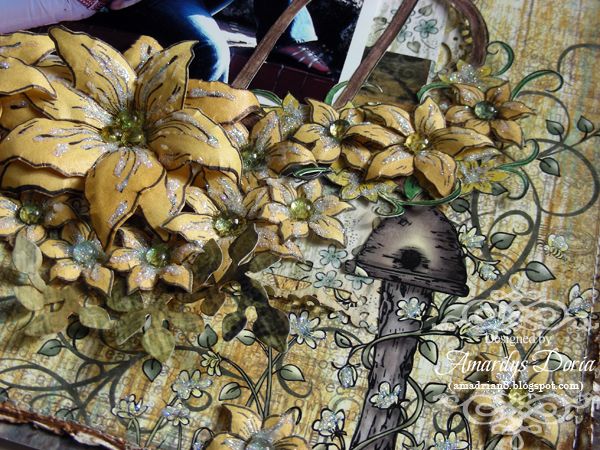
Keeping with the bright and sunny layout, i stamped and die cut a bunch of yellow Malabar blooms and added a dew drop for the center. I also made some greeneries and added it tot he cluster as well.
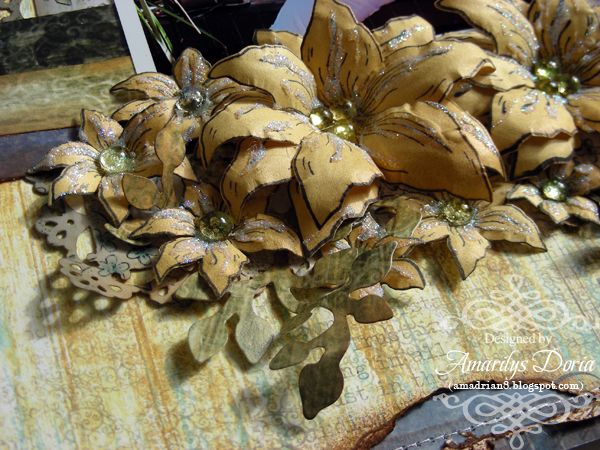
Here's a close up of some of the flowers.
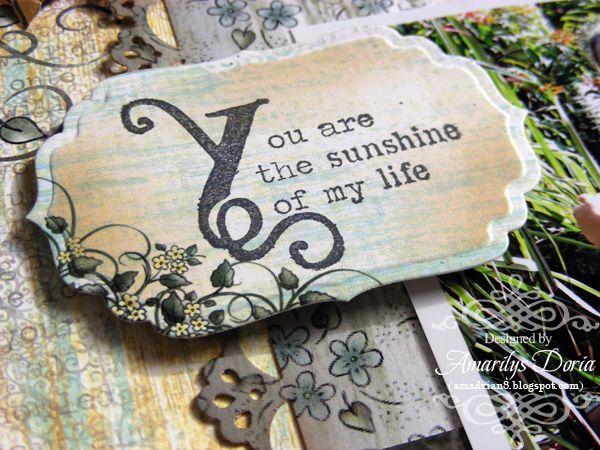
The sentiment included in this set was perfect for this photo! i stamped it and the pattern paper and cut/emboss with my grand calibur machine. I pop dotted it to make it stand out a bit more.
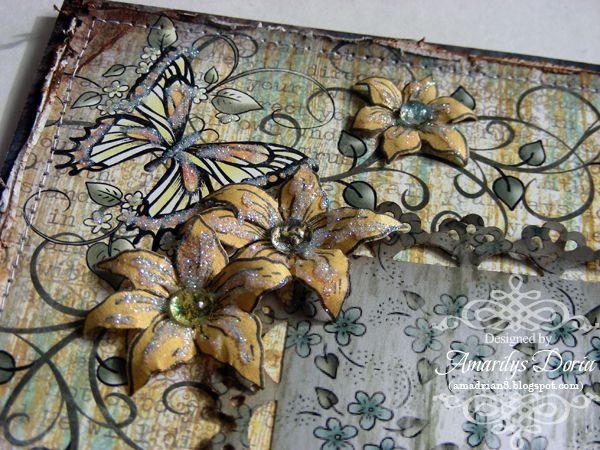
Finally, I also added some dimensional flowers to the top left corner of the layout to balance the blooms in the bottom.
Here is the step by step write-up for this project:
Trim 1/4”
off two sides of the background pattern paper. Use the Distress it all tool to
distress the edges. Make four peek a boo areas on the paper by tearing away
small pieces of pattern papers as shown. Ink the edges with the Tim Holtz
blending tool and Vintage Photo distress ink. Layer this pattern paper over a
dark blue paper. Distress and ink this new layer as before. Adhere to another
background pattern paper and machine stitch all around the edge. Punch around
the edges a 8” square of pattern paper using Martha Stewart punch. Layer this
piece over the center of the layout. Add your 4”x6” picture right over the
center. Cut strips of different sizes of pattern paper and cut a V notch at the
end. Lightly ink these layers and tuck in under the left side of the picture.
Stamp and color with Prismacolor pencils the window from the Botanical
Window PreCut Set. Fuzzy cut and add over the right side of the picture. Stamp,
die cut and shape a bunch of different size Malabar flowers in yellow. Layer to
give the bigger ones more dimension. Add flowers to the bottom side of the
picture. Tuck in two greeneries from the Western Broncos Die in the cluster as
well. Scatter some flowers over the top left and bottom right corner as shown.
Add dew drops as flower centers and add glitter to the flowers. Stamp the
sentiment on a light blue pattern paper. Die cut and emboss using labels 4.
Lightly ink the edges. Pop dot this sentiment over the left side of the photo.

Another gorgeous layout!! Love the flowers!!
ReplyDeleteAmazing as usual!
ReplyDeleteAmazing L/O. You are so good at it.
ReplyDeleteHugs Nat