
We are pleased to introduce the Sun Kissed Fleur Collection. This collection includes 2 dies: the Gift Ensemble die (yes, you can make a fancy box with this die!) and the Sun Kissed Fleur die which cuts out 10 different flowers at a time. How's that for value?
The paper collection, called Sun Kissed Collection, comes in vibrant aquas and oranges and fades to light greens and yellows. The paper pack comes with 24 12 x 12 papers that have designs on both sides and are acid & lignen free. There are 2 sheets per design; some are dramatic; others are subdued. You also have a wonderful selection of floral stamps to choose from: fancy tags, an overflowing basket, beautiful patterned backgrounds, borders and corners.
Leave a comment on the Heartfelt Creations blog by May 14th and you will be eligible to win the entire release valued at $180.91
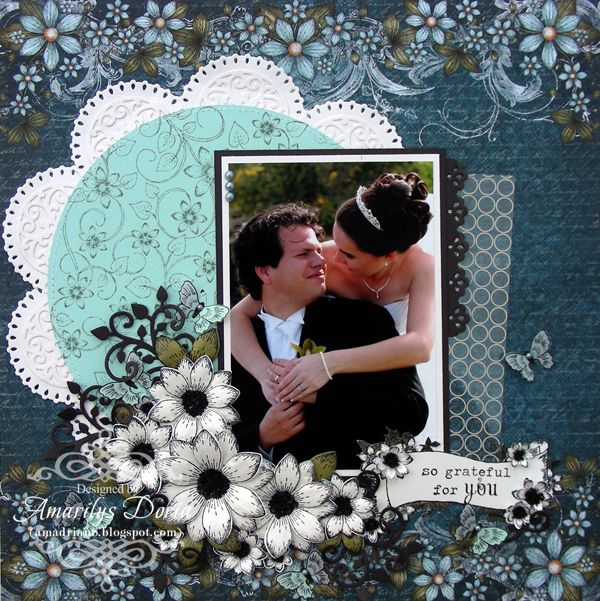
So, without any further ado, here's my first layout using this brand new Sun Kissed Collection!
Supplies-
Heartfelt Creations:
HCPC 3480 Brookside Manor PreCut SetHCPC 3520 Botanical Oval PreCut Set
HCPC 3533 Sun Kissed Fleur PreCut Set
HCPC 3535 Sun Kissed Fleur Tags & Basket PreCut Set
HCPC 3536 Sun Kissed Fleur Background PreCut Set
HCD 717 Layered Scalloped Posy Die
HCD 723 Garden Romance Die
HCD 734 Sun Kissed Fleur Die
HCD 735 Gift Ensemble Die
452255 Grand Calibur
11blk Black Gala Glitz
Other:
StazOn Archival Ink (Jet Black), Tim Holtz Distress Ink (Forrest Moss, Iced Spruce), Tim Holtz Blending tool, Tim Holtz Distress Markers (Forrest Moss), Rangers Stickles (Diamond), Martha Stewart Large Circe Cutter, Kaisercraft Blue Pearls, Paper Temptress Cardstock, Vellum, Transparency, sewing machine, embossing tool,
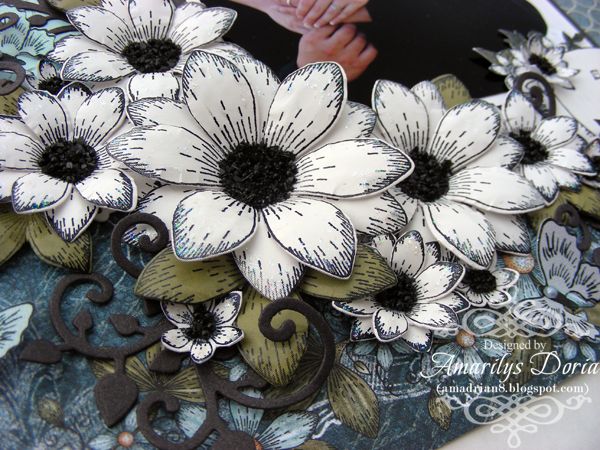
Here's a close up of the flowers that i made. I wanted to make a neutral wedding layout (yes, you can make these too even though the paper packs include a bunch of bright colors perfect for summer!) so I kept the flowers white. I got to use The Paper Temptress cardstocks for the first time and I got to say, they are amazing for making flowers! I love their cardstock's weight! I added black gala glits to my flowers' centers and the leaves I colored with distress ink.
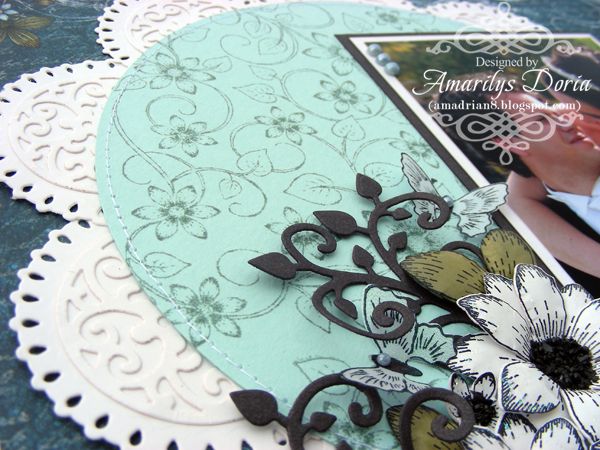
I handamde my own doily using a light blue The Paper Temptress cardstock and the new background stamp. I die cut a bunch of semicircles from an earlier HC collection and added them under the light blue cardstock. I machine stitched the edges for a cohesive look.
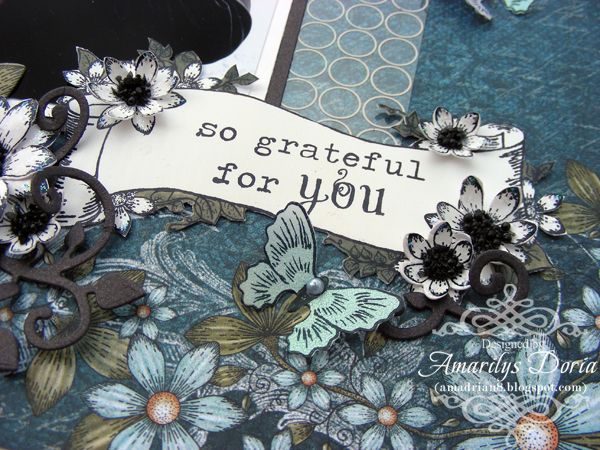
For the title, I stamped the largest tag from the new Sun Kissed Tags & Basket PreCut Set and fuzzy cut it. I then colored the leaves with a Tim Holtz marker, added some 3D flowers over the stamped ones and stamped a sentiment directly unto the banner.
Here is the step by step write-up for this project:
Using the Martha Stewart large circle cutter, die cut a
7” blue circle and stamp the Sun Kissed Fleur Background Precut Set with Iced
Spruce distress ink. Machine stitch all around the edge. Die cut 10 small
semi-circle out of white cardstock from the Layered Scalloped Posy Die and add
it to the edges of the large blue circle to make a doily. Adhere this handmade
doily to the background paper. Double mat your photo and adhere over the center
of the page. Tuck in a transparency on the right side of the photo and a die
cut border from the new Gift Ensemble Die. On a Paper Tempress white cardstock,
stamp the Sun Kissed Fleur PreCut Set twice and the largest tag from the Sun
Kissed Tags & Basket PreCut Set. Die cut the flowers using its appropriate
die and fuzzy cut the tag. Stamp the sentiment on the tag and color the leaves
using the Tim Holtz marker. Adhere over the right bottom corner of the photo.
To make the flowers, emboss two of the same size blooms and layer over each
other, staggering the petals. Add Gala Glitz to their centers and stickles to
their petals. Let them dry. For the leaves, color them with Forrest Moss
Distress Ink. Add flowers and leaves over the bottom left corner of the photo
after they dry. Die cut a few vine leaves in black and tuck them into the
cluster. Stamp and die cut using its appropriate die a bunch of butterflies on
vellum paper. Add a blue pearl to their centers and adhere randomly to layout.
Thank you for stopping by my blog today! Remember to go to the Heartfelt Creations BLOG and check out what the other designers made this week with the new collection!

Wow this layout is stunning, and double wow I love the flower stamps!!
ReplyDeleteOne word.....Stunning!
ReplyDeleteWOWZERS!!!! This is goroeus, love the white flowers and how they pop off the gorgeous paper!
ReplyDeleteThis is just so stunning! I love the repeated circles, and the way the acetate sheet echoes that. Gorgeous photo, gorgeous layout!
ReplyDeleteWhat a stunning layout.
ReplyDeleteWonderful page, Amarylis! Such a lovely photo and gorgeous design.
ReplyDeleteHI,
ReplyDeleteI am loving your designs they are just stunning and soooo inspirational :)
I look forward to seeing all of your future designs and working along side you on the DT x
Hugs Nikki x
Wow, such a gorgeous page. Your work with Heartfelt Creations is always so amazing!! ~ Blessings, Tracey
ReplyDeletehttp://gracescraps.blogspot.com/
Love the colors and the layout is perfect. Very beautiful and stunning.
ReplyDelete