Today I have the next assignment on the Swirlydoos Blog for the 12 Days of Christmas Contest.
The Assignment: Make an altered paper bag gift bag in traditional Christmas colors (red & green). You may also use any neutral colors as well.
and here's my sample:

As promised though, I did a step by step on how to do this one so let's get started!

Step 1. Trim your paper bag to 7" tall. Fold at 4.5" from the bottom, leaving a 2.5" flap. Using your favorite punch, punch the edges.

Step 2. Trim two pieces of cardstock (5"x4.5") and pattern paper (4.75"x4.25") to fit inside over the paper bag's front and back panel.

Step 3. Treat these found pieces by distressing, inking and machine stitching them.

Step 4. Add the front and back panel to the front and back side of the paper bag. Notice that my top flap is punched already.

Step 5. Trim two coordinating cardstock 1. (5"x2.25") 2. (5"x2")and punch the edges as well. Emboss the top cardstock and lightly ink the edges.

Step 6. Adhere the smaller piece over the larger and add a trim over it.

Step 7. Add this piece over the paper bag flap.

Step 8. Add a small trinket to the center of the flap to embellish.

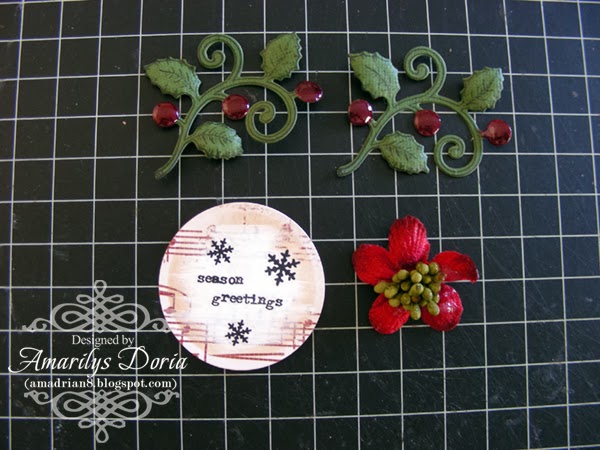
Step 9. Stamp and die cut some holly leaves (Heartfelt Creations) and white wash and add a sentiment to a die cut circle. Gather a red flower as your embellishment. Add all these embellies to the front of your gift bag.


This is gorgeous, particularly the punched fold with charm.
ReplyDeleteSo creative!
ReplyDelete