
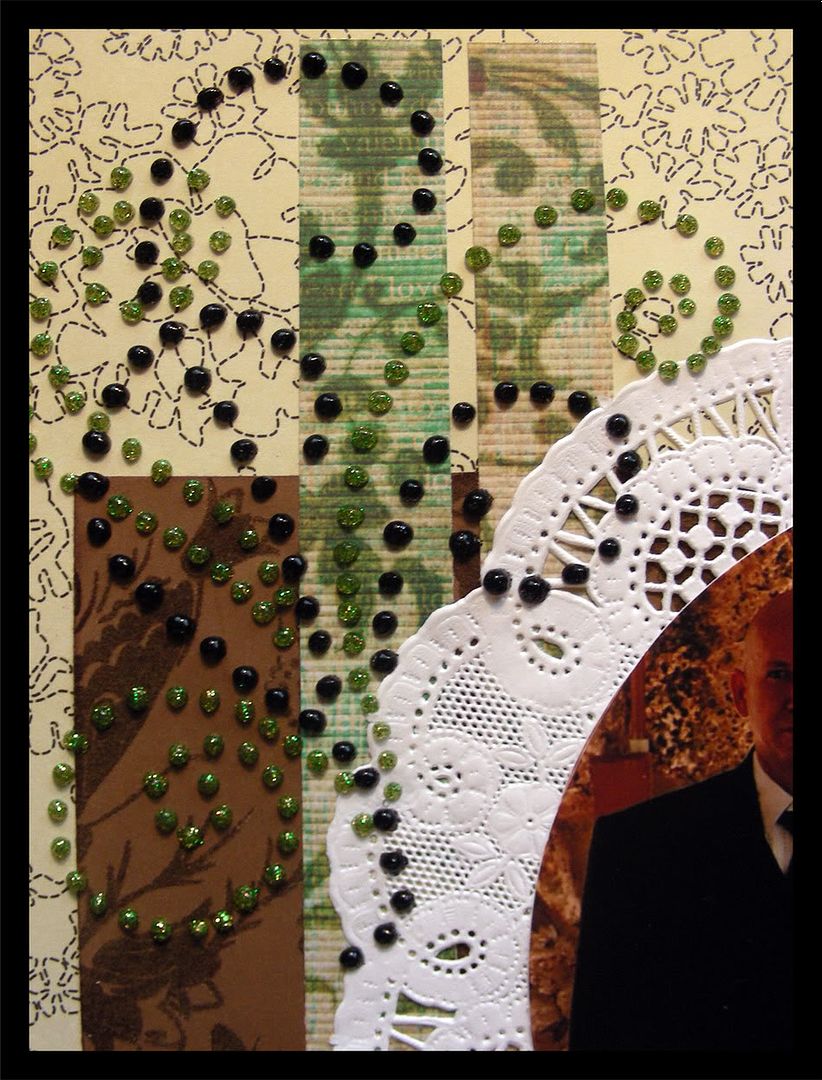
Here we go. This is what we want to make:
Supplies
-Transparency
-Black Sharpie
-Needle (or pin)
-A flourish template(from prima, stamp, or your own)
-Stickles/3D paint/Liquid pearl
1. First you need a template.
-Photocopy a Prima flourish that you already have
-Use a flourish stamp
-Make your own pattern
2. Trace on the transparency the dots using the sharpie.
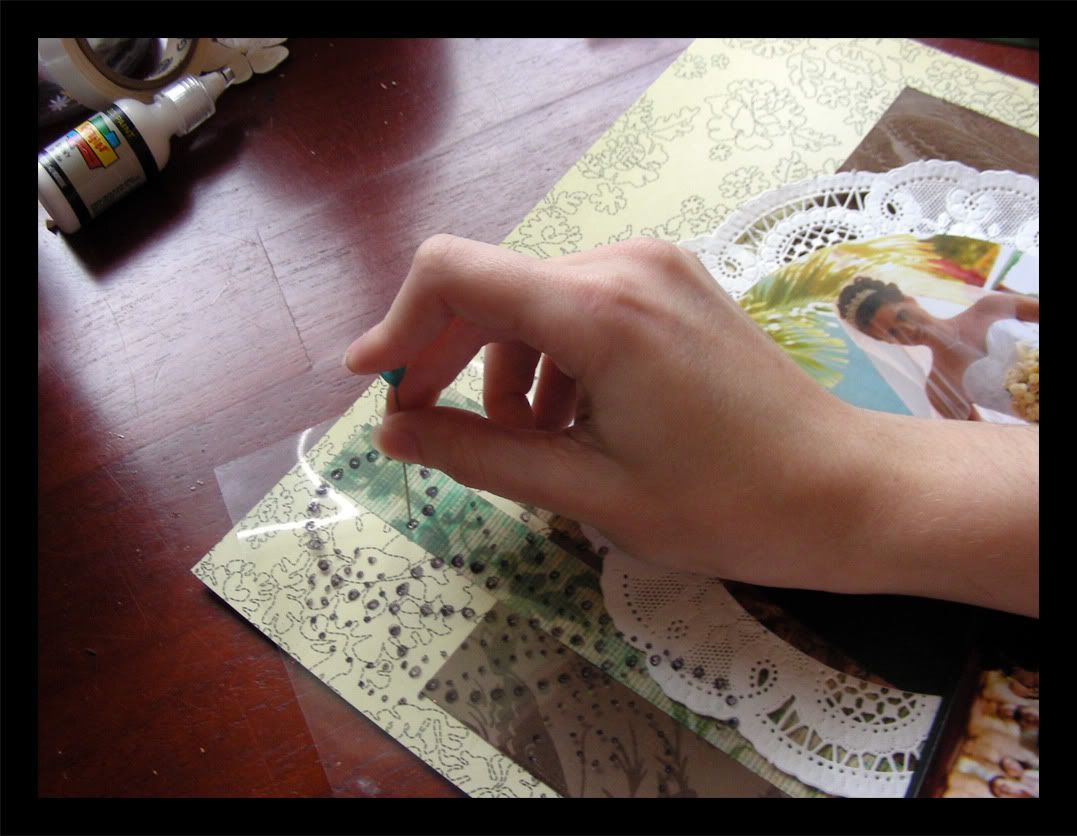
3. Using a needle (or pin), poke a little hole on the
transparency and unto the layout. Don’t apply too much
pressure or it will go through the page.
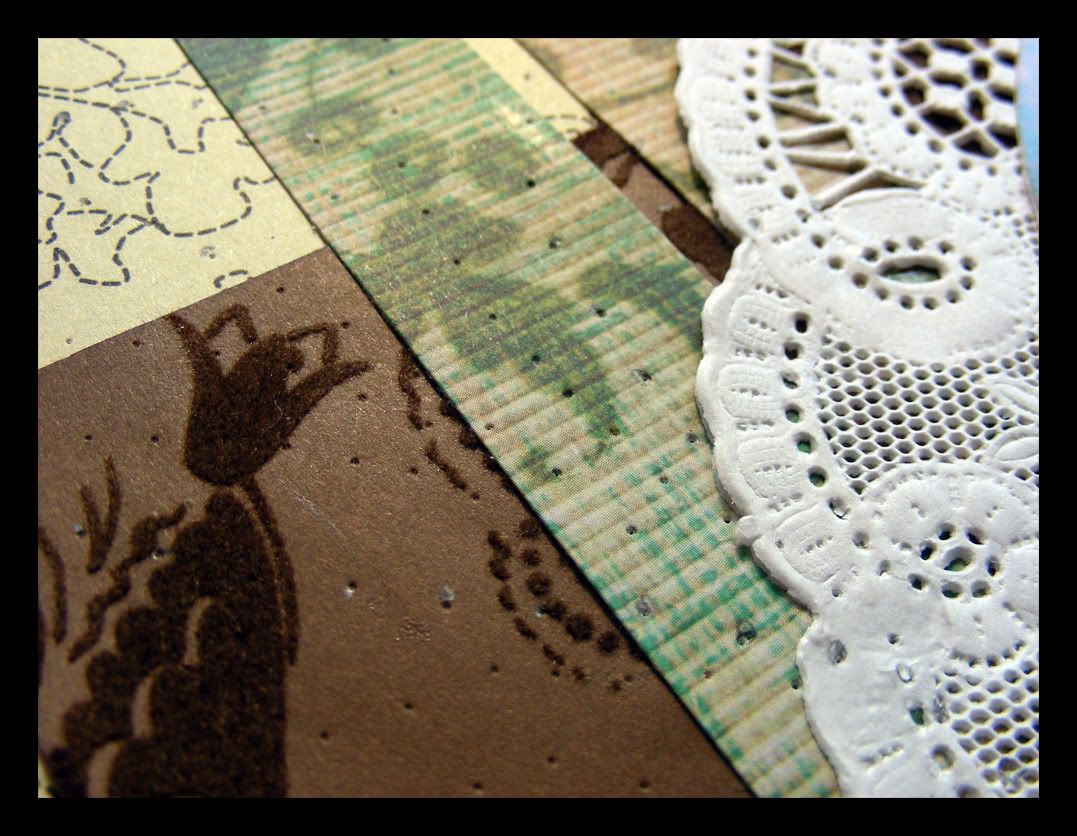
This is what you will see when you remove the transparency.
4. Use the dots as the template now to make your stickles
flourish.

Now you have a beautiful CUSTOM flourish!
(let dry overnight before you touch it)
OPTIONAL: You can also apply the stickles directly on
the transparency and cut around it later but beware, the
stickles might come off after it dries. I also don't like this method because you can still see the transparency when you cut it and I don't like how it looks.
Try it with two colors and see how elegant it looks!
love what you do with the stickles. Wow!! looks really elegant
ReplyDeleteThank you for posting this.
ReplyDeletenoooo way!!!! you are soooo clever!!!! I am having so much fun catching up on your awesome work!
ReplyDeletehugs
Brenda