Well, after 3 days of thinking and working on it, here is my take on this challenge and I must say that I'm very happy with the results:
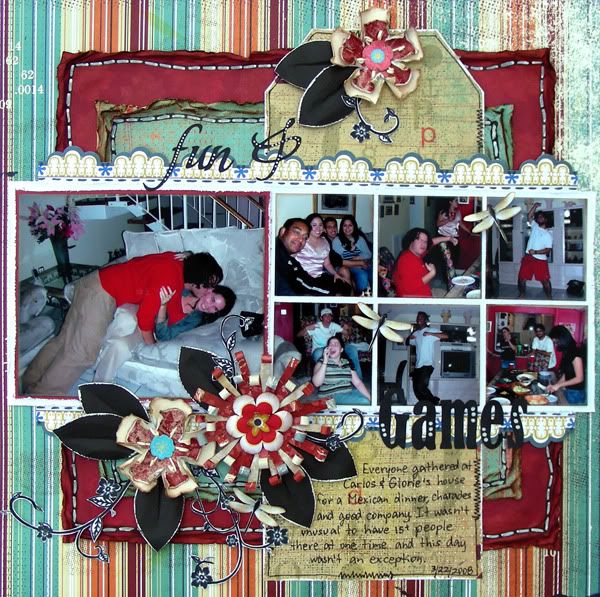
I hand cut everything you see here using my handy pair of scissors. I distressed all the edges so that you wouldn't see the crooked lines plus I love to distress! I did some faux stitching on the background pieces as well as the large tag to add some interest, depth and texture. I used one of Basic Grey's old line, the Recess line, for this layout. Who said who have to use school paper on school layouts? The pretty edges are from Sassafras. I always cut them all up when I get their papers and store them away for later. I managed to use 7 pictures in this layout as I had a lot of pictures from this event.
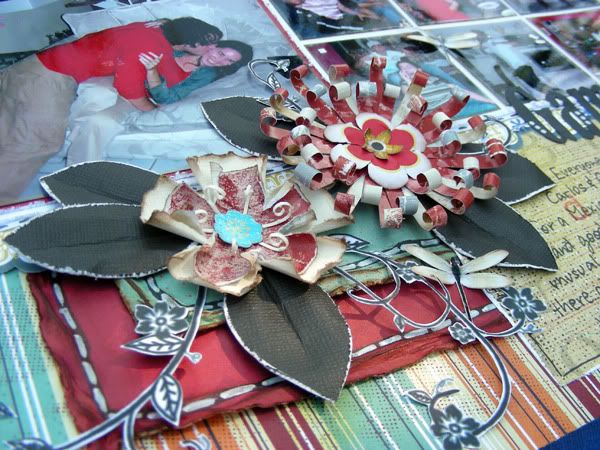
Of course, I made my own flowers. I used Gabrielle's tutorial for the two that look similar and Helen's tutorial for the larger flower. All the flower centers are fuzzy cut from leftover papers from my stash. I don't remember them all but I remember the center for the larger flower is from a GCD Studios paper and the tiny yellow flower in the center is from Basic Grey's Origin line. I distressed them and cupped them with the back of my rounded pen to give them dimension.
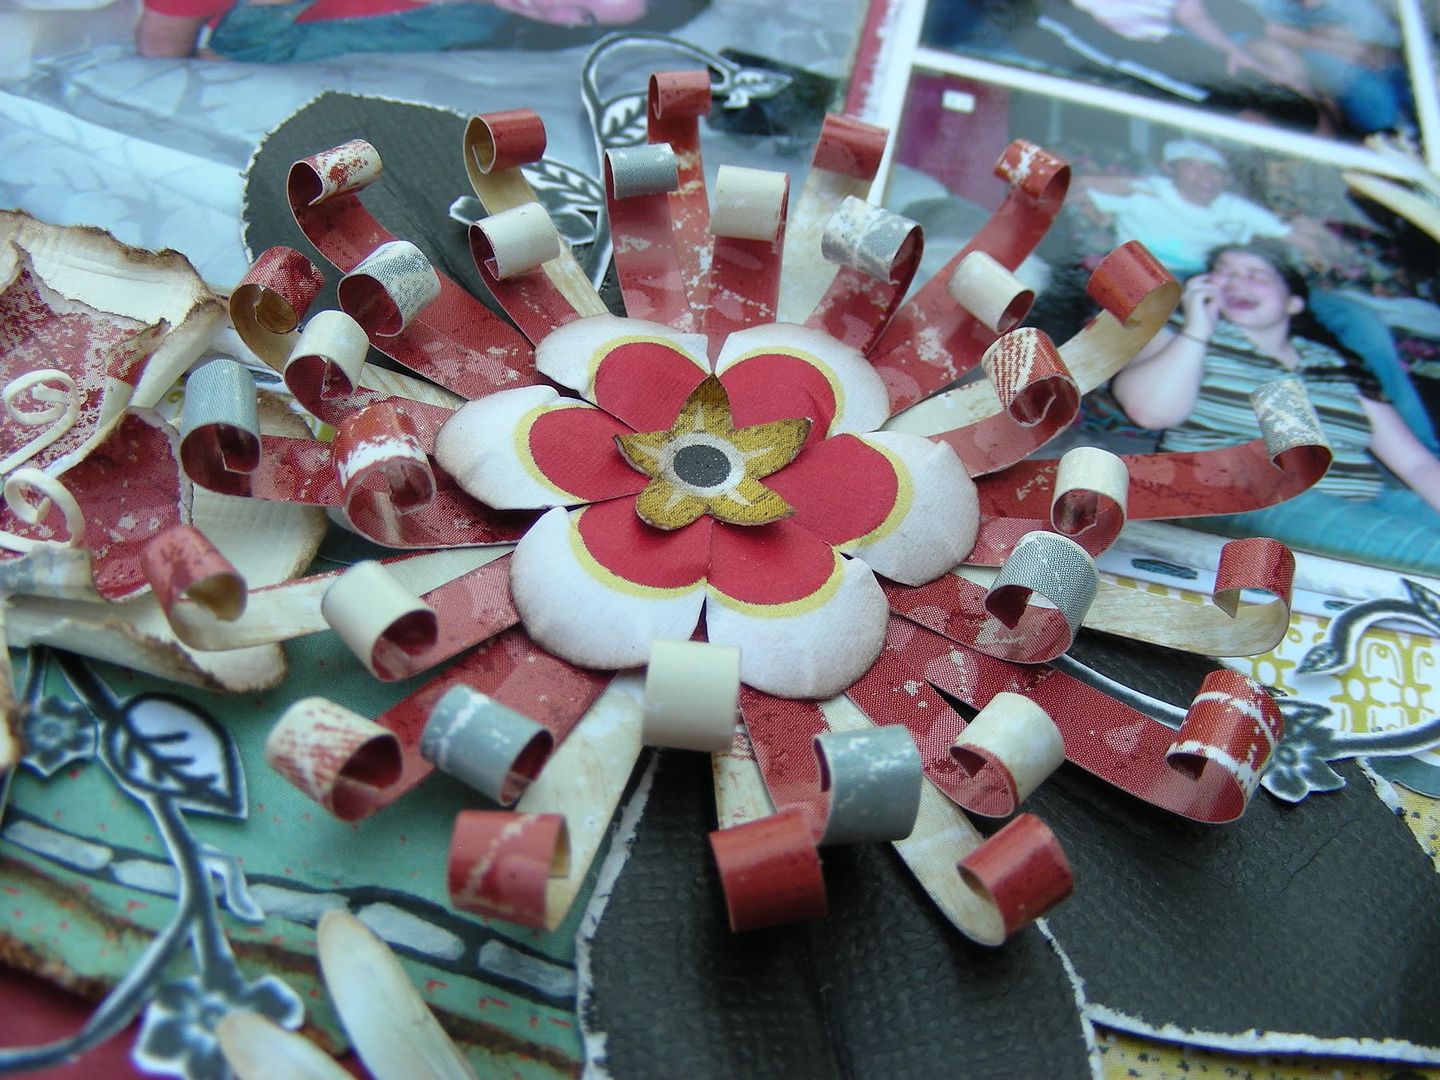
For the strips of paper, I carefully cut them trying to make them the same size but as you can see, I failed miserably. It's okay that they are different sizes though, it adds character to the flower, or so I keep telling myself. I curled the tips with my scissors originally and then rolled them with my hands. I hand drew the leaves on black cardstock, cut them and distressed the edges.
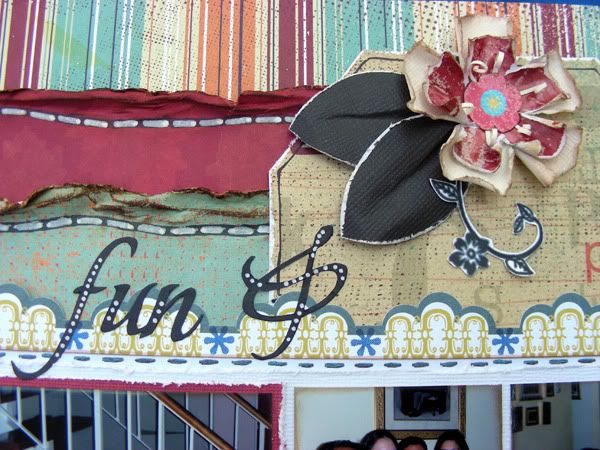
The fuzzy cutting was an interesting process as was the title. For the fuzzy cutting, I used this photoshop brush. I printed it on white paper and cut around it, just like you would a stamped image. For the title, I wrote out the words, printed them on white cardstock and carefully cut around them. I didn't like the fact that you could see the white edges so I colored everything over with a thick black sharpie.
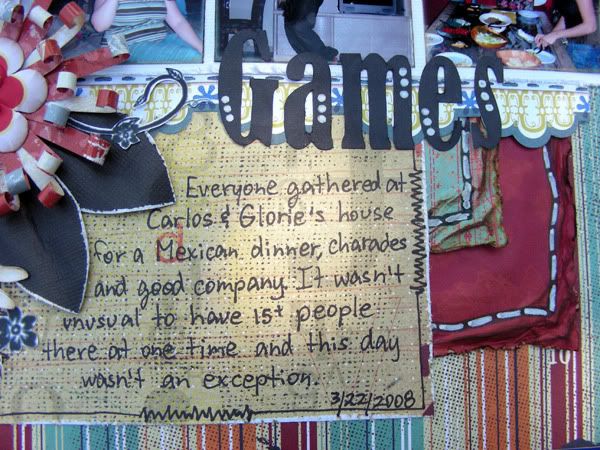
I did a few dots in white to mimic bling. Oh, how I missed being able to use stickles and 3D paint! LOL
I finished by journaling in the lower part of my over sized tag.
I do feel quite accomplished after finishing this layout using only paper, ink and scissors. Why don't you give this challenge a try? You'll be surprised at how creative you can be when limited by your supplies!


Just a quick note to let you know that a link to this post will be placed on CraftCrave today [01 Apr 01:00am GMT]. Thanks, Maria
ReplyDeleteI love how you did those flowers! Gorgeous!
ReplyDelete