
Today I'm going to show you how to make your own bling shapes using your i-Rock!
Supplies:
pen: Copic Marker E57
jewel: Imaginisce i-Rock Hot Rocks Compact Crystal
tool: Imaginisce i-Rock
other: pencil, die cut shape (optional), tweezers
Step 1. Decide what you want to make. You can use any die cut shapes, bling, swirls, etc to use as a template for your handmade bling. I chose a butterfly to match it to the other butterflies in my page. Trace lightly with a pencil around your shape.
Step 2. Using tweezers, place the rhinestones on your lines. By doing this you will know if your lines will show and if you have enough rhinestones for your project. Use different size rhinestones for a more professional look.
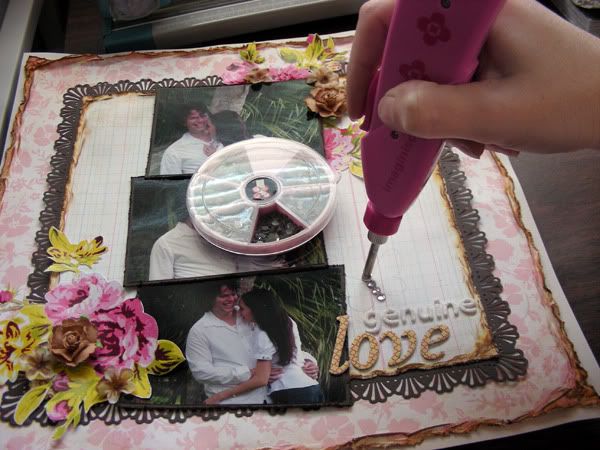
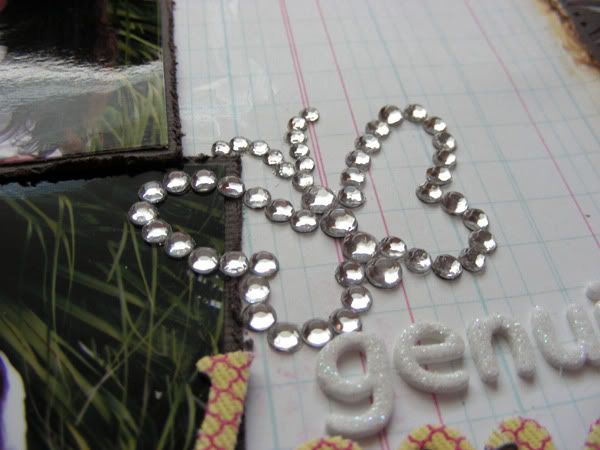
Step 3. Carefully start adhering your rhinestones (follow the instructions for your i-Rock tool). I removed most of my rhinestones from my page so I can work better but you can just go over each rhinestones and set them.
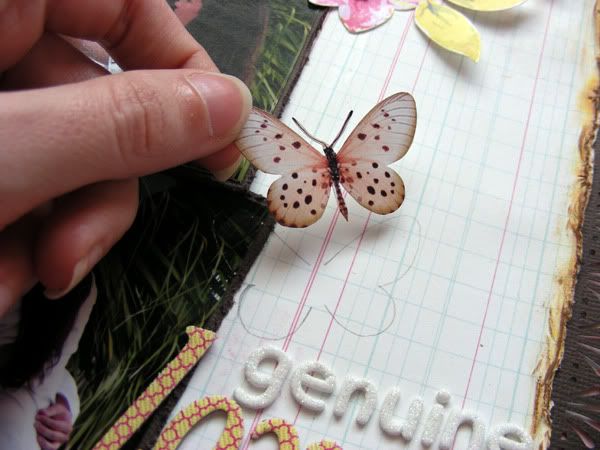
Step 4. You will end up with something like this when you are done heat-setting your rhinestones. It looks just like when you first placed the rhinestones on your lines to check but this time they are attached permanently. Now, you can leave your bling like this and it will look great but if you want to customize it and match it to your page, you can use a Copic marker and color your rhinestones.

Step 5. Carefully color in with a brown Copic (I used E57) the rhinestones in the body of the butterfly and the antennae. Let it dry and do it again if you want for a richer color.

Step 6. Stand back and admire your custom bling!
I hope that you enjoyed this quick step-by-step tutorial on how to make your own bling using the i-Rock! If you don't have one, then you NEED one! Check out the AWDML online store to get your today!

Very cute Amarilys!
ReplyDeleteJust a quick note to let you know that a link to this post will be placed on CraftCrave today [27 Apr 01:00am GMT]. Thanks, Maria
ReplyDelete