Supplies:
- cardstock: Bazzill;
- patterned paper: Basic Grey Curio;
- stamps: Basic Grey Thank you), Heartfelt Creations (leaves);
- punches: Martha Stewart Punch Around the Page Scallop 3 Dot;
- glitter: Glimmer Mist (Frost, Olive Green, Suede, Burnt Red), Stickles (Frosted Lace);
- tools: Cuttlebug, Tim Holtz Tonic Paper Distresser;
- other: Scribbles 3D Paint, red button
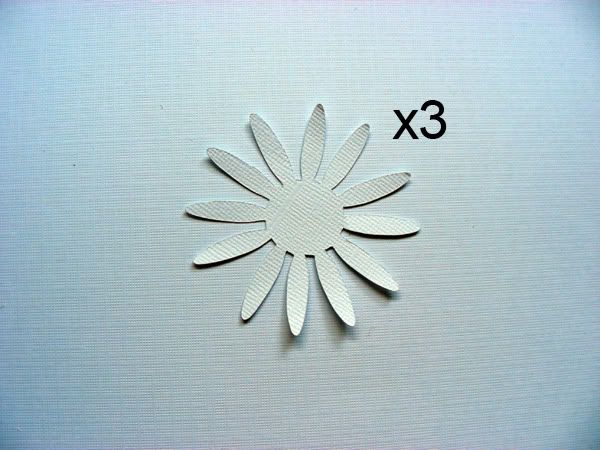
Step 1. Hand draw or punch out 3 daisies from white cardstock.
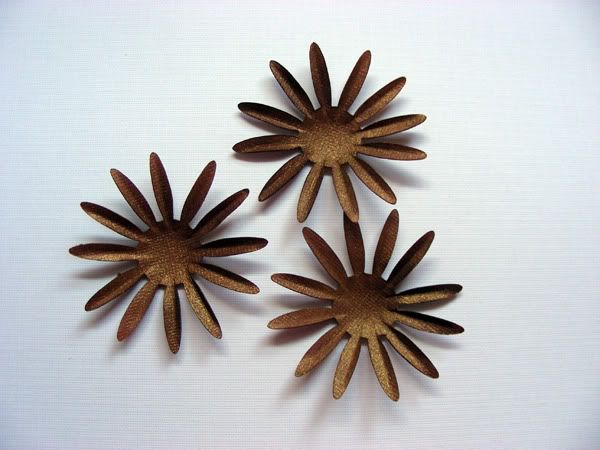
Step 2. Glimmer mist them using Frost, Olive Green, Suede, Burnt Red Glimmer Mists and let them dry. Once dry, fold each petal in half using a pair of twizzers.
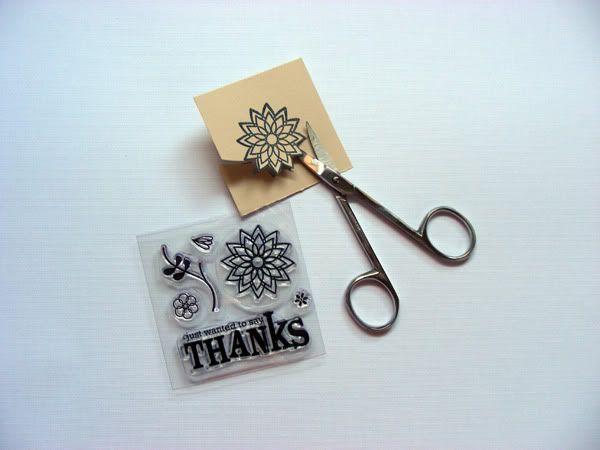
Step 3. Stamp the flower shape from the Basic Grey Thank You Stamp on a cream cardstock and cut it out.
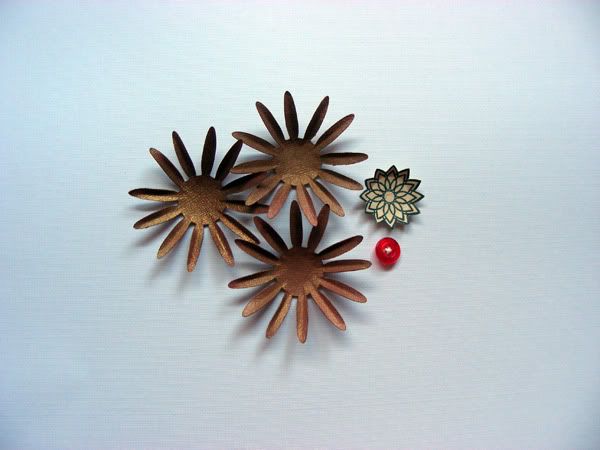
Step 4. Gather your pieces to make your flower. You will need the three daisies, the stamped image and a button.
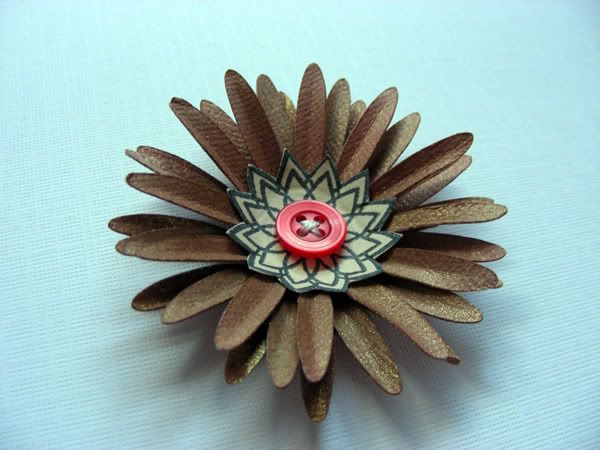
Step 5. Layer the daisies so that the petals overlap. Add the stamped image and the button to the center. Hand-stitch the button to the flower.
To Make the Card:
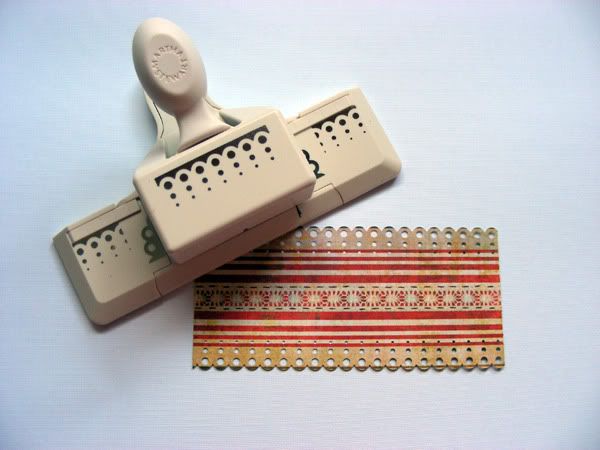
Step 1. Cut out a 2.5"x5" rectangle from the Basic Grey's Curio paper and using the Martha Stewart Punch Around the Page Scallop 3 Dot border punch, punch on both sides of the pattern paper.
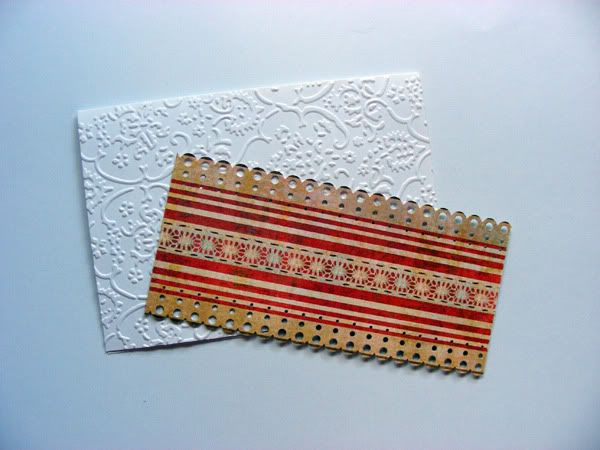
Step 2. Make your card from a 5"x7" white cardstock and fold it in half. Emboss the front of the card using your Cuttlebug and an embossing folder.
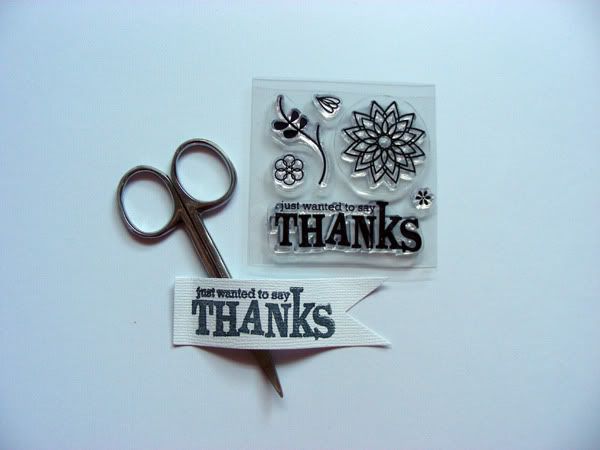
Step 3. Stamp the sentiment (Basic Grey Stamp) onto white cardstock and cut it out. First cut a rectangle and then cut a small triangle on one side to give it a banner look.
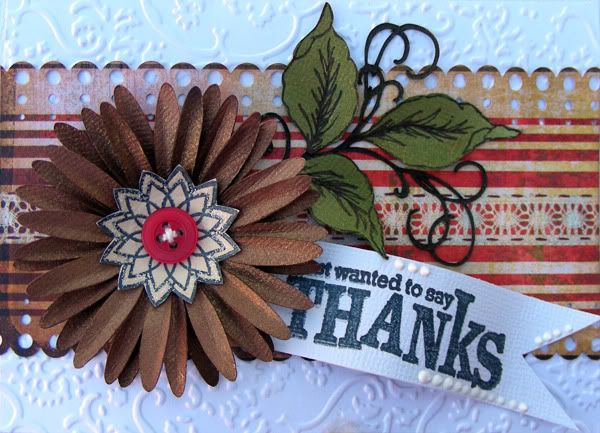
Step 4. Assemble the card. Place the Basic Grey punched paper in the middle of the card. Add your handmade flower to one side and the sentiment next to it. I added a stamped leaves to mine to finish it off.
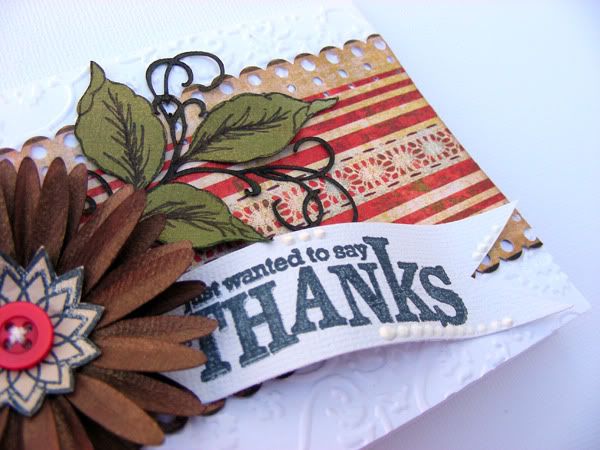
Here is a close up of the card. I slightly curled the sentiment with my fingers to give it some dimension before I attached it to my card.
I hope that you enjoyed this quick step-by-step tutorial!


Just a quick note to let you know that a link to this post will be placed on CraftCrave today [20 Apr 01:00am GMT]. Thanks, Maria
ReplyDeleteThat card is beautiful! Thank you for the tutorial!
ReplyDeleteThat's gorgeous!!! I really love the step to do the flower, I really like the result, thanks for sharing!
ReplyDeletecute card!!! I´ll feature on my blog. Hope you don´t mind
ReplyDeletehugs from Brazil
Thank you so much for posting this! I used your technique to make a card of my own. Let me know if I credited you properly! :)
ReplyDeleteWow that is super cute, love how you made the flower.
ReplyDelete