Throughout the month you have seen me use handmade papers on my layouts and today, I'm going to show you how I made them so that you can try it too for a custom look on your layout and cards!
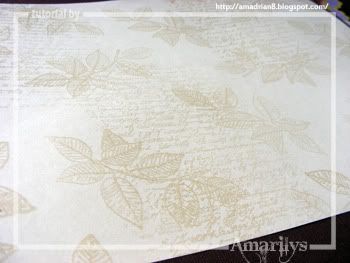
Step 1. Start with a cream colored 8.5"x11" sheet of smooth cardstock. Randomly emboss using the Prima Notary Stamp and a leaf stamp. Remember to go over the edges for a more finished look. My leaf stamp is by Martha Stewart and I've had it for a while. Clear emboss the whole sheet of cardstock using your heat embossing tool.
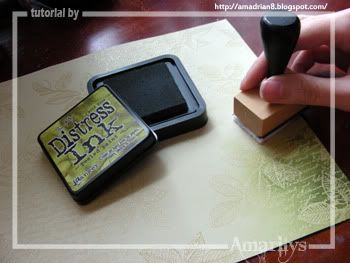
Step 2. Using your Tim Holtz tool and Tim Holtz Peeled Paint distress ink, lightly cover most of the cardstock like shown. Remember to vary the shade of the color by adding more or less ink to any given area.
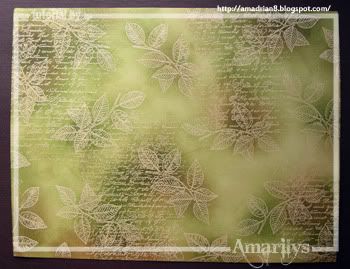
Step 3. Add some Tim Holtz Vintage Photo distress ink in random spots to add dimension. Your cardstock should look like this when you are done.
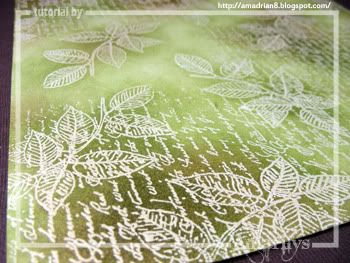
Here is a close up of my finished paper:
Finally, here is a layout I made using this completely custom made sheet of pattern paper:
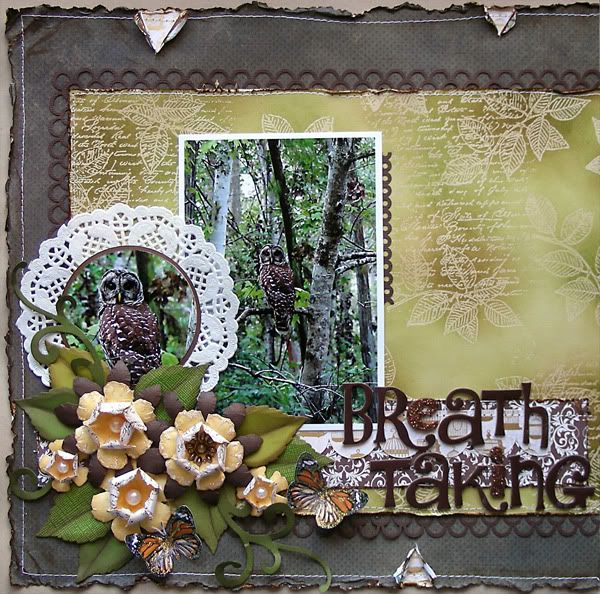
Supplies-
cardstock: Bazzill, Recollections; patterned paper: Basic Grey Marjolaine Creme de Menthe, Jillibean Soup Dutch Mustard Soup Leeks, DCWV Mariposa Stack;
bling: Prima flower centers;
glitter: Ranger Stickles Cinamon, Diamond;
chipboard: American Crafts Thickers;
ink: Ranger Tim Holtz Vintage Photo, Peeled Paint, Embossing Distress Ink, Ranger Embossing Powder Clear;
stamp: Prima Notary stamp;
tools: Marvy Uchida 2500 heat embossing tool, Martha Sewart around the page punches (Double Loops, Scallop 3 Dots), Cuttlebug, Tim Holtz Tattered Florals dies, Sizzix decorative flourishes die set, Tim Holtz paper distresser, Fiskars Stylus;
other: doily, pearls, sewing machine,
Hope that you enjoyed this tutorial! I sure had fun making it for you and using it to make my completely custom papers throughout the month!
Thanks for stopping by my blog. I really appreciate all of your comments. Have a wonderful weekend!
***All the Products in BOLD can be purchased from A Walk Down Memory Lane online store.


Gorgeous paper you created! I think I'll give it a try.
ReplyDeletethis is just GORGEOUS!!!!!
ReplyDeleteThat's a wonderful technique. So effective. What a beautiful layout to really finish off the technique. Lovely.
ReplyDeleteThis is a lovely layout! I love making my own papers like this... the possibilities are endless. :o) Looking forward to working with you on the Heartfelt DT.
ReplyDelete