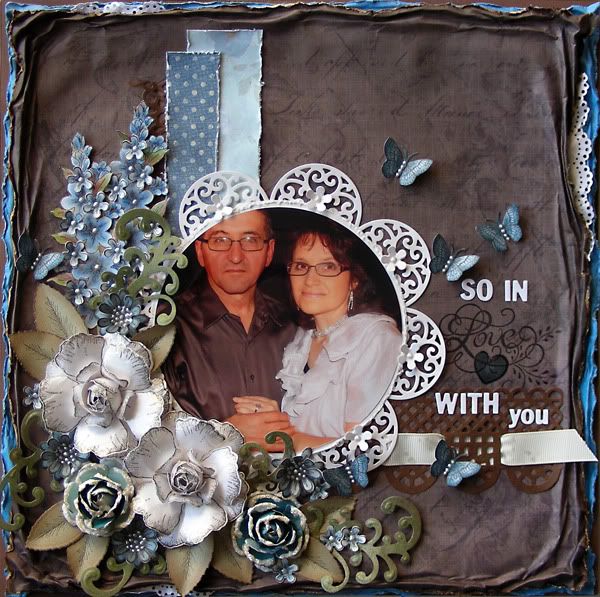
Name: Doily Tutorial
Supplies:
- HCD 717 Layered Scalloped Posy Die
- 317430 Cuttlebug machine (or any other manual die cutting machine)
- white cardstock
- Ranger Liquid Peals (White Opal)
- Martha Stewart Large Circle Cutter (or any circle cutter)
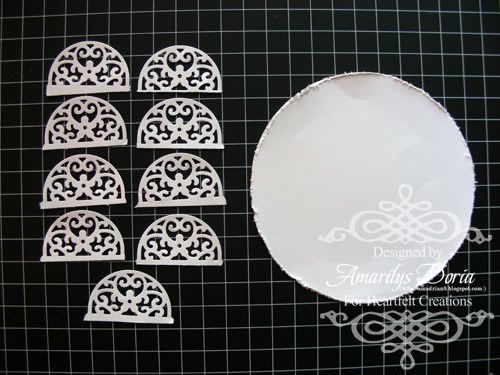
Step 1. Cut and distress a 5" circle out of white cardstock. Die cut 9 small doilies from the Layered Scalloped Posy Die set.
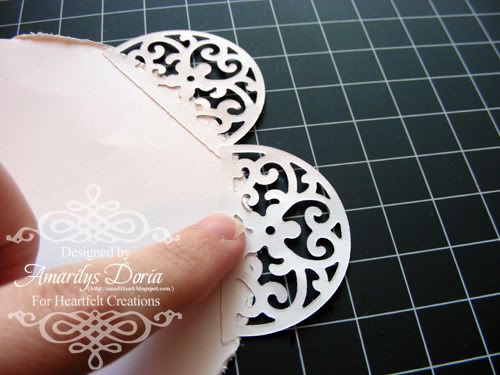
Step 2. Turn your circle around and glue each small doily side by side all around the back of the circle to make the doily. This is the back side of your doily.
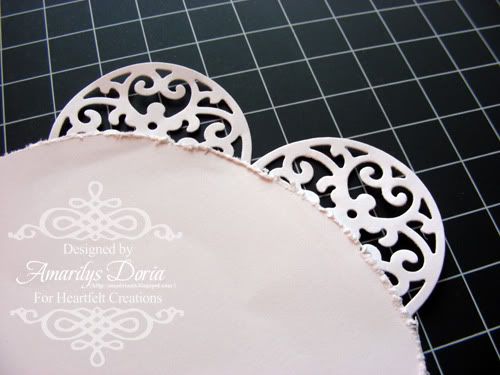
Step 2b. This is how the front should look like.
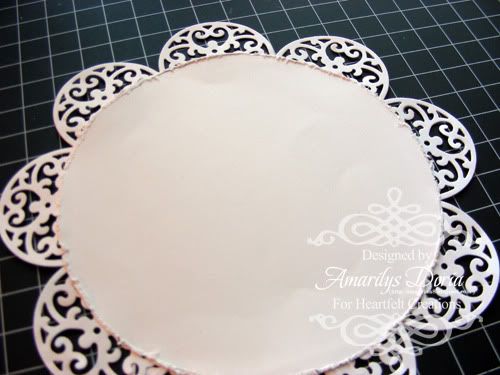
Step 3. This is what you get when you glue all the smaller half doilies. You can use this as is or you can go a step further and embellish it.

Step 3b. I used this doily as a photo mat.
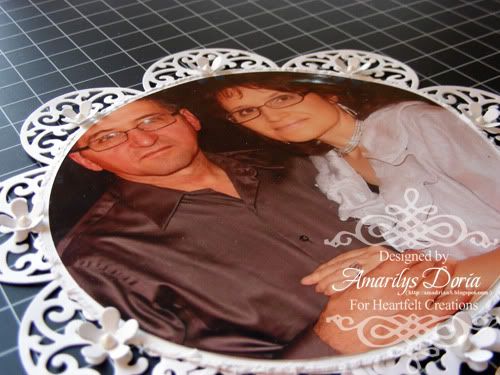
Step 4. Die cut 9 small posy flowers out of white cardstock and glue them over the posies on the doily scallop edges and add a small dot of liquid pearl to finish them off.
Hope you enjoyed this small tutorial! have a great day!


Gorgeous! Thanks for sharing!
ReplyDelete