Supplies:
- transparency
- clear embossing powder
- heat embossing tool
- printer
- photo paper
- rhinestones (optional)
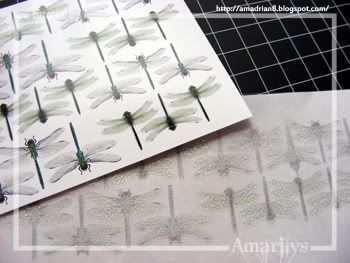
Step 1. Print THIS file on a 4"x6" photo paper as well as a transparency sheet (acetate). Let the photo paper dry (a few minutes, depending on your paper/printer). As soon as you print on the transparency sheet, sprinkle some clear embossing powder and melt it with an embossing heat gun.
BEWARE: Do not over heat it (or keep it too close to the heat gun) as it will also melt the transparency sheet!
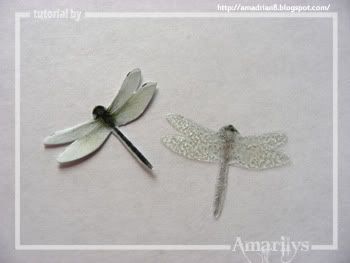
Step 2. Cut out a dragonfly from each media-one from the photo paper and one from the acetate.
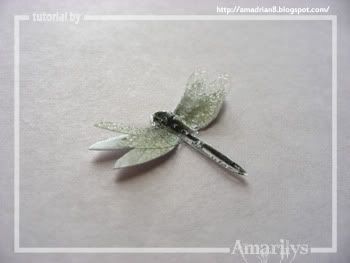
Step 3. Layer the transparency dragonfly over the photo paper dragonfly and there you have it! A super fast, super easy embellie to add to your layout!
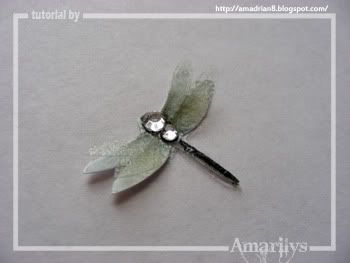
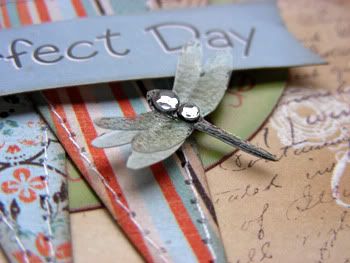
Step 4. (OPTIONAL) Now, you can take it a step further and embellish your dragonfly by adding two (or more) rhinestones in the body like I did.
I hope that you enjoyed this very fast tutorial. You can definitely apply this concept to butterflies and other embellies to give them dimension and texture!
Here's a close up of a dragonfly that I used on my layout:
Thanks for stopping by! Let me know what you think of the tutorial. I'd love some feedback! :)


Wow! These are amazing!
ReplyDeletewow how awesome!!will have to give this a try...thanks for sharing!
ReplyDeleteI just found a utube video on butterfly's from dryer sheets...but I am hooked on downy...gotta beg for used dryer sheets! joy! lol
hugs
Brenda
Thankyou so much!
ReplyDelete