
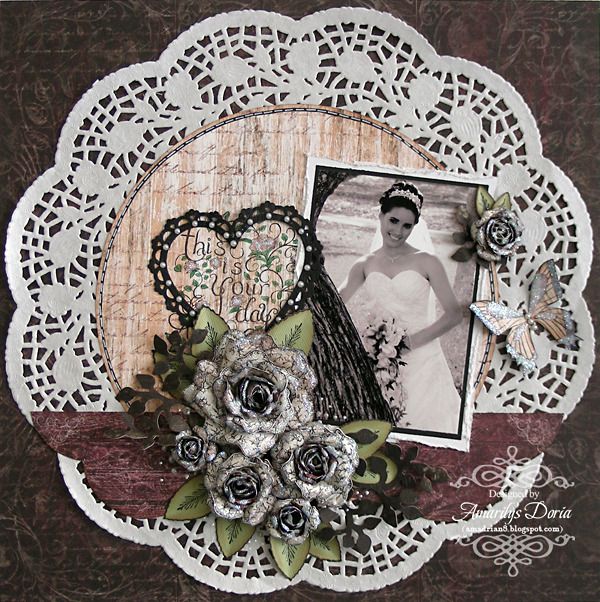
Of course, I made another wedding layout:
Supplies-
Heartfelt Creations:
HCPC 3407 Botanical Floral 2 PreCut Set
HCPC 3499 Delicate Asters and Butterflies PreCut Set
HCPC 3500 Open Vintage Floret PreCut Set
HCPC 3502 Mini Vintage Floret PreCut Set
HCPC 3505 Timeless Rosette PreCut Set
HCD 720 Western Broncos Die
HCD 727 Vintage Floret Die
HCD 728 Timeless Amour Die
HCDP1 228 Timeless Amour Paper Collection
452255 Grand Calibur
159730 Floral Pee Wee Kit
472186 Rose Creations Shapeabilities
Other:
Tim Holtz Distress Inks
(Vintage Photo), StazOn Archival Ink (Jet Black), Prismacolor Pencils (PC908,
PC927, PC947), Ranger Liquid Peal (Opal White), OMS, Tim Holtz Blending tool,
Recollections White Pearls, Zutter Distress-it-all, Martha Stewart Crafts Large
Circle Cutter, ATG, black sharpie, Signo Uniball white opaque pen, doily
For some reason, Heartfelt Creations brings out the romantic in me and all my layouts, ok, I should say most since I do make an occasional masculine layout here and there, look very romantic by the time I'm done. Not that I'm complaining... :)
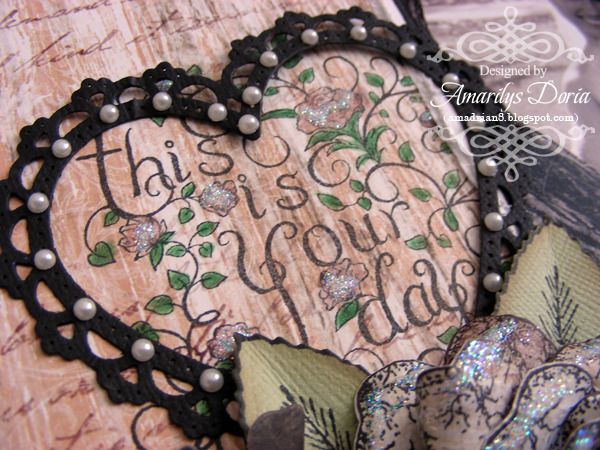
I stamped the title directly unto my background circle and then I colored the flowers and leaves. I also added some glitter and framed it with the new heart die. It's AMAZING!
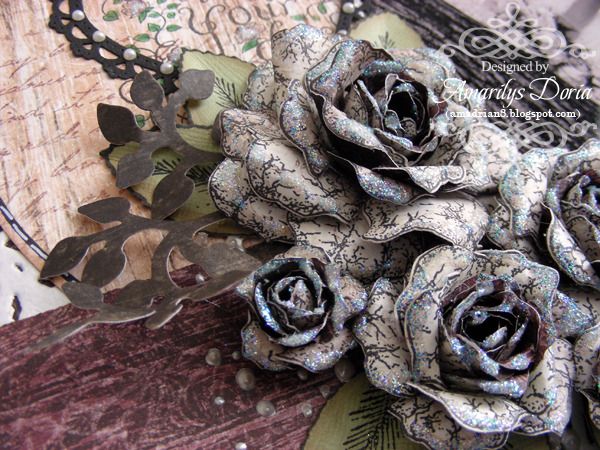
I made some yummy roses and dipped them in glitter. Added some leaves and 3D paint drops.
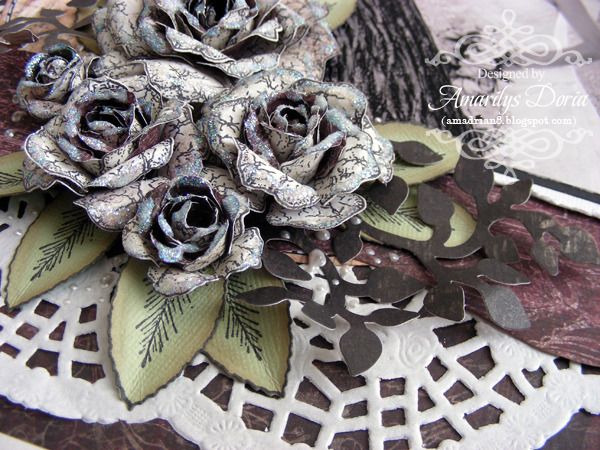
Another shot of the flower cluster.

A sweet butterfly that I made to go in the layout which, of course, was also dipped in glitter :D
Ok, so I *might* have gone a little overboard with the glitter on this layout :)
I loved working with this pattern paper and stamp collection. The colors are so gorgeous! I added some glitter to the printed paper to make it stand out and embossed directly on the background paper.
Here is the step by step write-up for this layout:
Adhere a large white doily to a dark colored background pattern paper. Die cut an 8” circle and ink the edges with Vintage Photo using the Tim Holtz Blending Tool. Add faux stitching to your circle and adhere the circle to the doily. Cut a shaped border and adhere over the circle toward the bottom of the layout, as shown in the picture. Double mat a 5”3.5” photo with black and white cardstock. Distress the white layer and adhere over the die cut shaped border. Stamp the large sentiment from the Timeless Rosette Precut Set on the left side of the photo. If you like, you can lift the photo a little bit so that the stamped image goes behind it. Color in the leaves and flowers with Prismacolor pencils and blend the slightly with OMS. Die cut the large heart doily from the Timeless Amour Die from black cardstock and layer over the title. Add small pearls all over the edge. For the cluster, stamp, die cut, shape and layer a bunch of flowers from the Open Vintage Floret Precut Set and Mini Vintage Floret Precut Set. Use 2 of each size to make the flowers. HERE is a good tutorial by Emma Lou for how I made these flowers. Add some clear glitter from the Floral Pee Wee Kit and let it dry. Stamp and die cut a bunch of leaves from the Rose Creations Shapeabilities. Ink the edges a bit to antique them and bend in half to give them some depth. Die cut two of the leaves from the Western Broncos Die. Now, add your flowers and leaves to the bottom left corner of the photo as shown. Add a small rose and some leaves to the top right corner as well, to balance the layout. Stamp and fuzzy cut a butterfly from the Delicate Asters and Butterflies Precut Set. Add glitter to some areas and adhere to the right of the picture. Finally, randomly add liquid pearl drops
Thank you for stopping by my blog today! Remember to go to the Heartfelt Creations BLOG and check out what the other designers made this week!

Gorgeous little page!
ReplyDeleteAbsolutely stunning! Love your roses!
ReplyDeleteWhat a beautiful layout!!! Love the flowers!!
ReplyDeleteWow!!! Totally gorgeous! I love your layouts!
ReplyDeleteFabulous!!!! Simply stunning!!!
ReplyDelete