Supplies-
Heartfelt Creations:
HCPC 3390 Bella Rose Leaves PreCut SetHCPC 3394 Classic Bella Rose PreCut Set
HCPC 3514 Floral Fence PreCut Set
HCPC 3500 Open Vintage Floret PreCut Set
HCPC 3502 Mini Vintage Floret PreCut Set
HCPC 3522 Vintage Floret Frame PreCut Set
HCPC 3524 Butterfly and Bunny PreCut Set
HCD 712 Bella Rose Die
HCD 727 Vintage Floret Die
HCD 731 Decorative Leafy Frame Die
HCDP1 231 Posy Patch Paper Collection
452255 Grand Calibur
Other:
StazOn Archival Ink (Jet Black),
Recollections White Pearls, Ranger Stickles (Diamond), Rangers Liquid Pearls
(White Opal), Tim Holtz Distress Ink (Vintage Photo, Forrest Moss), Buttons
Bonanza (Rainforest), Smooch Pearlized Paint (Luscious Lime), Prismacolor
Pencils (PC927, PC933, PC939, PC945, PC947, PC1008), OMS, brown fiber, white
doily, pop dots, white floss
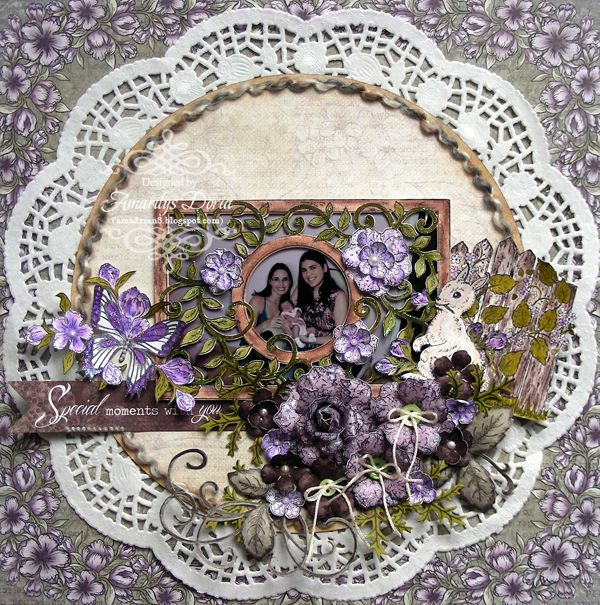
This collections is gorgeous and the sweet images are perfect for Spring/Easter and pretty much everyday scrapbooking! I used the sweet bunny and butterfly in the collection to embellish the layout about my friend Hanay and I with her newborn daughter.
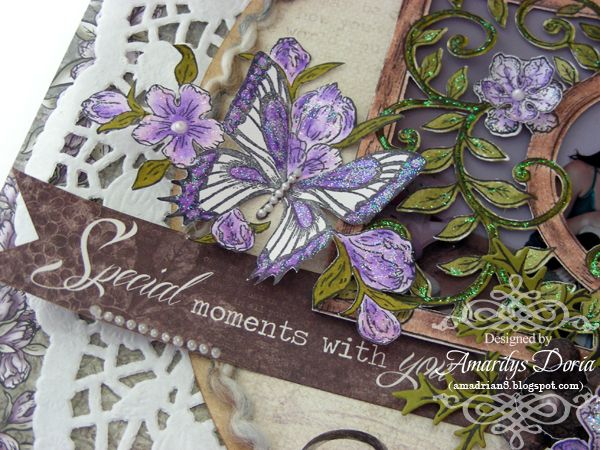
Here's a close up of the sweet butterfly and blooms. I stamped, colored and fuzzy cut it out and added a row of tiny pearls for her body. I just can't get enough of this sweet butterfly!
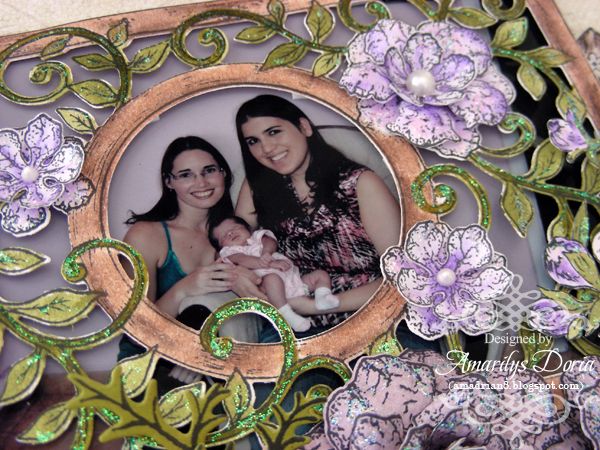
Here's a close up of the photo. I used the die in this collection (did I mention that I LOVE it?) to make a frame for my picture. I stamped, die ct and colored my die cut shape and pop dotted it over my photo to frame the subject (my friend with her baby and I). I also made more flowers and added them over the stamped frame to for a fuller bloom. I then finished it off with stickles to make it stand out!
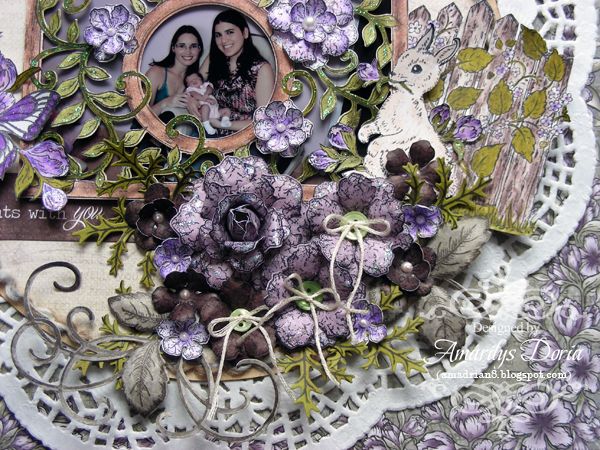
Here's another view of the frame and embellie cluster.
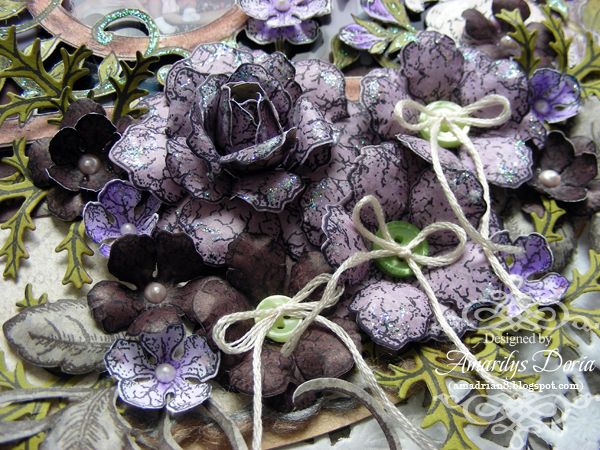
I made a full rose (6 layers) using the Vintage Floret stamps and a bunch of smaller ones to compliment the image. i used pearls and sweet green buttons with bows for their centers.
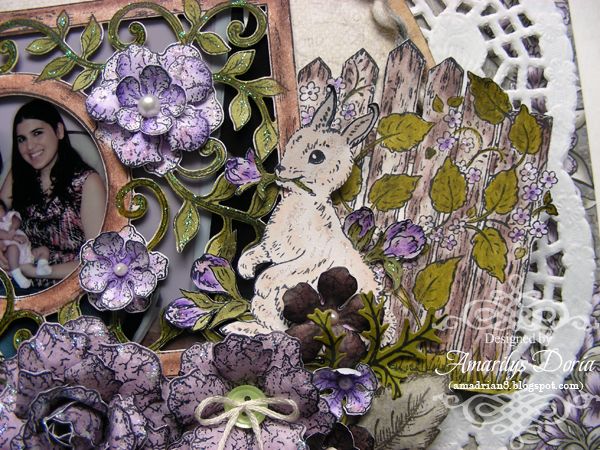
Here's a close up of the bunny. Isn't he just the sweetest? I added him to the corner to symbolize new beginning as the baby had just been born in the picture. I also stamped the fence from the Countryside Evening Collection and added it behind the bunny. I used Smooch paint to color the leaves in the fence and I love how bright and green they look!
Here is the step by step write-up for this project:
Cut a 9” circle out of pattern
paper and layer over a white doily. Distress the edges slightly with distress
ink and add a brown fiber all around the edge. Add the doily over a background
pattern paper. Stamp, die cut and color using Prismacolor pencils the Vintage
Floret Frame. Pop dot the frame and add over your 6”x4” picture. Adhere the
picture to the center of the page. Add a pre-printed banner sentiment under the
picture. Stamp the bunny and butterfly from the Butterfly and Bunny Precut Set on
white cardstock and color the images with Prismacolor pencils. Do the same with
the weathered fence from the Floral Fence
PreCut Set. Fuzzy cut these images and add stickles. Let them dry. For the
flowers, stamp different size vintage flowers from the Open Vintage Floret PreCut Set and Mini
Vintage Floret PreCut Set and die cut them with its coordinating die. Use two
shades of purple for this. Layer different size flower dies to form a fuller
bloom. Stamp and die cut a Bella Rose Leaves PreCut Set and a few thorns from
the Classic Bella Rose PreCut Set. Add buttons to the larger flowers’ centers
and liquid pearls to the smaller ones. Add a small floss bow to the buttons. Arrange
the embellies to form a cluster on the bottom and to the right of the picture,
as shown. Add the butterfly and flowers to the left side of the picture.
Thank you for stopping by my blog today! Remember to go to the Heartfelt Creations BLOG and check out what the other designers made this week!


Oh this is just gorgeous. Love L/O of this page, and your flowers are stunning.
ReplyDeleteHugs Nat
Another gorgeous layout!!! you do such nice work!
ReplyDeleteGorgeous page Amarylis! Love the garden trellis effect over the photo!
ReplyDeleteWhat a gorgeous page! Just beautiful flowers!
ReplyDeleteGorgeous LO flowers and vines!! Beautiful job Amy
ReplyDeleteBeautiful layout Amarylis. I really like your flowers and using the buttons is so clever.
ReplyDeleteYour handmade flowers are gorgeous. I had to look very closely to make sure they weren't packaged! I'm very impressed. This is a beautiful layout...everything is so harmonious!
ReplyDeleteWow, such a stunning LO!! Love your die cuts and gorgeous handcrafted flowers! ~ Blessings, Tracey
ReplyDeletehttp://gracescraps.blogspot.com/