Name: Elegant Wild Roses
Supplies:
- HCPC 3437 Carnation Florals 1 PreCut Set
- HCPC 3438 Carnation Florals 2 PreCut Set
- Spellbinders Carnation Creations
- 317430 Cuttlebug machine (or any other manual die cutting machine)
- cream cardstock
- Tim Holtz Distress Ink (Vintage Photo)
- Tim Holtz Ink Blending Tool
- StazOn Archival Ink (Jet Black)

Step 1. Stamp 2 of each of the largest Carnation Florals 2 Precut Set flowers onto cream cardstock and die cut them using the Spellbinders Carnation Creations die.
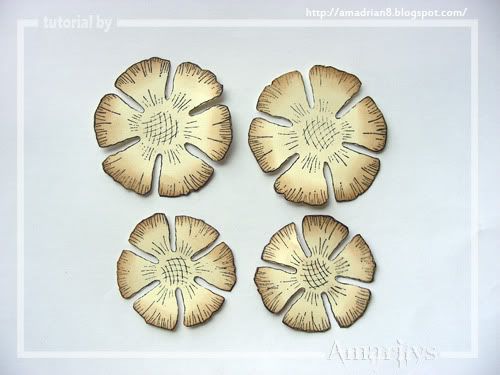
Step 2. Ink all the edges using a Tim Holtz Ink Blending Tool and Vintage Photo distress ink.
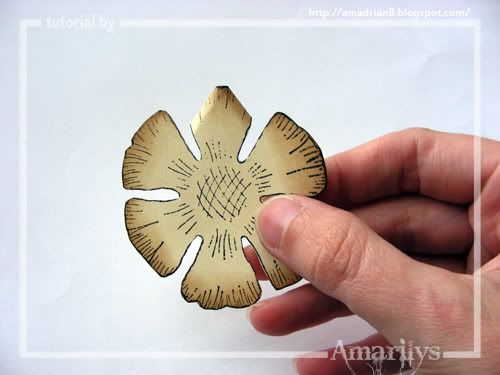
Step 3a. Curl and fold each petal into a v shape like so.
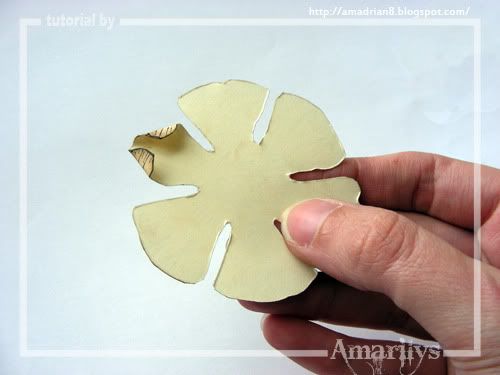
Step 3b. Here is a shot of the back of the flower so you can see how it should look. Do this to the largest 2 flowers and one of the smaller ones.
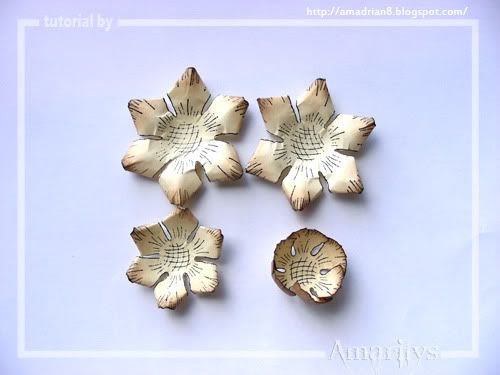
Step 4. For the last smaller flower, curl the petals upwards. This is how your flowers should look up until here.
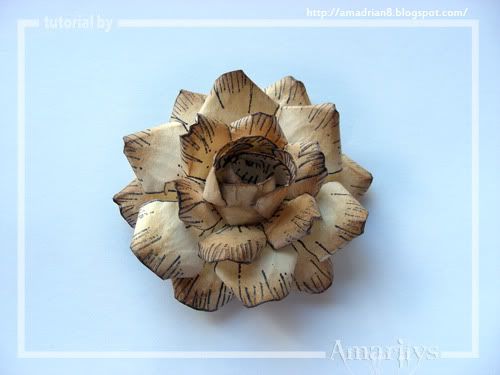
Step 5. Place each petal inside the other staggering the petals and make a bud with the last smaller flower and place in the center.
There you have it! These roses are so fun and easy to do! You can bling them up if you like or leave them as is.
Thanks again for stopping by my blog today. I hope that you enjoyed this tutorial. If you make some flowers, leave me a link so I can check out your creations!


Very pretty-looks just like a perfect rose.
ReplyDeleteThese are just gorgeous! Can you get the stamps in the UK?
ReplyDeleteThis is great... thanks for sharing how to make 'em!
ReplyDeleteYour tutorials are wonderful!
ReplyDelete