
Here's my layout:
Supplies-
Heartfelt Creations:
HCPC 3390 Bella Rose Leaves PreCut SetHCPC 3407 Botanical Floral 2 PreCut Set
HCPC 3499 Delicate Asters and Butterflies PreCut Set
HCPC 3500 Open Vintage Floret PreCut Set
HCPC 3502 Mini Vintage Floret PreCut Set
HCD 702 Decorative Butterfly-Border Die
HCD 712 Bella Rose Die
HCD 717 Layered Scalloped Posy Die
HCD 727 Vintage Floret Die
HCDP1 227 Vintage Floret Paper Collection
452255 Grand Calibur
159730 Floral Pee Wee Kit
472186 Rose Creations Shapeabilities
Other:
Tim Holtz Distress Inks (Vintage Photo), StazOn Archival
Ink (Jet Black), Martha Stewart Punch Around the Page (Vintage Flowers), Tim
Holtz Blending tool, Recollections
White Pearls, Pazzles Inspiration, black sharpie, Signo Uniball white opaque
pen
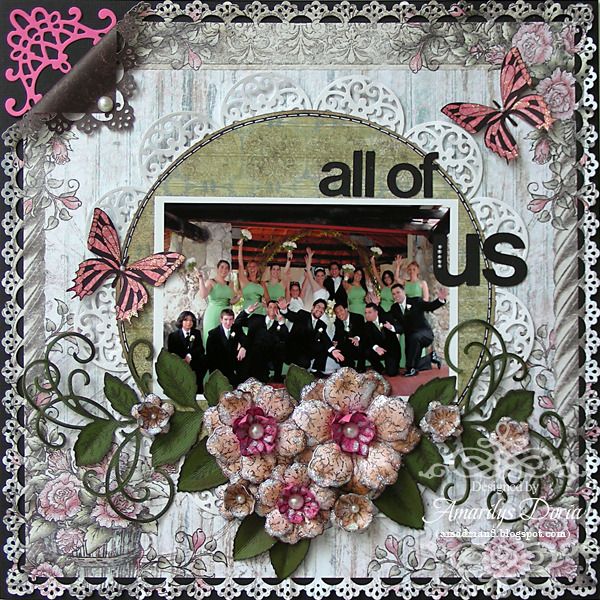
With these soft pattern papers and distressed flower stamps, of course that I had to make another wedding layout! For this one I had a lot of fun! I used a Martha Stewart punch around the page punch to make it frilly and I made a doily (tutorial here) for the background. I used 13 mini doilies for a 7.5" circle.

Of course, the real show-stopper are the distressed roses. I made them out of a light pink cardstock and distressed them a bit with the Tim Holtz distressing toll and then added glitter to them, thus making them Shabby Chic roses.
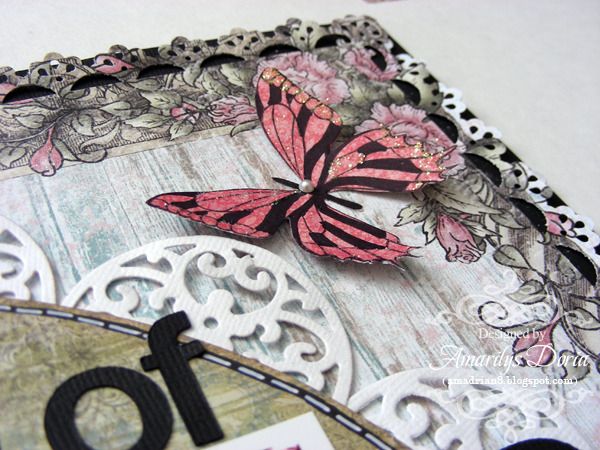
I made a few of these sweet butterflies as well. I stamped them on a brighter pink pattern paper and then colored in with my black sharpie some areas to make it stand out.
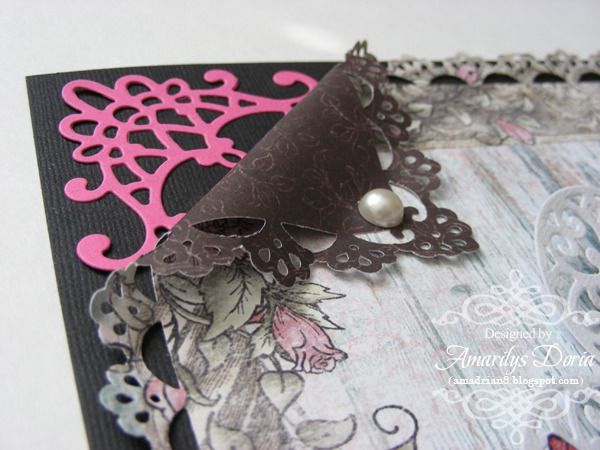
I folded back the top left corner to expose the brown underside of the pattern paper. I then die cut a corner in hot pink and added it underneath for a bit of a contrast.
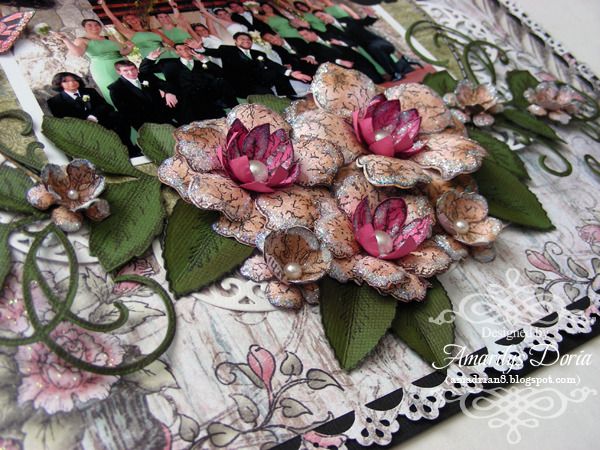
Finally, here's another view of the embellie cluster. I made a bunch of distressed roses and filled them in with flourished leaves.
Here is the step by step write-up for this layout:
Punch around the page with Martha Stewart Vintage
Flowers. Adhere unto black cardstock and fold back the top left corner. Add
clear glitter to the flowers on the pattern paper and let it dry. Die cut the
corner die from the Decorative Butterfly-Border Die in bright pink and add to
the fold back corner. Cut a 7.5” circle out of green pattern paper, ink the
edges and doodle faux stitches. Die cut 13 mini semi-circle doilies from the Layered
Scalloped Posy Die and adhere to the back of the large circle to make a large
handmade doily. Adhere to the center of the background. Place your picture in
the center of the circle and add the title on top and on the side of the photo.
Stamp and die cut two large Bella Rose Leaves Precut Set. Adhere on either side
below the photo. Stamp, die cut and lightly ink and shape different size
flowers from the Open Vintage Floret Precut Set. Assemble your flowers by using two of the
same size blooms and the 5 side blooms in a different shade of pink to the center
of the flowers. Add a white pearl to
each flowers’ center. Make a few smaller blooms as well and add them randomly
around the cluster and among the leaves. Finish by adding white glitter to
accent the blooms. Add the flowers right under the photo. Stamp and die cut a
few leaves from the Botanical Floral 2 PreCut Set. Add to cluster. Stamp and color
a few butterflies from the Delicate Asters and Butterflies Precut Set. Fuzzy
cut them, add a pearl as their center, and adhere randomly to the layout.
Thank you for stopping by my blog today! Remember to go to the Heartfelt Creations BLOG and check out what the other designers made this week! Also, today is the last day to vote for the semifinalists and old DT to stay on the Heartfelt Creations DT one more term. If you do, you will get your name thrown in for a $50 gift certificate to the store!

Beautiful Creation Amy!! love the flowers as always!!
ReplyDeleteWow, Amy!! What a stunning LO!! Love your amazing use of the die cuts and gorgeous stamped flowers!! A real work of art!! ~ Blessings, Tracey
ReplyDeletehttp://gracescraps.blogspot.com/