
We are pleased to present the Sweet Serenity Collection. This set includes a floral frame die, four new nature stamps, four animal stamps and some fun floral and typographical stamps. Leave a comment on the Heartfelt Creations blog by March 19th and you will be eligible to win the entire release valued at $113.94
Here's my first layout using this gorgeous new collection!

Supplies-
Heartfelt Creations:
HCPC 3303 Posy Patch Flowers PreCut SetHCPC 3390 Bella Rose Leaves PreCut Set
HCPC 3405 Leaf Medley PreCut Set
HCPC 3500 Open Vintage Floret PreCut Set
HCPC 3502 Mini Vintage Floret PreCut Set
HCPC 3522 Vintage Floret Frame PreCut Set
HCPC 3523 Feathered Friends PreCut Set
HCPC 3524 Butterfly and Bunny PreCut Set
HCD 712 Bella Rose Die
HCD 727 Vintage Floret Die
HCD 731 Decorative Leafy Frame Die
472123 Foliage Shapeabilities
452255 Grand Calibur
HCDP1 231 Posy Patch Paper Collection
Other:
StazOn Archival Ink (Jet Black),
Recollections White Pearls, Ranger Stickles (Diamond), Rangers Liquid Pearls (Dark
Chocolate, White Opal), Tim Holtz Distress Ink (Vintage Photo, Forrest Moss),
Prismacolor Pencils (PC933, PC945, PC947, PC1003, PC1008), Zutter Distrezz-it
All tool, Thickers, sewing machine
Anyway, I created this layout using the pictures from hubby and I's engagement session back in 2008 (his mom took them-aren't they amazing?). I lightly distressed everything with the Distrezz-it-all and distress ink. I used the new die cut as a background doily (this new die has so many potentials!).
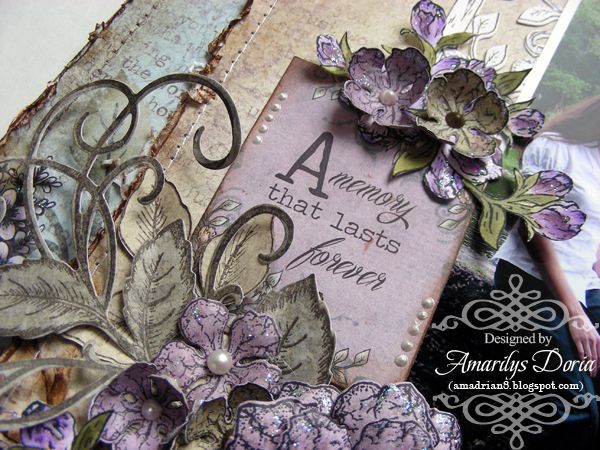
I added this sweet sentiment on the left side of the picture. The picture was taken at Fairchild Gardens in S. FL so it was only fitting that I added a lot of foliage on this layout.
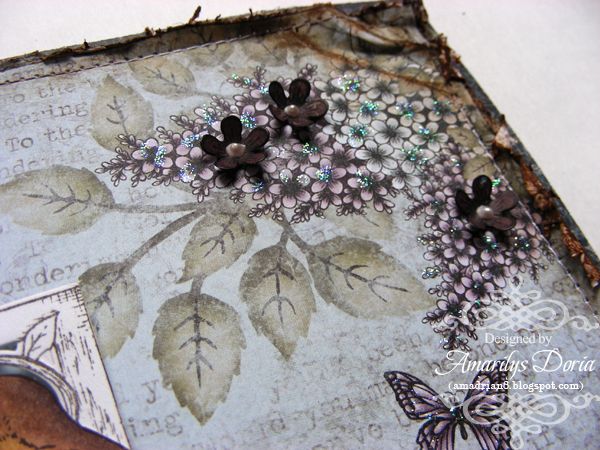
I stickled the paper and added tiny little flowers to add dimension.
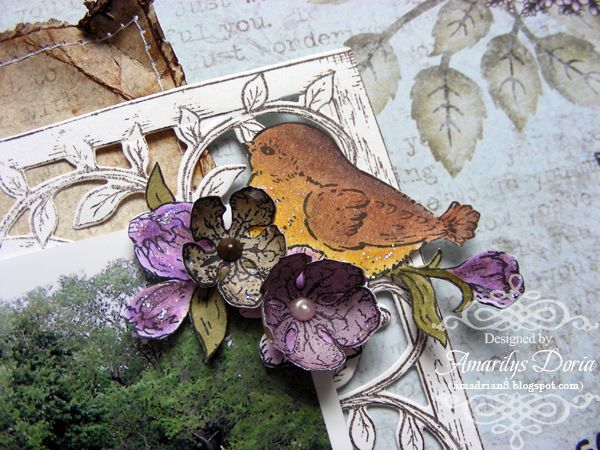
Here's a close up of this adorable little chubby bird-isn't he just darling?
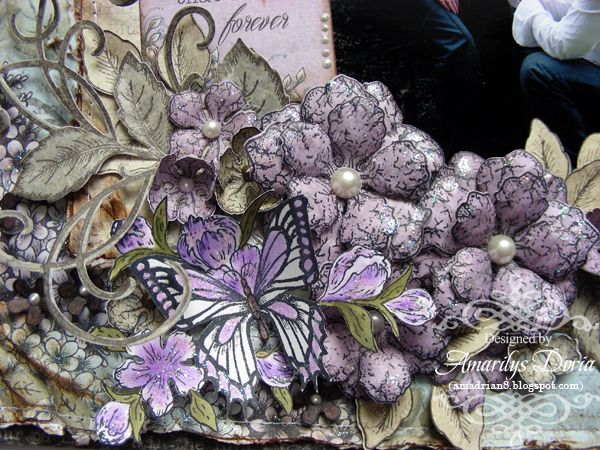
Of course, I went to town with my flowers! I made a bunch of them in light purple-I think purple is growing on me now! :)
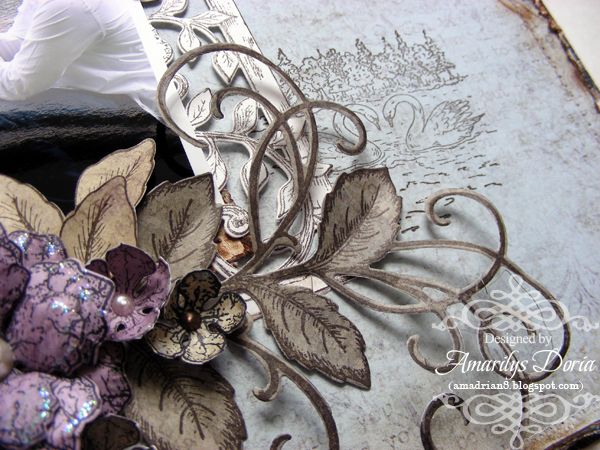
Another close up of all the greeneries and flourishes. I also used this sweet stamp of the swans as a rub-on on the background paper. I love it!
Here is the step by step write-up for this project:
Distress the edges of the green
pattern paper with the Distrezz-it-all tool and distress with Vintage Photo
distress ink. Adhere unto darker color background and machine stitch around the
edges. Trim a light colored pattern paper to 6.5”x8” and distress the edges and
machine stitch them just like you did the background piece. Adhere over the
background paper. Stamp and die cut with the coordinating die two Vintage
Floret Frame Precut Set and adhere them over the light colored patter paper.
Add your 4”x6” photo over the die cuts. Stamp the swans on the bottom right
area as shown. Stamp the chubby bird and flower bunch from the HCPC 3523
Feathered Friends Precut Set and the butterfly and flowers from the HCPC 3524
Butterfly and Bunny Precut Set on white cardstock and color the images with
Prismacolor pencils. Fuzzy cut these stamped images. For the flowers, stamp
different size vintage flowers from the Open Vintage
Floret PreCut Set and Mini Vintage Floret PreCut Set and die cut them with its
coordinating die. Layer different size flower dies to form a fuller bloom.
Stamp and die cut two Bella Rose Leaves PreCut Set and a few leaves from the
Leaf Medley PreCut Set. Arrange the embellies to form a cluster on the bottom
left corner of the picture, as shown. Add white pearls to the larger flowers
and liquid pearls to the smaller blooms.
In that cluster, also tuck in a small printed quote from the paper
collection. Make some small posies and add them over the printed pattern paper
to give it some dimension. Add liquid pearls as centers. Finally, add your
title to the right side of the picture.
Thank you for stopping by my blog today! Remember to go to the Heartfelt Creations BLOG and check out what the other designers made this week with the new collection!

Completely gorgeous!
ReplyDeleteGorgeous Layout!!!
ReplyDeleteAmarilys your L/O are stunning. Beautifully designed.
ReplyDeleteHugs Nataliya
Gorgeous layout! I'm catching up on visiting favorite blogs finally... sorry to be awol for a while but you know how crazy life can get and I'm trying to stay active more instead of glued to my computer. LOL
ReplyDelete