
I finally did it! I finished my 3 sheets of pattern paper/4 layouts challenge!!!!! If you have been following me during this, I challenged myself to use my June Counterfeit Kit (which I only included 3 sheets of double sided pattern paper) to make 4 layouts and leave little to no leftovers. You can see my first, second and third layouts by following the links.
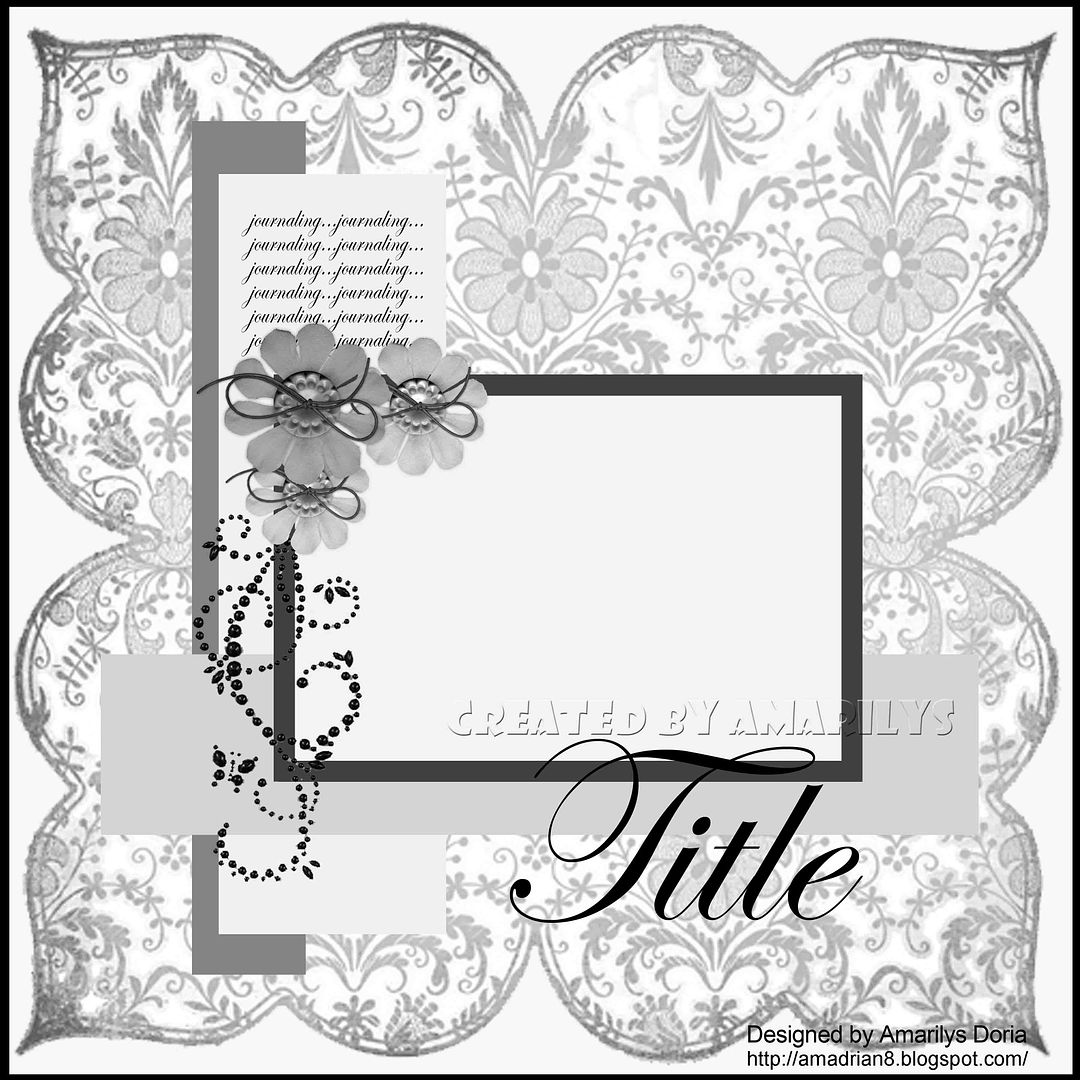
Early on the challenge, I designed 4 sketches and then cut the pattern papers with my Pazzles Inspiration and ended up with these very basic designs:

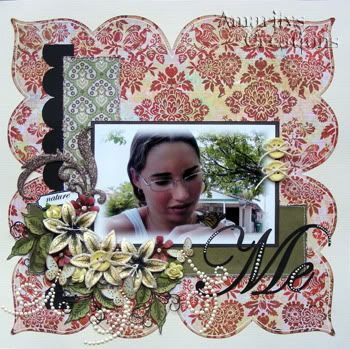
Today I'm going to show you how I made the last one, the one on the bottom right side.
I based this layout on one of my favorite sketches that I've designed.
and here is my finished layout:

Ok, let's get started!
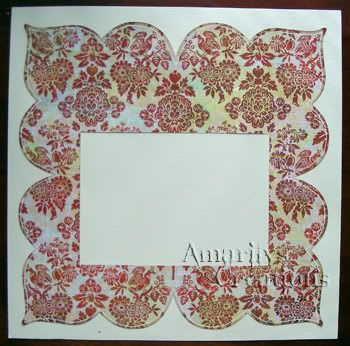
Step 1. First, I inked the edges of my shaped diecut paper to give it a polished finish. I then went ahead and doodled with a white pen all round it. I love how it looks (almost like stitching but without the extra work!). I then matted my diecut paper on a cream cardstock. I know that by now you noticed the big rectangle that I cut out in the middle (well, almost) of the shaped die cut. Well, I know that I'm going to place my photograph here so I cut out the rectangle to use the pattern paper in another layout (I ended up using it in my dolphin kisses layout). This is a great way to save your pattern paper-cut out the piece you know will get covered by another layer of either paper or pictures!
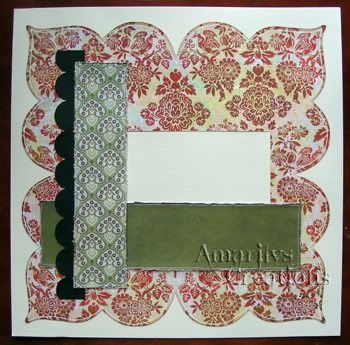
Step 2. I then started layering my pieces of paper from the green pattern paper and a black scallop edge. I glued them and then stitched them onto my background.
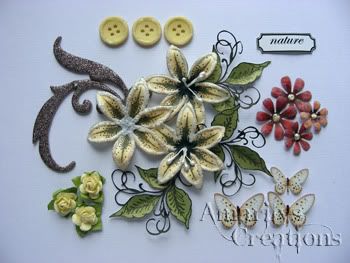
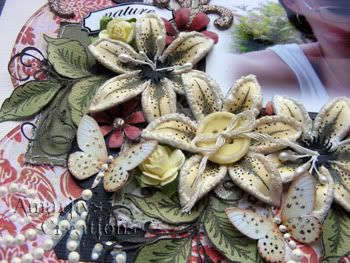
Step 3. Now comes my favorite part-embellies! I made 3 yellow lili flowers using Lisa's tutorial (ok, I admit it-these are my fav flowers right now!). I also made some reddish smaller flowers as fillers, added 3 small yellow roses, printed and cut 3 more butterflies and used 3 yellow buttons (I was in the mood to use 3's of everything apparently! LOL).
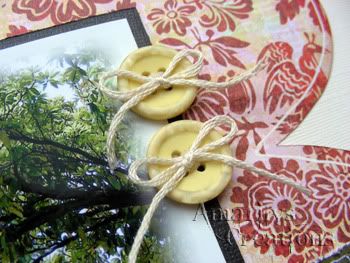
Step 4. Last step is to put everything together! I added little bows to my buttons, handmade bling to as my butterfly trails and little 3D paint dots to my title.
Here are a few close up of the finished layout:

Thank you for following along as I made these 4 layouts. I hope that you have enjoyed this series and have learned from it. I'd love to see someone else take up this challenge (or a similar one!). If you do, please let me know!
Now, how about a giveaway?
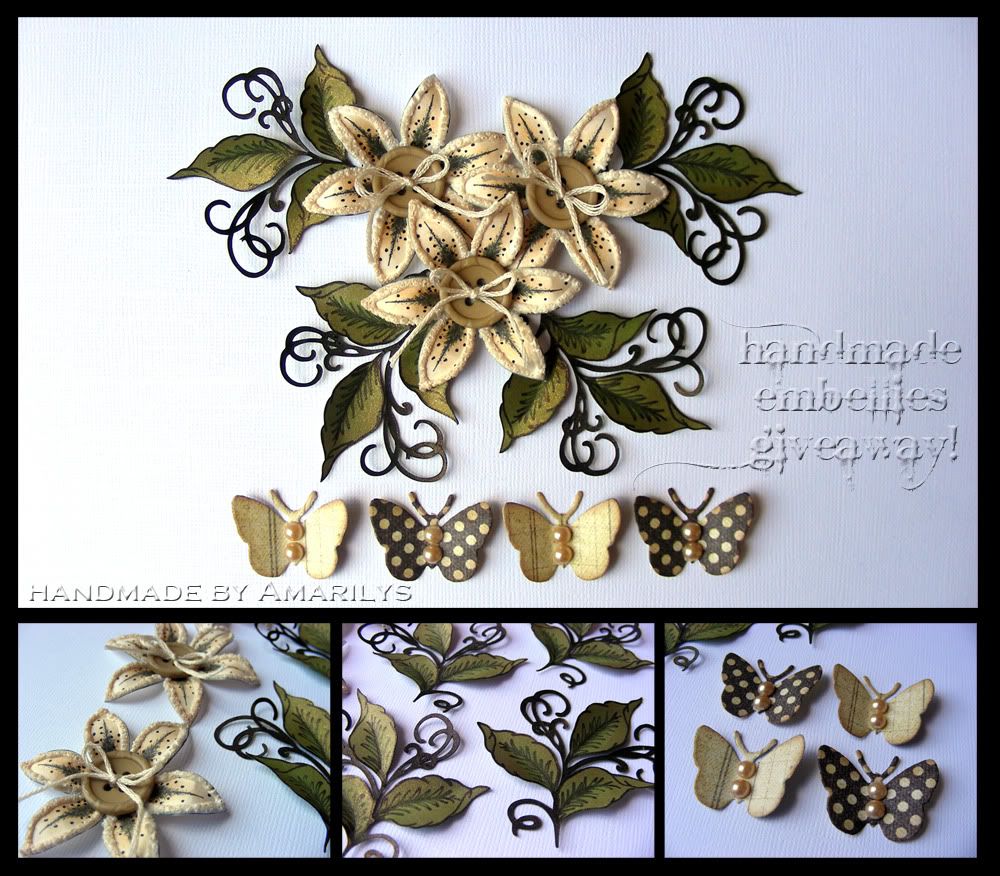
{{click picture for more details}}
To win this handmade embellie set you just need to be a follower of my blog and leave me a comment here! That's it! On July 16 (next Saturday), I'll randomly choose a winner!
Have a wonderful weekend!

Another beautiful page! Your embellies are just GORGEOUS!!!
ReplyDeleteHi Iam a new follower! Luv your flowers! I forward to following you blog and seeing all your creations!
ReplyDelete(As promised, I'm trying again!)
ReplyDeleteI love the lo and the scripted "me" with the bling is gorgeous. So glad I found your blog, and am now a happy follower.
Lovely layout - your spray of flowers looks so lavish!
ReplyDeleteLove your LO! Great flowers and butterflies and colors...well, everything! I'm a new follower of your blog...love your creations :)
ReplyDeleteJenE, blossom 93 at yahoo dot com
well, i'm not yet a true follower...can't seem to sign up :(
ReplyDeleteGorgeous layout, especially those homemade embellies!
ReplyDeleteThose flowers are BEAUTIFUL! Nice job on the layout!
ReplyDeleteBeautiful layout!
ReplyDeleteYour work is fantastic!
ReplyDeleteI love this idea! Beautiful page!
ReplyDelete